9
2. Installation
Inspect the UPS upon receipt. The packaging is recyclable; keep it for reuse or be disposed of
properly.
2.1 Placement:
:
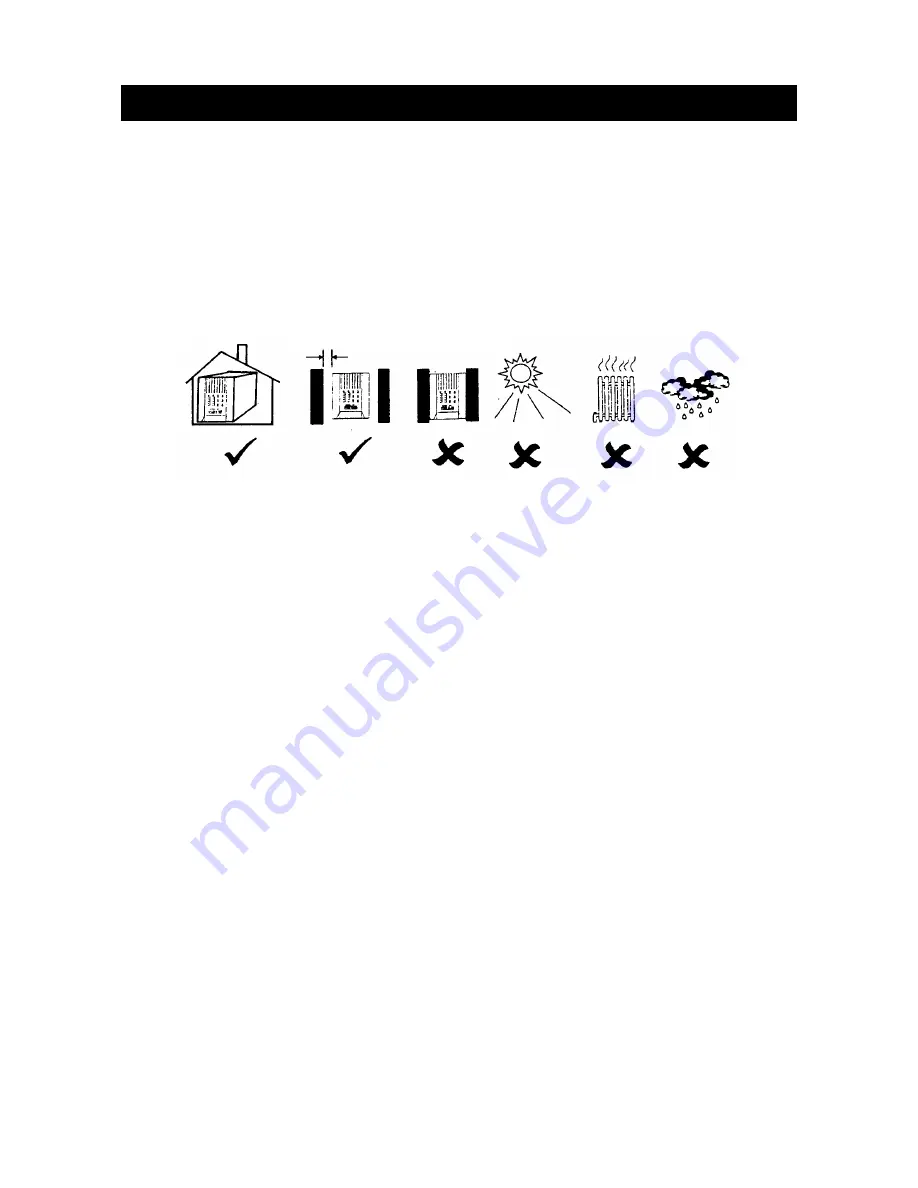
Install the UPS in a protected area with adequate flowing air and free of excessive dust. Do
not operate the UPS where the temperature and humidity is out of the specified limits.
2.2 Connect Computer Interface (optional):
UPSMON series software (or other power management software) and an interface kits can be
used with this UPS. Use only kits supplied or approved by the manufacturer. If used, connect
the computer interface port and the REMOTE port of the UPS using the bonding cable.
Note: Computer interface connection is optional. The UPS works properly without a
computer interface connection.
CAUTION
:
Use only factory supplied or authorized UPS monitoring cable!
2.3 Connect to Utility:
The input power cord needs to connect the rear inlet socket of the UPS and plug into a
socket on the wall. Please notice the voltage of utility power should match with the UPS. For
example, the rating voltage of UPS is 110V/(220V), the input utility power should be the
same as 110V/(220V).
2.4 Charge the battery:
The UPS charges its battery whenever it is connected to utility power. For best results,
charge the battery for 24 hours in the initial use.
2.5 Connect the loads:
The employed equipment’s power cords (such as computer) are plugged into the sockets on
the rear panel.
CAUTION
:
Never connect a laser printer or plotter to the
“ UPS outlets”. A laser printer
or plotter periodically draws significantly more power than when its idle status,
and may overload the UPS.
2.5cm (1 inch)


