8
Assemble DC Connector
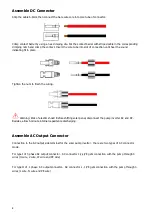
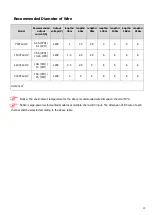
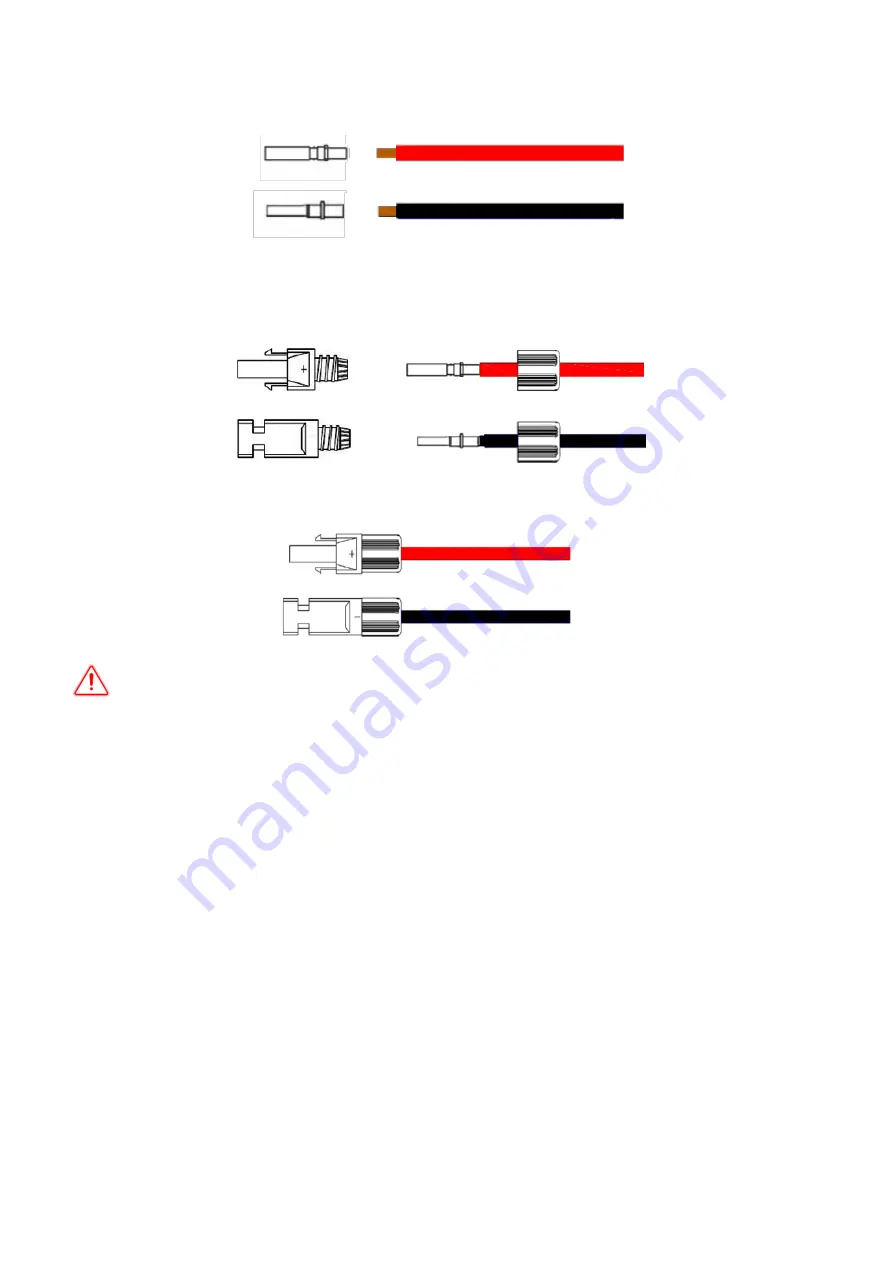
Strip the cable 6-8mm,then connect the bare wire core into core tube of connector.
Crimp contact barrel by using a hex crimping die. Put the contact barrel with striped cable in the corresponding
crimping notch and crimp the contact. Insert the core tube into slot of connection until hear the sound
indicating fit in place.
Tighten the nuts to finish the wiring.
Warning: Risk of electric shock! Before shifting solar panel, disconnect the pump inverter AC and DC.
Besides, allow 5-minute internal capacitance discharging.
Assemble AC Output Connector
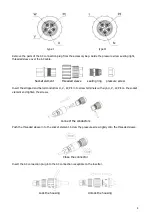
Connection to the AC output side terminal for the solar pump inverter
,
there are two types of AC connector
mode.
For type I of 3 phase AC output connector
:
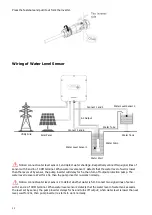
AC connector 1,2,L,PE gets connection with the pump through 4
wires (U wire, V wire, W wire and PE wire)
For type II of 1 phase AC output connector
:
AC connector L, 1,PE gets connection with the pump through 3
wires (L wire, N wire and PE wire)
Summary of Contents for 1500TL2-HV
Page 1: ...Solar Pump Inverter 750W 4000W Version 1 3 User Manual...
Page 8: ...6...


