38
37
7.3 Communications
7.3.1 RS232 (standard)
RS 232 could be chosen for ShineNet ,WiFi Module.
7.3.2 External WiFi (Optional)
WIFI module (it is available from Growatt) can be used as an optional monitoring
schome.More details refer to the WIFI module manual.
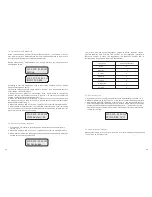
7.2.8 Auto test (only for Italy)
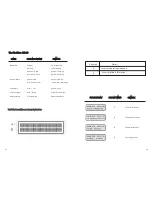
Knock to make the display bright
→
knock to“Enable Auto test”
→
double knock to
enter “Waiting to start”
→
knock to start auto test and wait for the test result.
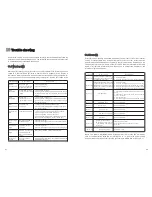
7.2.9 Communication Type choice
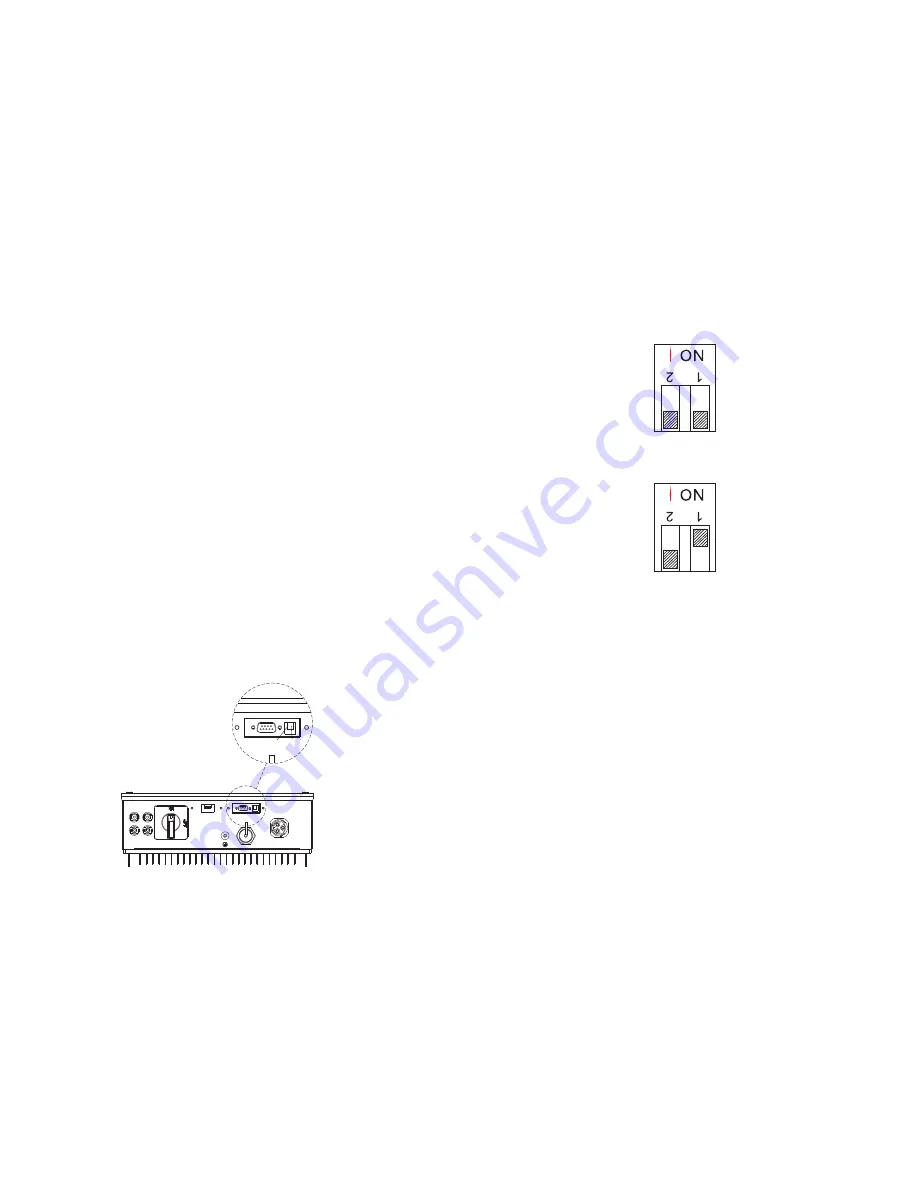
If you select RS232 or External wireless, you must set the 2-PIN switch to different
status. The 2-PIN switch is located beside the RS232 interface, as the figure
below.
1.
When ‘RS232’ is selected, you have to set PIN1 of the switch downward to OFF.
2.
When ‘Exter wireless’ is selected, you have to set PIN1 of the switch upward to
ON.
7.2.7 AC Error Record Checking
When the LCD stays bright, single knock to ’AC Error Record’, and then double
knock to enter the checking status. Single knock to check each error item, triple
knock can exit.
1.
If the inverter connects with PV panel arrays and the input voltage is higher
than 100Vdc, while the AC grid is not connected yet, LCD will display messages in
order as below:
Growatt Inverter”-> “NO AC CONNECTION”. The display repeats “NO AC
CONNECTION” and the LED will be red.
2. Turn on the AC breaker or close the fuse between inverter and grid, the system
will operate normally.
3. Under normal operating conditions, the LCD displays ‘xxxx.xVA xxxx.x W’ at
State info, this is the power fed into grid. LED turns green.
4. Finish commissioning.
2 1

