25
26
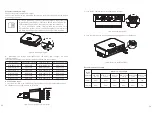
Fan cleaning replacement steps
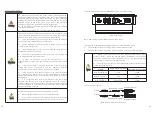
1. Before cleaning or replacing the fan, please make sure that the DC side and AC side of
the inverter are disconnected.
1) Turn off the DC side switch.
2) Remove the DC side terminal (user needs to use the tool to disconnect the DC
connection terminal).
3) Disconnect the AC side switch.
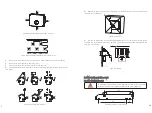
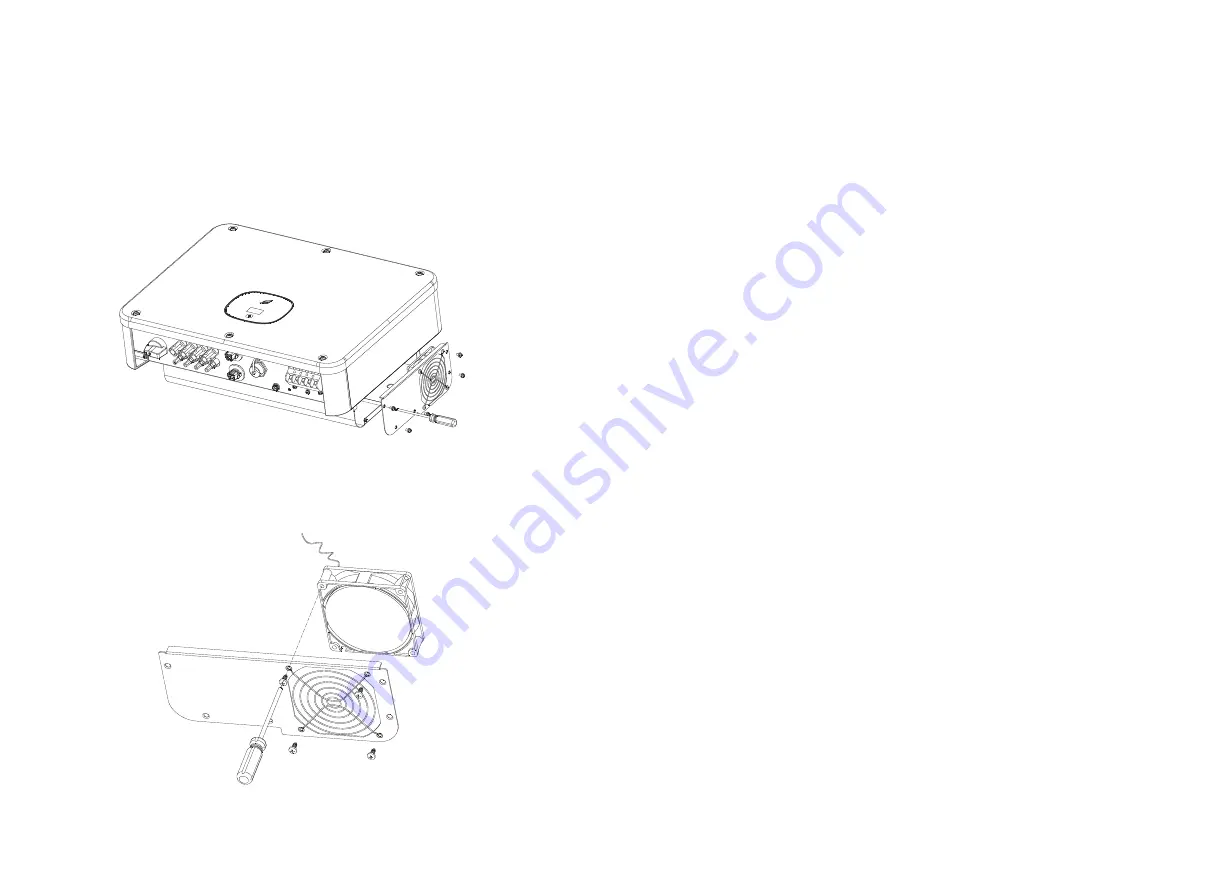
2. First remove the fan fixing plate screw with a screwdriver.
fig12.1 Remove the fan
3. Disconnect the fan connector, remove the fan fixing plate screw with a screwdriver,
and finally remove the fan.
fig12.2 Remove the fan
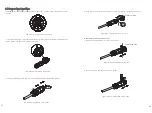
4. Clean the fan, fan net and heat sink or replace the fan.
1) Clean the heat sink with a gas pump and clean the fan and fan net with a brush or a
damp cloth.
2) Remove the fan and clean it separately if necessary.
3) Use a Phillips screwdriver to remove the fan that needs to be replaced.
4) Replace with a brand new fan.
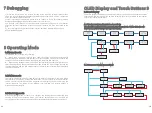
5.Reinstall the fan mounting plate and inverter.
Troubleshooting 13
PV inverters sometimes do not work properly, we recommend the following solutions to
eliminate common faults. The table below helps the technician understand the problem
and take action.
13.1 Error message
When a failure occurs, an error message will be displayed on the OLED screen. Faults
include system faults and inverter faults.
In some cases, you may be advised to contact Growatt, please provide the following
information.
Information about the inverter:
Serial number
Model
Error message on OLED
a short description of the problem
Grid voltage
DC input voltage
Have you ever had this problem in the past?
What are the environmental conditions at the time of the problem?
Information about photovoltaic panels:
The manufacturer name and model number of the PV panel
Output power of the panel
Open circuit voltage of the panel
Vmp of the panel
Maximum current per string
Number of panels in each string
If you need to replace the device, please ship it to the original box.


