41
42
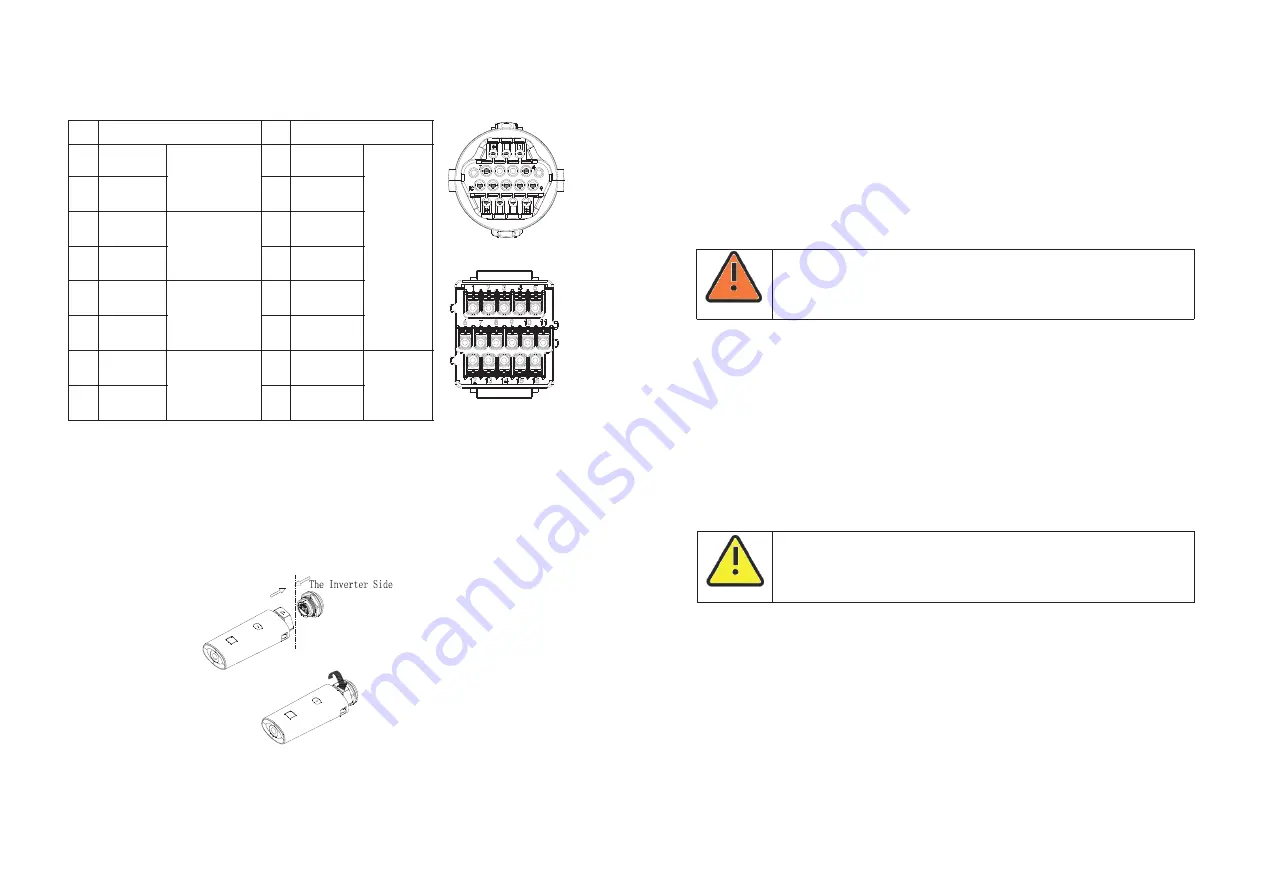
7.4.2 USB-A
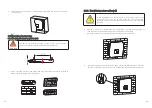
USB-A port is mainly for connecting monitor or firmware updage
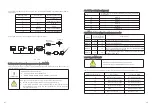
Through USB connection,we can connect external optional monitor ,for example :Shine
WIFI-X,Shine 4G-X, Shine LAN-X,ect.
And also you can quickly update the software by U stick.
We can monitor as below:
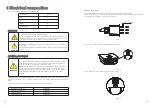
Make sure the on the front side, then insert the monitor,fasten the screw.
:
△
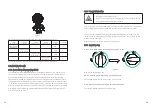
No.
Definition
1
2
3
4
+12V
COM
RS 485A1
RS 485B1
Power
supply for
external
relay(
≤
2W)
RS485 for
communication
No.
Definition
10
9
11
12
DRM 7
DRM 8
DRM 5
DRM 6
5
6
7
8
CT-P
CT-N
RS 485B2
RS 485A2
NC
RS485 for
Smart Meter
13
14
15
16
RefGen
Com/DRM0
DRMS
Signal for
CT export
limitation
(optional*)
-
-
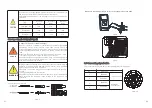
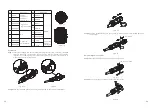
16Pin socket pin assignment
* Only for Australia market.
Fig 7.4
Fig 7.2
Fig 7.3
Maintenance,Repair and Cleaning9
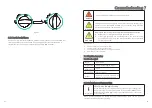
1. Connect the AC breaker of the inverter.
2.Turn on the dc switch, and the inverter will start automatically when the input voltage
is higher than 60 V.
8.1
Start-Up the inverter
8.2
Shut down the Inverter
9.1 Checking Heat Dissipation
9.2 Cleaning the Inverter
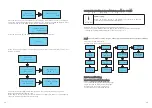
Turn-off the inverter step:
1.Disconect the line circuit breaker from single-phases grid and prevent it from being
reactivated.
2.Turn off the dc switch.
3.Check the inverter operating status.
4.Waiting until LED, OLED have go out, the inverter is shut down.
Do not disconnect the DC connectors under load.
DANGER
If the inverter regularly reduces its output power due to high temperature, please
improve the heat dissipation condition. Maybe you need to clean the heat sink.
If the inverter is dirty, turn-off the AC breaker and DC switch ,waiting the inverter shut
down ,then clean the enclosure lid, the display, and the LEDs using only a wet cloth. Do
not use any cleaning agents (e.g. solvents or abrasives).
Start-up and shut down the
Inverter
8
Prior to removal of any cover for maintenance or repair, turn off the
switch on the AC and DC sides
WARNING


