background image

12


11


4 Unpacking and inspection 

Installation 5


The inverter is thoroughly tested and inspected strictly before delivery. Our inverters leave our 
factory  in  proper  electrical  and  mechanical  condition.  Special  packaging  ensures  safe  and 
careful transportation.  However,  transport  damage may still  occur. The  shipping  company is 
responsible  in  such cases.  Thoroughly  inspect  the  inverter  upon  delivery.  Immediately  notify 
the  responsible  shipping  company  if  you  discover  any  damage  to  the  packaging  which 
indicates that the inverter may have been damaged or if you discover any visible damage to 
the  inverter.  We  will  be  glad  to  assist  you,  if  required.  When  transporting  the  inverter,  the 
original or equivalent packaging should be used, and the maximum layers for original carton 
is four, as this ensures safe transport.


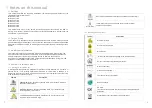
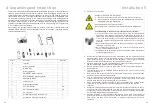
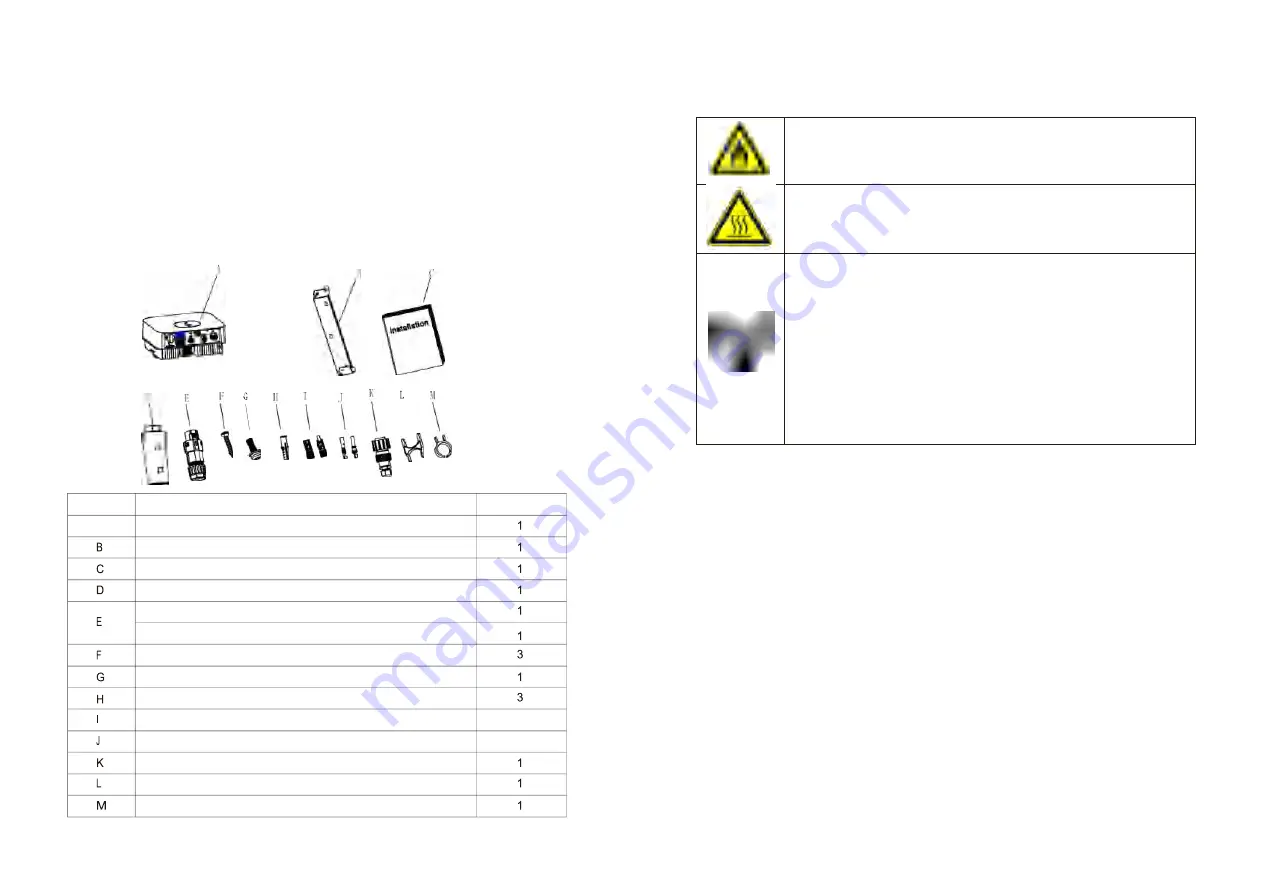
After  opening  the  package,  please  check  the  contents  of  the  box.  It  should  contain  the 
following,  Please  check  all  of  the  accessories  carefully  in  the  carton.  If  anything  missing, 
contact your dealer at once.


5.1


Safety instructions 


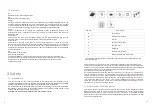
Danger to life due to fire or explosion


Despite careful construction, electrical devices can cause fires.


Do not install the inverter on easily flammable materials and where 
flammable materials are stored.


Risk of burns due to hot enclosure parts


Mount the inverter in such a way that it cannot be touched inadvertently.


Possible damage to health as a result of the effects of radiation!


 In  special  cases,  there  may  still  be  interference  for  the  specified 

application  area  despite  maintaining  standardized  emission  limit 
values (e.g. when sensitive equipment is located at the setup location 
or when the setup location is near radio or television receivers).In this 
case,  the  operator  is  obliged  to  take  proper  action  to  rectify  the 
situation.


 Never install the inverter near the sensitive equipment

( 

e.g. Radios, 

telephone, television, etc

).


 Do  not  stay  closer  than  20  cm  to  the  inverter  for  any  length  of  time 

unless it is absolutely necessary.


 Growatt assumes no responsibility for compliance to EMC regulations 

for the complete system.


All  electrical  installations  shall  be  done  in  accordance  with  the  local  and  national 
electrical  codes.  Do  not remove  the casing.  Inverter  contains  no user  serviceable 
parts.  Refer  servicing  to  qualified  service  personnel.  all  wiring  and  electrical 
installation should be conducted by a qualified service personnel .


Carefully remove the unit from its packaging and inspect for external damage. If you

find any imperfections, please contact your local dealer.


Be sure that the inverters connect to the ground in order to protect property and 
personal safety.


The  inverter  must  only  be  operated  with  PV  generator.  Do  not  connect  any  other 
source of energy to it.


Both  AC  and  DC  voltage  sources  are  terminated  inside  the  PV  Inverter.  Please 
disconnect these circuits before servicing.


This  unit  is  designed  to  feed  power  to  the  public  power  grid  (utility)  only.  Do  not 
connect  this  unit  to  an  AC  source  or  generator.  Connecting  Inverter  to  external 
devices could result in serious damage to your equipment.


When  a  photovoltaic  panel  is  exposed  to  light,  it  generates  a  DC  voltage.  When 
connected  to  this  equipment,  a  photovoltaic  panel  will  charge  the  DC  link


capacitors.


Energy stored in this equipment's DC link capacitors presents a risk of electric shock. 
Even  after  the  unit  is  disconnected  from  the  grid  and  photovoltaic  panels,  high 
voltages may still exist inside the PV-Inverter. Do not remove the casing until at least


5 minutes after disconnecting all power sources.


Although  designed  to  meet  all  safety  requirements,  some  parts  and  surfaces  of 
Inverter are still hot during operation.  To reduce the risk of injury, do  not touch the 
heat  sink  at  the  back  of  the  PV-Inverter  or  nearby  surfaces  while  Inverter  is 
operating.


Object


Description


Quantity


A


Inverter


Mounting bracket


Quick Guide


Monitor(Optional)


COM PORT Signal connector


SYS COM PORT Signal connector


Self-tapping screws


Safety-lock screw


Plastic expansion pipe


PV+/PV- terminal


2/2


PV+/PV-metal terminal


2/2


AC connector


Uninstall signal or AC connector tool


Uninstall PV or Battery terminal tool


Summary of Contents for MIN 2500TL-XH

Page 1: ...MIN 6000TL XH Download Manual Installation Operation Manual Growatt New Energy CO LTD 4 13 F Building A Sino German Europe Industrial Park Hangcheng Ave Bao an District Shenzhen P R China T 86 0755 27...

Page 2: ...ngs TL XH overview Type label Size and weight Storage of inverter The advantage of theunit Validity Target group Additional information Symbols in this document Glossary Safety instructions Selecting...

Page 3: ...erter Specification PV BAT AC connectors info Torque Accessories Start the inverter General setting Advanced setting Communication interfaces Startup the inverter Shutdown the inverter Checking heat d...

Page 4: ...sponsibilities to inform the users 1 4 Symbols in this document 1 4 1 Warings in this document A warning describes a hazard to equipment or personnel It calls attention to a procedure or practice whic...

Page 5: ...XH MIN 4200TL XH MIN 4600TL XH MIN 5000TL XH MIN 6000TL XH inverters are built according to all required safety rules Nevertheless improper use may cause lethal hazards for the operator or third part...

Page 6: ...onnections e g conductor termination fuses PE connection etc in accordance with prevailing regulations When working with the inverter powered on adhere to all prevailing safety regulations to minimize...

Page 7: ...r 3 2 Type label The type labels provide a unique identification of the inverter The type of product Device specific characteristics Certificates and approvals The type labels are on the left hand sid...

Page 8: ...al package and should be stored in a clean and dry place and be protected from dust and water vapor corrosion The storage temperature should be always between 25 and 60 And the storage relative humidi...

Page 9: ...olutely necessary Growatt assumes no responsibility for compliance to EMC regulations for the complete system All electrical installations shall be done in accordance with the local and national elect...

Page 10: ...horizontal and avoids forward and sideways tilt Be sure that the inverter is out of the children s reach Don t put any things on the inverter Do not cover the inverter Do not install the inverter near...

Page 11: ...ed the inverter on the wall WARNING Falling equipment can cause serious or even fatal injury never mount the inverter on the bracket unless you are sure that the mounting frame is really firmly mounte...

Page 12: ...sidual current and protecting the inverter against residual current If an external RCD breaker is mandatory in the country of installation you must choose a Type A RCD breaker with the rating residual...

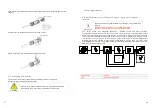
Page 13: ...20 19 3 Push the threaded sleeve into the socket Tighten up the cap on the terminal 4 Finally Push or screw the threaded sleeve to connection terminal until both are locked tightly on the inverter...

Page 14: ...the threaded sleeve then pull it out Wire suggestion length Conductor cross section Max cable length MIN 2500 TL XH MIN 3000 TL XH MIN 3600 TL XH 4 mm 12AWG 48m 40m 33m 5 2 mm 10AWG 60m 50m 42m Condu...

Page 15: ...in paired male and female connectors The connectors for PV arrays and inverters are Helios H4 R VP D4 connectors Types Max current PV1 Max current PV2 Max voltage 2500 3000 TL XH 13 5A 13 5A 500V 3600...

Page 16: ...rator or unrecoverable damage to the inverter Only qualified personnel can perform the wiring work Connection of BAT input terminal 4 6mm Cable Positive metal terminal Positive connector 6 5 Connectin...

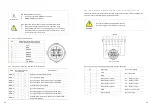
Page 17: ...6 AntiReFlux_B Connect meter signal RS485B 7 BAT_B Connect Battery communication RS485B or CANL 8 BAT_A Connect Battery communication RS485A or CANH CAUTION The communication interface RS485 or CAN be...

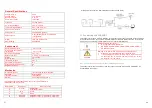
Page 18: ...n is used to control the active or apparent power output levels of an inverter The export limit control function for an inverter is used to control the generation from an inverter to manage the export...

Page 19: ...to inverter Meter Pin NO Description Meter Connection 1 CT input CT P White 2 CT N Black or Blue 3 N in Grid N 4 L in Grid L 9 RS485B RS485B2 connect to inverter SYS COM Pin 8 10 RS485A RS485A2 conne...

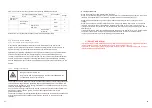
Page 20: ...DRM8 are available CAUTION Damage to the inverter due to moisture and dust penetration Make sure the cable gland has been tightened firmly If the cable gland are not mounted properly the inverter can...

Page 21: ...on t over 5V RRCR PCI Connector 6 9 2 1 The connector pin assignment and function definition Pin Assignment for inverters capable of both charging and discharging 12V GND DRM 1 5 DRM 2 6 DRM 3 7 DRM 4...

Page 22: ...with a power of 300 W or greater must be interrupted by the AFCI within the time specified by UL 1699B A tripped AFCI can only be reset manually You can deactivate the automatic arc fault detection a...

Page 23: ...n under VDE0126 1 1 for other region after 30s When inverter powered on OLED will light automatically Once the PV power is sufficient OLED displays the following Growatt PV inverter Country Aera XXXX...

Page 24: ...o switch display Double touch to enter next stage menu Grid XXXvXXXHz Etotal XXXXw Etoday XXXkWh Power XXXXw Model S03B00D 00T00P00U00M0 000 FW Ver AK X X More Info Set parameter PV2 XXXvXXXXw PV1 XXX...

Page 25: ...ing Set inverter date as described below 7 2 3 Set inverter date Single touch make the number up Double touch to confirm the setting Set inverter date as described below 7 2 4 Set inverter time Single...

Page 26: ...ry Aera xxxxxxx Set OK Set parameter General Advanced Password Reset Region Set Region A B C NO YES Set OK Set parameter General Advanced Password Reset PQRM Set PQRM Volt Var Set PQRM xxxxxxx Set OK...

Page 27: ...s three working modes Grid priority Battery priority and Load priority default is Load priority mode Users can set the inverter to work in different modes in different time periods through OLED Single...

Page 28: ...ime3 Disable Multiple single Single touch Double touch touch LoadFirst NN 01 touch LoadFirst 00 NN touch 7 4 2 COM Port BatFirst 00 01 Time3 Disable Time3 Disable Time3 Disable The XH series inverter...

Page 29: ...ts output power due to high temperature please improve the heat dissipation condition Maybe you need to clean the heat sink 9 2 Cleaning the Inverter If the inverter is dirty turn off the AC breaker D...

Page 30: ...nverter please read through the following information to correct the problem 11 1 Error Messages displayed on OLED An error message will be displayed on the OLED screen when a fault occurs The faults...

Page 31: ...k AC wiring especially neutral and ground wire 3 C h e c k g r i d f r e q u e n c y i s complied with local grid standard 4 Restart inverter if problem still exist Contact Growatt Auto Test Failed Er...

Page 32: ...or electronic waste which apply at the installation site at that time Ensure that the old unit and where applicable any accessories are disposed of in a proper manner Wait 20 minutes before disassembl...

Page 33: ...2500VA 3000VA 3600VA 4200VA Nominal AC voltage 230V AC voltage range 160 276V Norminal AC grid frequency 50 60Hz AC grid frequency range 45 55Hz 55 65Hz Rated output current 10 9A 13A 15 7A 18 3A Max...

Page 34: ...tage 100V Min operating voltage 70V Nominal voltage 360V PV input operating voltage range 70 550V MPP voltage range at Full Power 180V 500V 190V 500V 230V 500V No of MPP trackers No of PV strings per...

Page 35: ...y range 45 55Hz 55 65Hz Max efficiency 98 4 98 4 98 4 Euro eta 97 5 97 5 97 5 DC reverse polarity protection Integrated DC switch Integrated DC Surge protection class Insulation resistance monitoring...

Page 36: ...t device of equivalent value according to model and age The warranty shall not cover transportation costs in connection with the return of defective modules The cost of the installation or reinstallat...

Reviews: