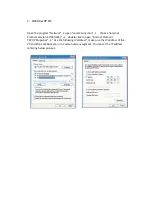
following picture.
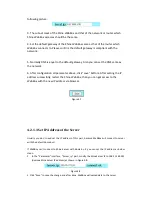
3. The subnet mask of the Shine WebBox and that of the network or router which
Shine WebBox accesses should be the same.
4. Set the default gateway of the Shine WebBox same as that of the router which
WebBox connects to. Please confirm the default gateway is compliant with the
network.
5. Normally DNS is equal to the default gateway. Also you can set the DNS same as
the network.
6. After configuration all parameter above, click “save” bottom. After setting the IP
address successfully, restart the Shine WebBox, then you can get access to the
WebBox with the new IP address via browser.
Figure 4-7
4.2.1.3 Set IP Address of the Server
Usually you don’t need set the IP address of this part, because WebBox will connect to server
with the default domain url.
If WebBox can’t connect to Shine Server with domain url, you can set the IP address as below
steps:
1.
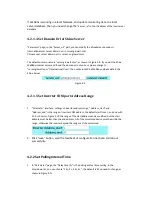
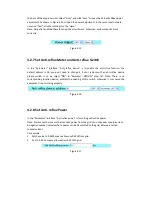
In the "Parameter" interface, "Server_ip" part, modify the ShineServer IP to 198.11.169.241
(oversea Shine Server IP address),as shown in Figure 4-8:
Figure 4-8.
2. Click "Save" to save the change, and after done, WebBox will upload data to the server.

