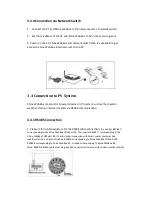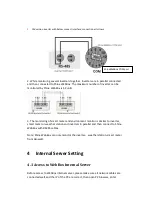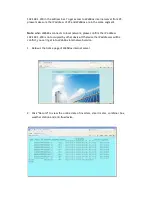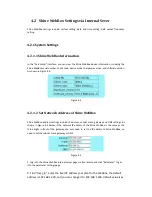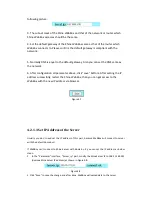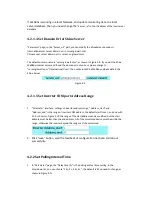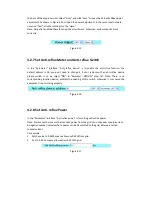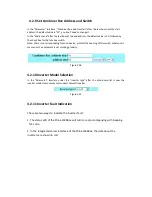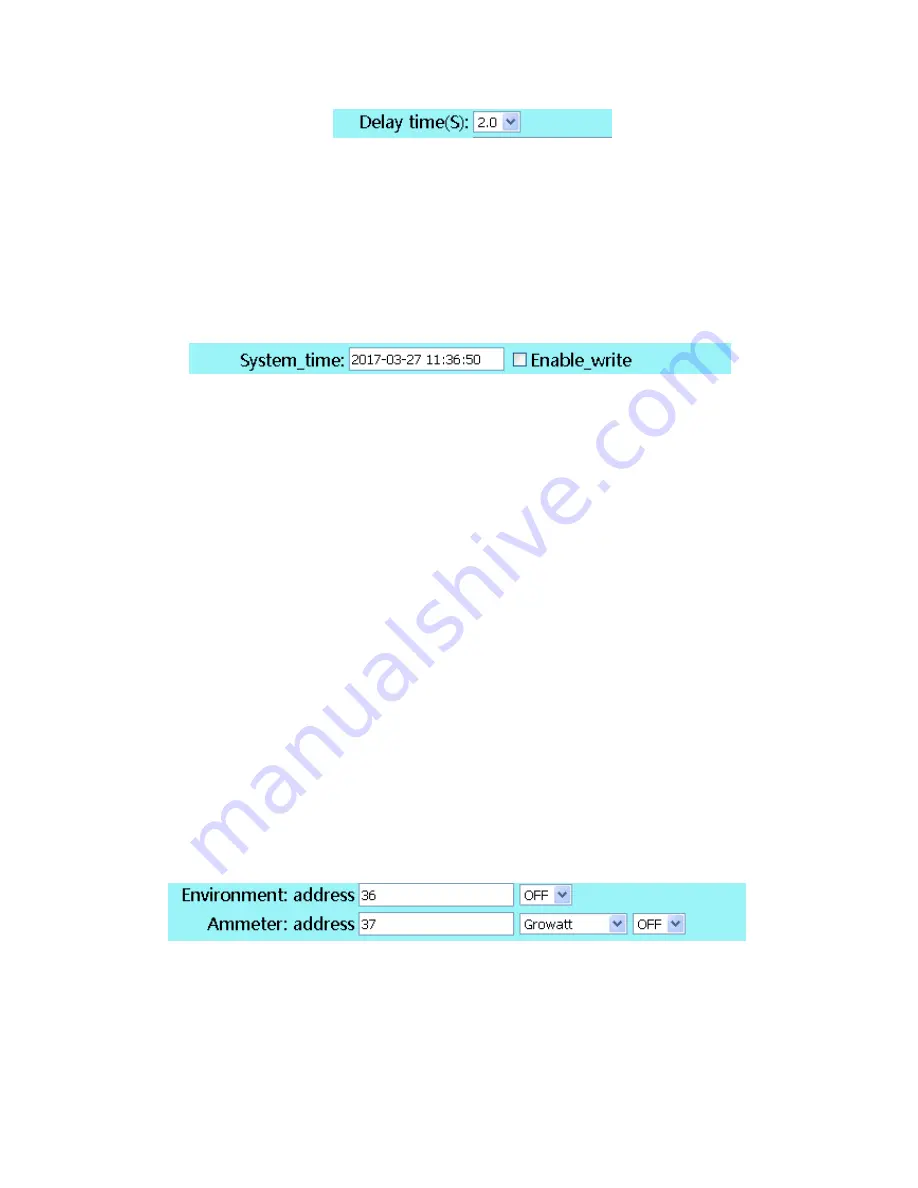
Figure 4-11
2.
Click "Save" to complete, if you change the time
4.2.3 Set Date and time
Change the time on the Shine WebBox internal server page
1. Check "Enable_write" after "System_time". Figure 4-12 Set the system time.
2. Enter the time and date to be changed, click "Save", save successfully, and become time for the
WebBox.
4.2.5 Set Weather Station and Smart Meter
When the Shine WebBox is connected to weather station or a smart meter, you need to enable
this feature through the Shine WebBox internal server settings.
1. If there is a weather station in the system need monitored, please enable it first, in
"Environment: address" under the "Parameter" interface, select on in the drop-down list, click
"Save" under the page. The Shine WebBox enables the weatherstation monitor.
Note: The weather station COM address default is 36, you don’t need to change it on WebBox
internal page, also no need to change the COM address of weather station.
3.
If there is a smart meter, similar, only need enable it, "Ammeter: address" right side, in the
drop-down list select "ON", and click "Save" button.
Note:
1.
Only the smart meters and weather stations buy from Growatt can be monitored by
WebBox.
2.
Only after enabled these function, then you can see monitoring data on Growatt and
Growatt Server, and for rated function, such as anti-reflux function via WebBox.
4.2.6 Set Power Adjustment, Master and Slave
In the "Parameter" interface under the "Power Adjust" after the drop-down list, select "ON", in


