15
16
5.3.2
Installation of SPH
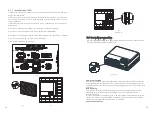
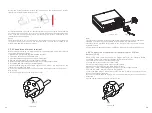
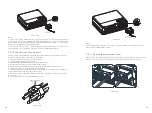
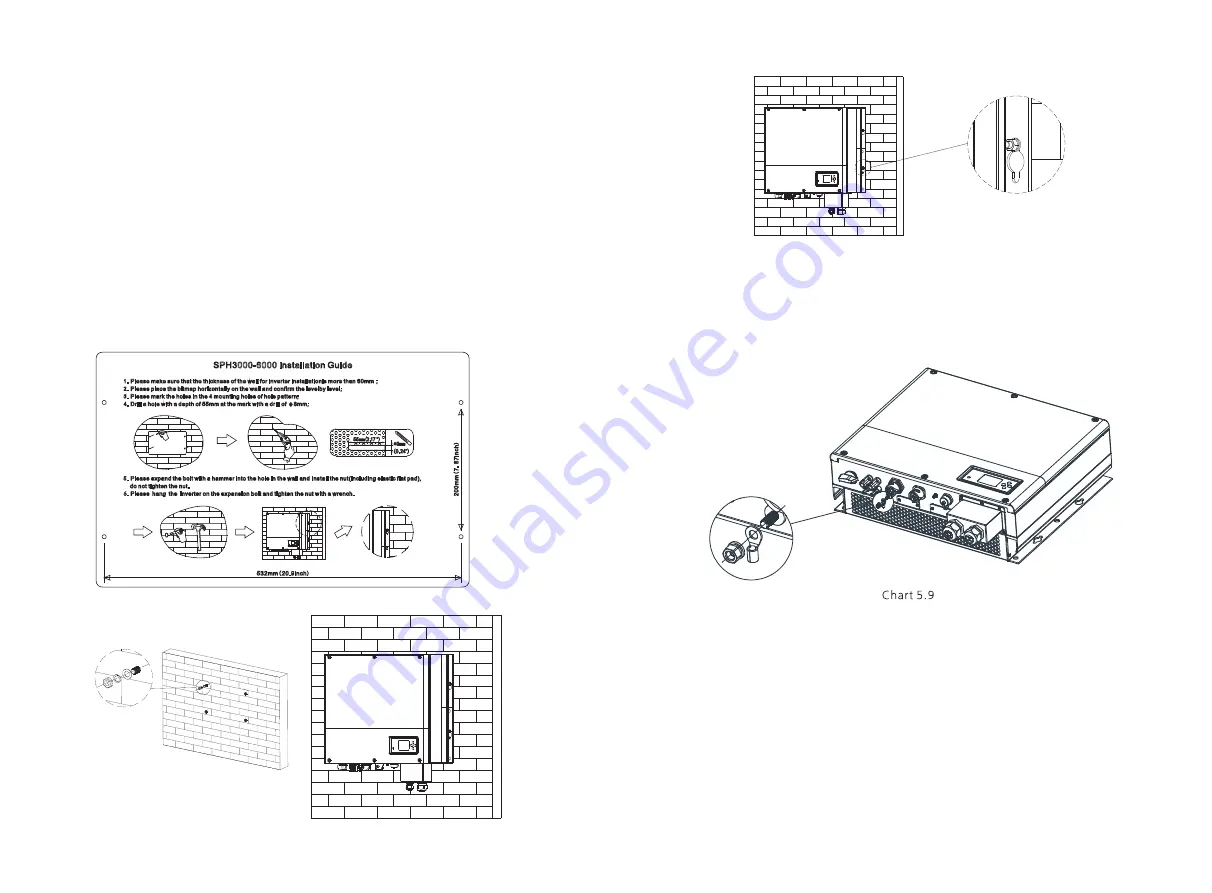
1.Project the machine's probably size on the wall; The thickness of wall for SPH must
be not less than 60mm.
a)
2.Make sure the drill position, use paper board(installation guide), put the paper
board cling to the wall, make sure the top edge of paper board is level
(
As the
chart 5.8a below
).
3.Mark four points at the wall via the hole of the paper board, then remove the
paper board.
4.Drill four
Ф
8 holes at the mark point, the depth is not less than 55mm.
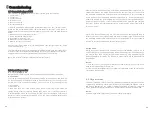
5.Knock four explosion bolt into
Ф
8 holes
(
As the chart 5.8b below).
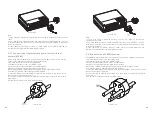
6.Hang the energy storage machine on the four setscrews
(
As the chart 5.8c below).
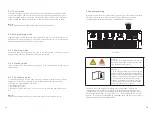
7.Lock the nut of setscrew
(
As the chart 5.8d below).
8.The whole installation has finished.
b)
c)
5.4 Grounding connection
d)
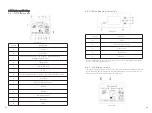
Chart 5.8
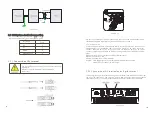
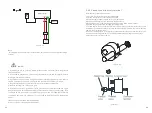
SPH must be grounded by cable, the grounding point is showed as follow, and the
minimum grounding cable wire is AWG10.
PV Array Grounding
Grounding conductor of PV panel brackets must be firmly connected to earth at PV
array side and inverter side and SP side. The sectional area of grounding conductor
should be equal to the sectional area of DC grounding conductor. The minimum wire
is AWG10.
DC Grounding
Select the DC Grounding mode according to the local standard and use the PV
grounding terminal box and DC Grounding wires of the same specification.
Grounding Device
If the positive pole or the negative pole of PV array needs to be grounded in the PV
system, the inverter output should be insulated by Isolation Transformer. Isolation
transformer must conform to IEC62109-1,-2 standard.
Connection as below:


