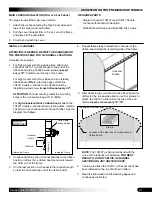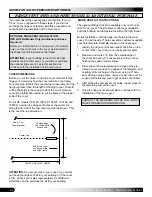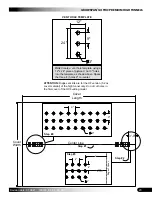
13
GROWSPAN
™
GOTHIC PREMIUM HIGH TUNNELS
Revision date: 01.08.21 108185_86_87_88_89H
FRAME ASSEMBLY (continued)
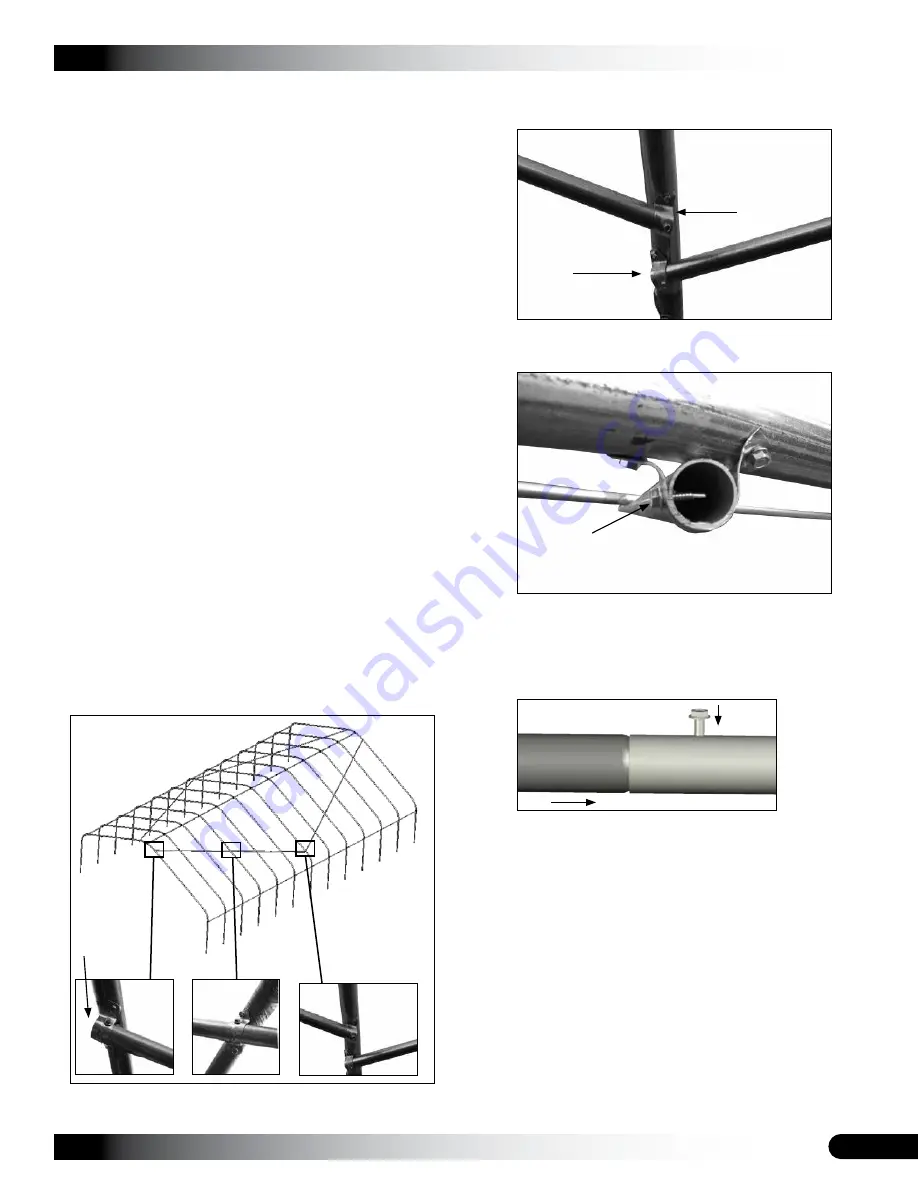
INSTALL ANGLED PURLINS
Gather the Parts:
• Pipe 1.315'' x 75'' swaged (131S075)
• Pipe 1.315'' x XX'' plain (131P0XX): See Side Profile
Diagram in the Quick Start section for your frame.
• Pipe straps (QH1070), Tek screws, and duct tape
NOTE:
The angled purlins are part of the assembled
frame and run diagonally on the underside of the rafter
assemblies. Consult the Side Profile diagram in the Quick
Start section for your high tunnel length to identify pipe.
Complete these steps:
1. Select the required pipe sections for one purlin and
connect these by inserting the swaged ends of the
pipes into the plain ends until the entire purlin is
assembled.
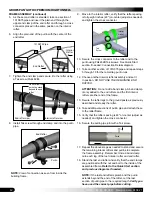
2. Verify that each pipe joint is properly seated and secure
each joint by installing a Tek screw through the pipes.
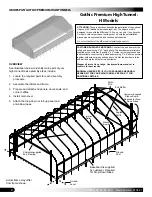
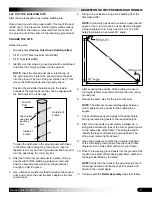
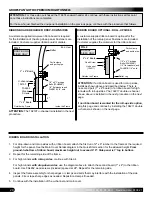
3. Using the diagram below and the Side Profile diagram
in the Quick Start section as guides, position a purlin
diagonally
and secure to each rafter it crosses using
pipe straps and Tek screws.
NOTE:
Bend the pipe strap and twist as needed to fit
the purlin at a diagonal angle.
If two angled purlins end
on the same rafter, offset the purlins to fit on the rafter
as shown in the diagram below.
Connection
photos are
showing an
inside view.
Do not allow
the purlin
to extend
beyond the
end rafter.
4. Verify that the purlin is in the correct position and
secure the purlin to each pipe strap with a Tek screw.
5. Repeat steps 1 through 4 for the remaining three
angled purlins.
Tek screw goes through
pipe strap and purlin pipe.
6. Once all rafters are set and all purlins are in place and
secure,
return to each pipe splice of each purlin and
verify that each is secured with a Tek screw.
Install
a screw if needed.
Actual frame length may differ.
See page 60 for an
enlarged view of these connections if needed.
7. Continue by installing the diagonal struts.


