19
GROWSPAN
™
GOTHIC PREMIUM HIGH TUNNELS
Revision date: 01.08.21 108185_86_87_88_89H
ROLL-UP PANEL INSTALLATION (continued)
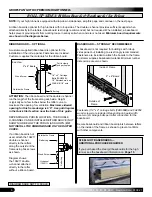
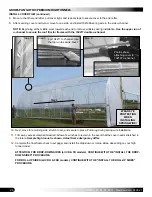
5. Use the pipe diagrams on the End Framing diagram in
Quick Start section to assemble the crank assembly.
6. Secure each splice using a Tek screw and cover the
Tek screw with duct tape to protect the panel pocket.
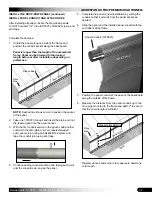
7. Insert the assembly into the panel pocket. Verify that
the assembly runs between the guide post and the
wooden support posts. Allow a few inches to extend
beyond the panel opposite the crank handle to keep
the conduit in place during operation.
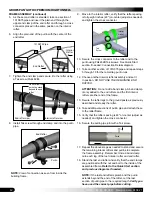
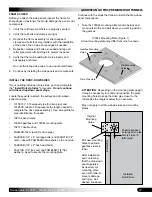
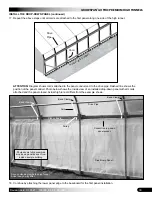
8. With the assembly in the proper position, flip up the
skirt at the bottom of the panel and secure the conduit
to the end panel using ten (10) CC6212 fabric clips and
Tek screws. Space the clips evenly along the conduit.
9. Trim the panel skirt if needed to achieve the desired fit
at the bottom around the brackets.
10. Test the roll-up panel.
NOTE:
Verify that the 3/8" threaded rod that secures
the customer-supplied end frame to the end rafter is
sunk below the post surface (recommended) or has
been cut off and taped to protect the roll-up panel.
11. Repeat the steps to install the remaining door panel.
12. Next, attach the end panel material to the end frame
and end rafter. See next procedure and diagram below.
END PANEL INSTALLATION—Use DCC4931 Material
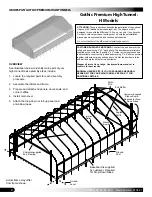
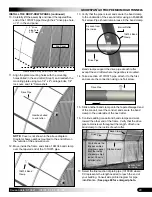
Consult the
End Panel Location
diagram near the back of
this manual to view the areas that need to be covered with
end panel material. Use these steps to cut and attach the
end panel material to the end wall frame.
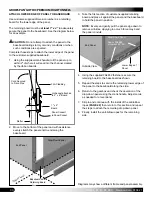
1. Measure the area of the end wall that needs to be
covered with end panels and cut a section from the
bulk DCC4931 material. Allow extra material to achieve
the best fit.
NOTE:
Due to differences in construction methods and
customer-supplied support materials, the customer
determines the best way to prepare the bulk material
for installation.
2. Set the prepared end panel in place and attach it
to the end frame using FA4652 wood screws and
neo-bonded washers, or Tek screws if the header kit
was purchased. Attach the panel to the rafter using
FA4482B Tek screws and neo-bonded washers
(102921B).
3. Repeat the steps to cut and attach the remaining end
panels to cover the remaining end wall.
4. After installing all end panels, continue by installing the
ribbon boards as described on the next page.
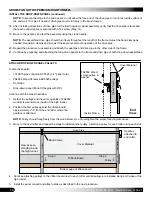
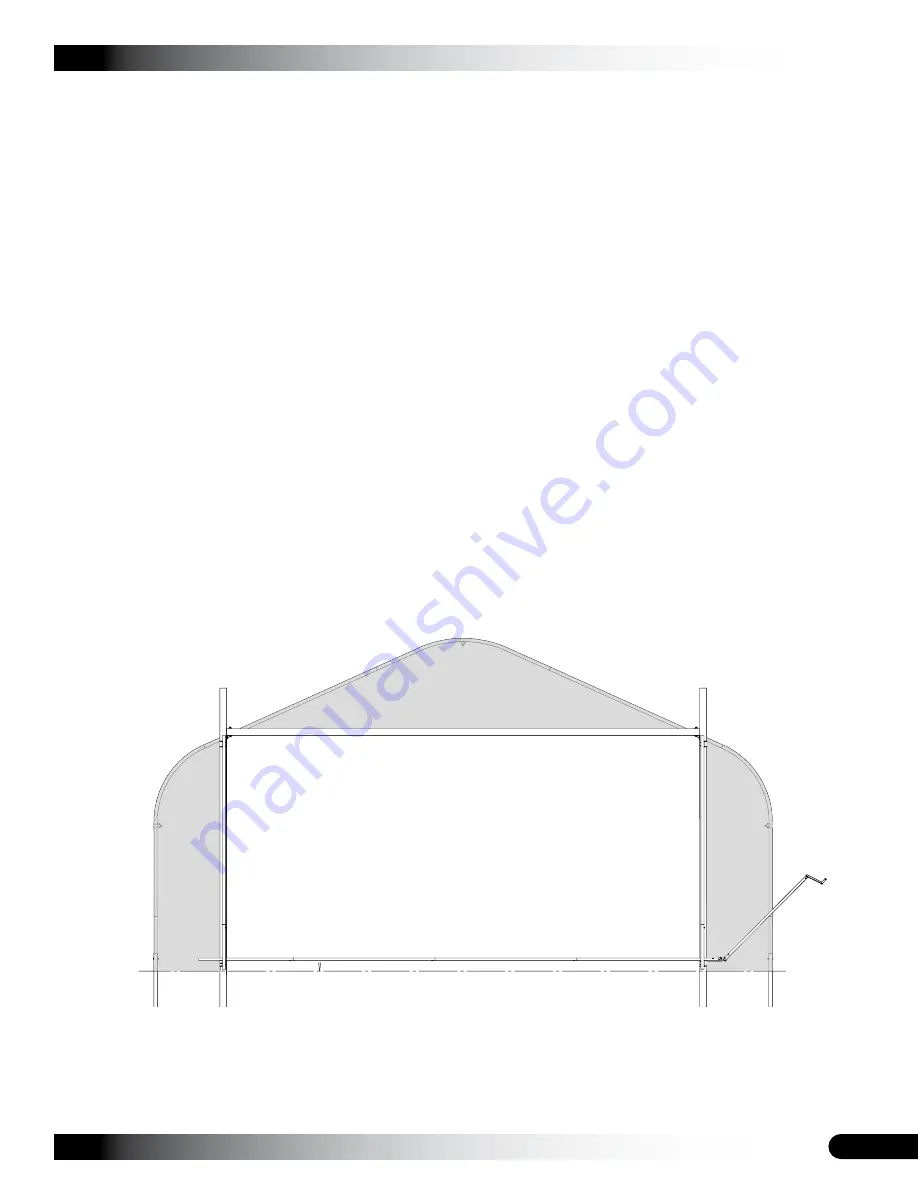
The shaded areas identify where to use the DCC4931 material. Material is cut to fit and attached to the wood
frame using FA4652 wood screws and 102921B washers. (Use Tek screws if steel header kit was purchased.)
Use FA4482B Tek screws and 102921B washers to attach the panel material to the rafters when needed. Roll out
the material and use the building grid on the first page of the Quick Start section to estimate size. Measure actual
space to cover so you do not run out of material.


