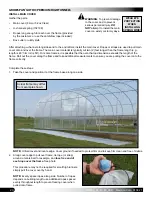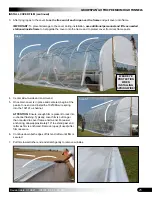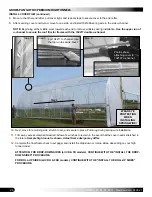
GROWSPAN
™
GOTHIC PREMIUM HIGH TUNNELS
22
108185_86_87_88_89H Revision date: 01.08.21
OPTIONAL RIDGE VENT INSTALLATION:
HFD & HFRU Models Only (Additional purchase
required.)
Before you install the 5.2 oz. main cover (HF models
only), cut the vent holes in the cover as instructed in
the Ridge Vent Kit Instructions that follow.
ATTENTION:
If your building is the HC model that
includes the 6 mil film cover, or you did not purchase
the optional ridge vent kit, skip this section and
continue with the installation of the main cover.
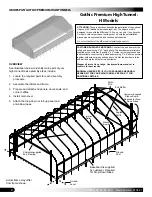
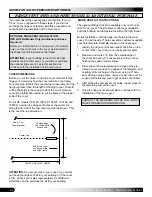
COVER DIMENSIONS
Before you cut the holes in the main cover material for the
ridge vent, determine how the cover will sit on the frame.
For some high tunnels the over-the-top measurement of the
frame is greater than the length of the high tunnel. To avoid
cutting the holes in the wrong ends of the cover material,
consult the information below to cut the holes at the proper
ends of the cover.
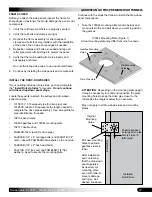
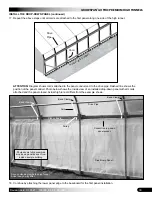
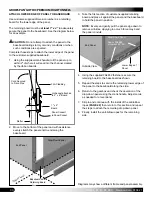
For all HF models (108185, 108186, 108187, 108188, and
108189), position the ridge vent holes at the center line
along the 34' side of the raw cover material as shown. This
is the over-the-top dimension.
ATTENTION:
Do not cut holes in your cover if you did not
purchase the ridge vent kit for your building or if the cover
is film.
Consult your sales representative for additional
information and to purchase the kit for your building.
34'
LENGTH OF HIGH TUNNEL
Raw 5.2 oz.
Cover Material
End of the cover
positioned at the
end of the frame.
Position ridge
vent holes here
at each end.
Center Line
RIDGE VENT KIT INSTRUCTIONS
The optional Ridge Vent Kit is available
only on HF units
with 5.2 oz. cover
. The kit allows control over ventilation,
humidity buildup, and temperatures within the high tunnel.
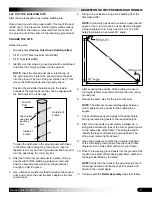
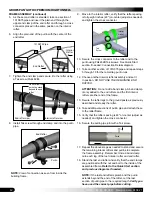
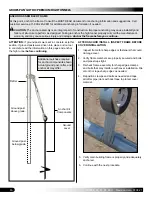
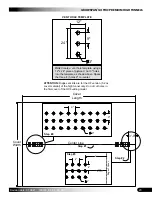
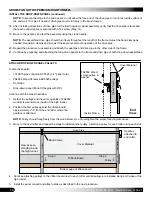
Before installation, drill the ridge vent holes in the main
cover. You will need a 3" hole saw and a customer-supplied
vent hole template. Example shown on the next page.
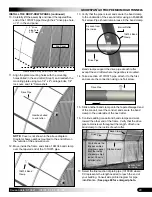
1. Identify the ridge vent location and mark a line on the
center of the cover using a non-permanent marker.
2. Measure and mark 3' in from the outside edge of
the cover and every 9" consecutively until you have
finished the pattern shown below.
3. Place the vent hole template on the lines of the pre-
marked cover, stand on the edges of the template, and
carefully drill vent holes in the cover using a 3" hole
saw.
Adding a scrap piece of wood under the cover for
support will help keep cover tight as holes are drilled.
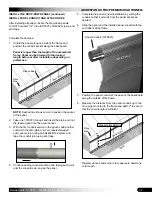
4. After drilling the first set of vent holes, repeat steps for
the remaining end of the cover.
5. Once the ridge vents are complete, continue with the
installation of the main cover.
CONSULT THE DIAGRAMS ON THE FOLLOWING
PAGE FOR ADDITION INFORMATION.
If you purchased the optional ridge vent feature for your
5.2 oz. cover, continue with these steps. If you did not
purchase the ridge vent feature, skip this procedure and
continue with the installation of the main cover.
RIDGE VENT (HFD AND HFRU MODELS): ADDITIONAL PURCHASE

