GROWSPAN
™
GOTHIC PREMIUM HIGH TUNNELS
40
108185_86_87_88_89H Revision date: 01.08.21
ASSEMBLE THE ROLL-UP SIDE CONDUIT
Gather the parts:
• Pipe 1.315'' x 75'' swaged (131S075)
• Tek screws (FA4482B)
The roll-up side conduit assembly slides into the panel
pocket. This assembly runs the length of the frame and
serves as the center pipe that the panel wraps around
when is open to ventilate the high tunnel.
Complete these steps to assemble the roll-up side
conduit.
1. Locate all sections of pipe (131S075) needed to
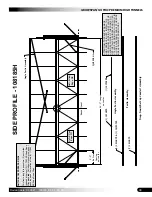
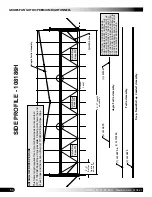
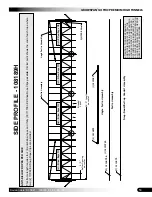
assemble the conduit. Consult the Side Profile
diagram in the Quick Start section for details.
2. Insert the swaged end of a pipe into the plain end of
another pipe.
3. Secure the pipe joint using a Tek screw (FA4482B)
and tape over the screw using duct tape.
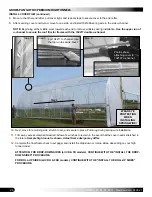
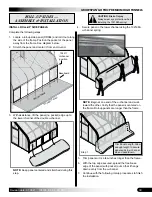
4. Slide the conduit into the panel pocket and repeat
steps 2-3 until the conduit is assembled.
5. Allow approximately 12" to extend from the pocket
at the end of the panel where the gearbox will be
located. Pipe is trimmed to length once the twist-of-
the-wrist assembly is installed and used as a guide.
ATTENTION:
Consult the Twist-of-the-Wrist
Assembly procedure on the next page for diagrams
that show an assembled roll-up side.
6. Continue with the procedure that follows to attach the
conduit to the roll-up side panels using fabric clips.
ATTACH CONDUIT TO ROLL-UP SIDE PANEL
Gather the parts:
• Fabric clips CC6212 (One for each rafter position.)
• Tek screws (FA4482B)
To this point, the roll-up side panel is secured to and
hanging down from the aluminum u-channel. The
assembled roll-up conduit is in the panel pocket.
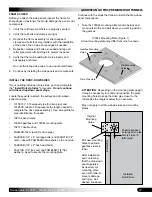
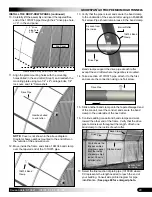
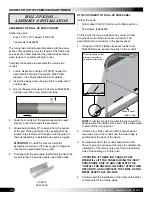
1. Using one CC6212 fabric clip at each rafter and
FA4482B screws, secure the panel to the conduit.
NOTE:
Twist the conduit in a direction that wraps the
panel toward the inside of the frame. This allows water
to drain off the roll-up panel.
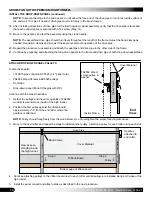
2. Continue to roll the conduit until the excess panel
is wound around the conduit and the lower edge is
positioned at the base of the frame.
3. Temporarily anchor the conduit and panel to the
frame or ground
and repeat the steps to complete the
installation of the roll-up side panel for the remaining
side of the building up to this point
.
A
TTENTION: IF THERE IS A CHANCE THAT
WIND WILL LIFT THE PANEL DURING THE NEXT
PROCEDURE, SKIP TO AND COMPLETE THE
"INSTALL THE ANTI-BILLOW ROPE" STEPS THEN
RETURN TO AND COMPLETE THE TWIST-OF-THE-
WRIST STEPS THAT FOLLOW.
4. Continue with the installation of the Twist-of-the-Wrist
components for the roll-up sides.
Inside View
Ground Level
Roll side panels so they
wrap on the inside or
underside of the panel.
CC6212
Fabric Clip
ROLL-UP SIDES —
ASSEMBLY & INSTALLATION

