21
GROWSPAN
™
ROUND PRO GREENHOUSES AND SYSTEMS
Revision date: 01.23.19
TYPICAL PANEL PREPARATION
ATTENTION:
Complete the following steps as directed after cutting panels to size. In some instances, this is before panel
is attached to frame; in other instances, this is after panel is attached to frame. Procedure depends on panel location.
1. All End Panels: Remove protective film from each panel before installation. Identify and mark UV-protected side using
a piece of tape or similar non-permanent means.
Always install UV-protected side toward the sun.
CUT PANELS TO LENGTH
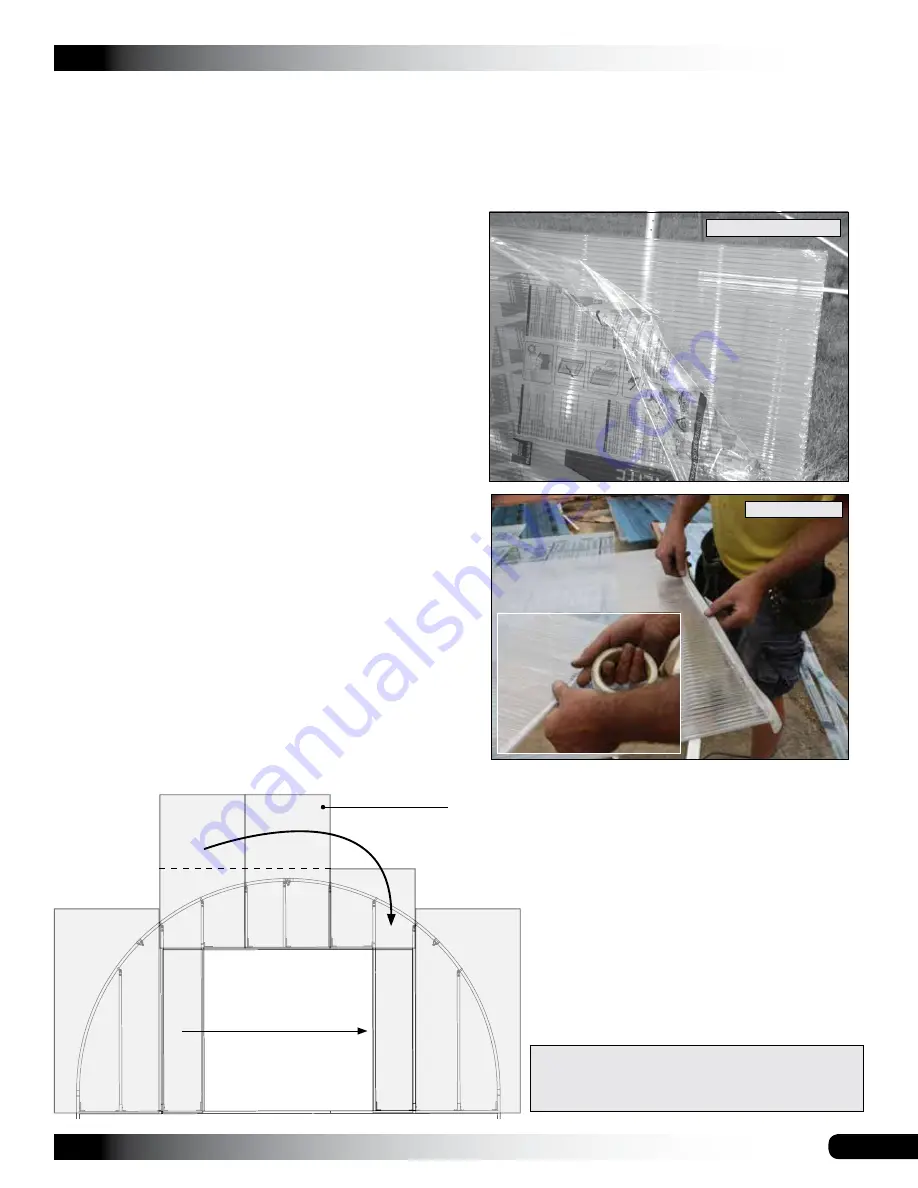
For upper panels (above door opening) it is best to rough
cut panel length on ground, then fit panel to end frame in its
location and mark height using end rafter as a guide.
Attach panels to end wall and use rafter profile to cut
panels to length. See diagram — below.
After panels are installed and cut to fit, then apply foil tape
to seal open cells at top as described above. Flashing is
installed after panel installation is complete.
ATTENTION:
Remove protective film from panels
before installation.
Allowing film to remain intact
and in direct sunlight will make film difficult if not
impossible to remove.
2. Seal bottom of lower panels using 104774 vent tape.
(Applies to panel edges that attach to end frame base
tube only.)
3. Install 104213 U-channel over vent taped bottom end
of lower panels only.
See diagram on previous page.
4. Apply foil tape (DH8007) to seal top of all panels
along end rafter radius. See dashed line in diagram on
previous page. This panel edge is ultimately covered
with flashing when it is installed.
X
Mark UV-Protected Side
Install Vent Tape
Secure end panels to all vertical end frame tubes
using FA4484B screws and 102921B washers.
Do not attach panels to end rafter.
B
A
ATTENTION:
Use remainder of this 4' x 8' panel to
cover same area of other end wall. Mark UV-protected
side and install that side facing outward.


