


Mini-X Installation, Setup & User Manual GRT Avionics
Revision A9 92
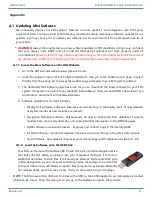
1. Insert the USB drive into the computer’s USB
port. A window may pop up that says “Auto
Play.” This window will also list the USB
drive’s name as “Removable Disk” with a
letter designation. Remember this name
because it will make it easier to find the USB
drive on your computer. Open the USB drive
to view the files. You may select and delete
the factory SanDisk files if you wish. Delete
all files from the drive with *.dat and *.db
extensions.
2. Go to the Software web page for the Mini
system. Find the
Display Unit
software
download link.
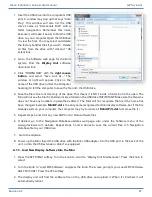
3. Click “DOWNLOAD” with the
right mouse
button
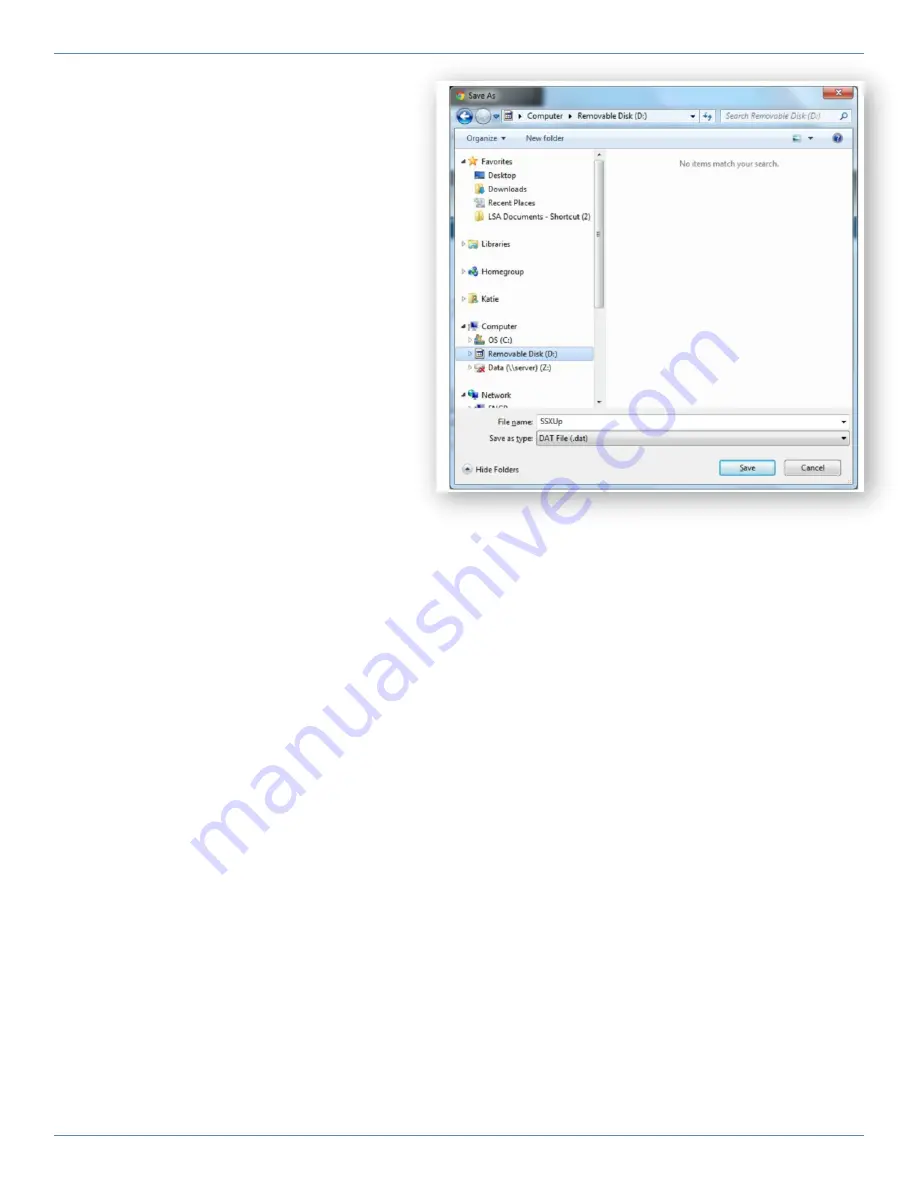
and select “Save Link As…” The
window at right will appear. Click on the
name of the USB drive (under the Computer
heading) to tell the computer to save the file onto the USB drive.
4. Save the file in the root directory of the drive. This means it is NOT inside a folder, but in the open. The
Mini will not see the file if it’s hidden inside a folder on the USB drive. IMPORTANT: Make sure the filename
does not have any numbers in parenthesis after it. The Mini will not recognize the file if the name has
been changed. Example:
MiniUP.dat
is the only name recognized for Mini display software, but if the file
already exists on your computer, the computer may try to rename it
MiniUP(1).dat
. Just erase the (1).
5. Repeat steps 3 and 4 for any new AHRS or Air Data software files.
6. If desired, go to the Navigation Database updates web page, also under the Software menu of the
www.grtavionics.com website. Repeat steps 3 and 4 above to save the current Free U.S. Navigation
Database file to your USB drive.
7. Go to the airplane.
8. Power up the Mini. Insert the USB drive with the Mini-USB adapter into the USB port in the back of the
unit, or into the USB extension cable if so equipped.
A.1.3. Load New Display Software Into the Mini
1. Press the SET MENU softkey. Turn the knob to scroll to “Display Unit Maintenance.” Press the knob to
select.
2. Turn the knob to “Load EFIS Software” and press the knob. The screen prompts you: Load EFIS Software–
ARE YOU SURE? Press the YES softkey.
3. The display unit will find the software file on the USB drive and upload it. When it’s finished, it will
automatically reboot.