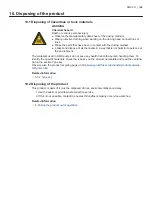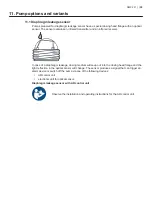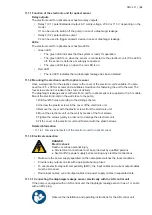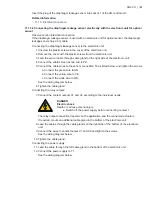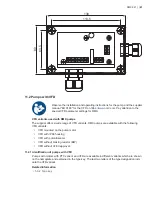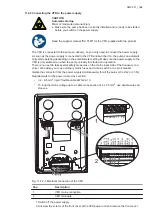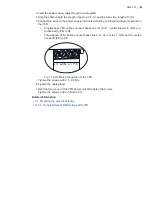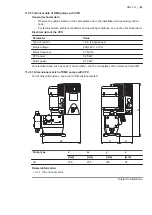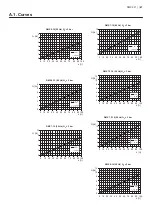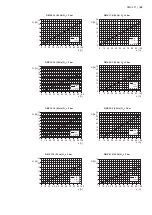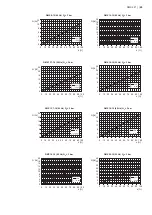
Insert the plug of the diaphragm leakage sensor into socket 1 of the AR control unit.
Related information
• 11.1.3 Electrical connection
11.1.3.2 Connecting the diaphragm leakage sensor electrically with the electronic unit for optical
sensor
Observe section Electrical connection.
If the diaphragm leakage sensor is used with an electronic unit for optical sensor, the diaphragm
leakage sensor has a 3 m cable.
Connecting the diaphragm leakage sensor to the electronic unit:
1. Unscrew the plastic screws in the cover of the electronic unit.
2. Remove the cover with the plastic screws from the electronic unit.
3. Lead the sensor cable through cable gland on the right side of the electronic unit.
4. Connect the cable screen at one end to PE.
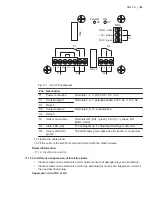
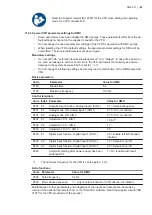
5. Connect the cable wires to the sensor connection T2 as listed below, and tighten the screws.
a. Connect the green wire to GN.
b. Connect the yellow wire to YE.
c. Connect the white wire to WH.
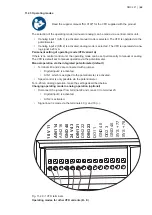
See the wiring diagram below.
6. Tighten the cable gland.
Connecting the relay outputs:
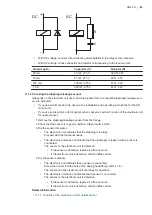
7. Connect the contact outputs C1 and C2 according to the individual needs.
DANGER
Electric shock
Death or serious personal injury
● Switch off the power supply before connecting contact 1.
The relay output connection depends on the application and the connected actuators.
If required, mount an additional cable gland in the bottom of the electronic unit.
8. Lead the cables through the cable glands on the right side of the bottom of the electronic
unit.
9. Connect the wires to contact output C1 and C2 and tighten the screws.
See the wiring diagram below.
10. Tighten the cable gland.
Connecting the power supply:
11. Lead the cable through the left cable gland in the bottom of the electronic unit.
12. Connect the power supply to T1.
See the wiring diagram below.
DMX 221 | |
57


