1. Make sure the valve gasket is placed correctly.
2. Mount the pipe line according to the material:
•
PVC: Glue the pipe into the connection.
•
PP, PVDF: Weld the pipe into the connection.
•
Stainless steel: Apply a sealing to the pipe thread, e.g. PTFE tape. Screw the pipe into
the connection.
3. Screw the union nut onto the valve and tighten it.
Related information
• 2.1.1 Installation requirements
2.3 Electrical connection
2.3.1 Safety instructions and requirements for electrical connection
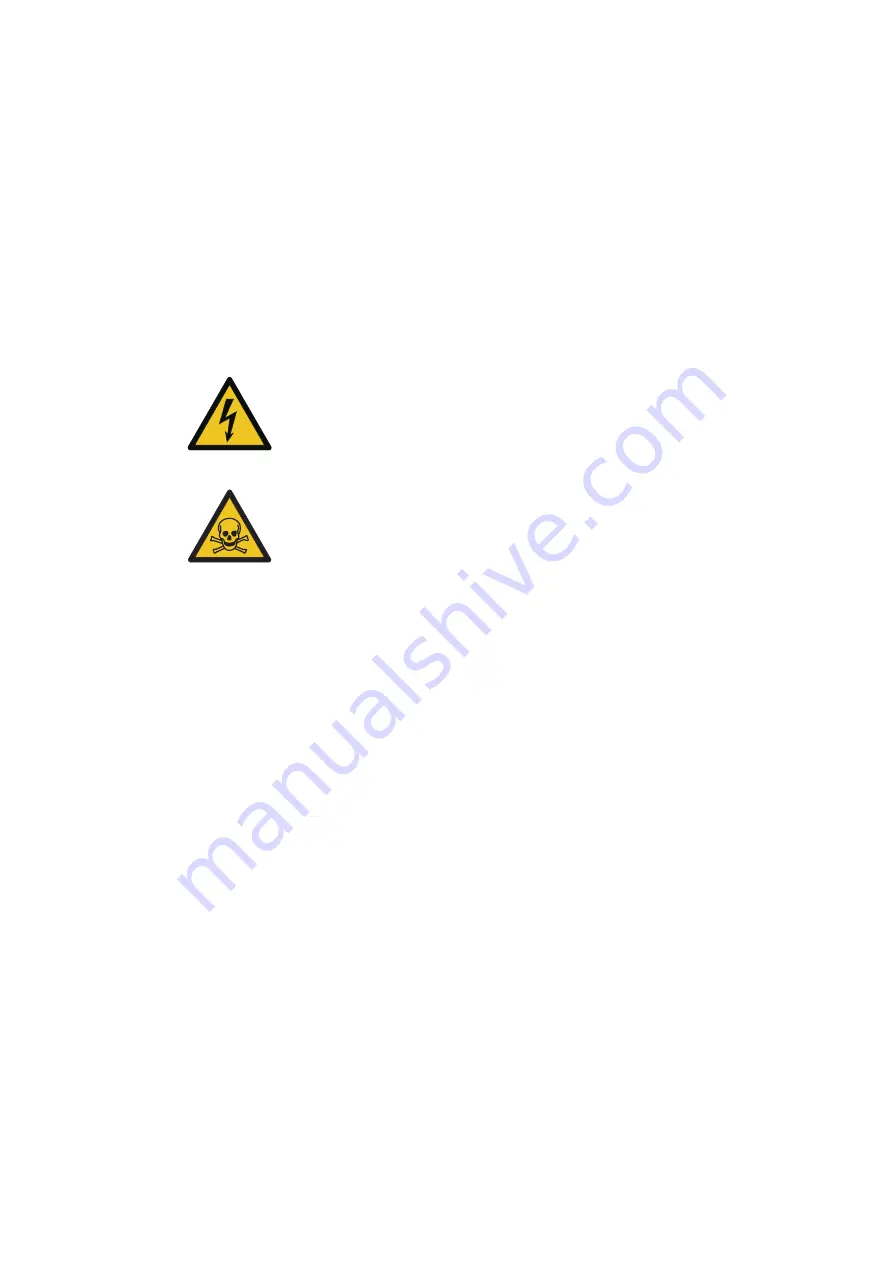
DANGER
Electric shock
Death or serious personal injury
● All electrical connections must be carried out by qualified persons.
● Do not open the pump housing.
● Switch off the power supply before making any electrical connections.
WARNING
Chemical hazard
Death or serious personal injury
● Make sure the pump has been correctly installed and is ready to be started
before you switch on the power supply.
•
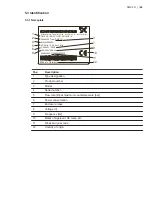
Make sure the power supply specified on the nameplate matches the local conditions.
•
Protect the cable connections and plugs against corrosion and humidity.
•
Isolate the power supply electrically from the signal inputs and outputs.
•
Observe the direction of rotation of the motor.
•
Provide the motor with a protective circuit breaker and set it to the rated motor current.
•
Three-phase motors are factory-set for star connection.
•
When the pump is used with a frequency converter, make the connection according to the
voltage of the frequency converter.
•
Observe the relevant sections or instructions when connecting electronic components.
2.3.2 Making electrical connection with mains plug
1. Switch off the power supply to the power socket.
2. Insert the mains plug of the pump into the power socket.
Related information
• 2.3.1 Safety instructions and requirements for electrical connection
2.3.3 Making electrical connection without mains plug
•
Observe section Safety instructions and requirements for electrical connection.
1. Switch off the power supply.
2. Open the terminal box on the motor.
3. Connect the motor according to the wiring diagram printed on the inside of the terminal box
cover.
4. Close the terminal box on the motor.
Related information
• 2.3.1 Safety instructions and requirements for electrical connection
DMX 221 | |
14


