3.
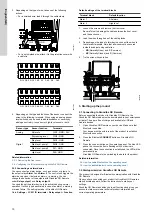
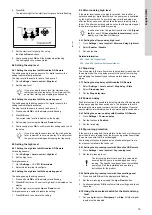
Depending on the type of wire, take one of the following
actions:
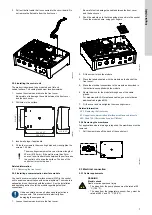
• For a shielded wire, lead it through the cable clamp.
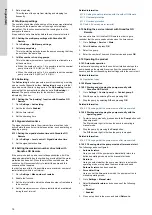
CIO1
GND
TM070571
• For a not shielded wire, attach it to the protection cover with
a cable tie.
DIO1 GND DIO2 GND DI1
GND DI2
GND
CIO1 GND CIO2 GND 24V
GND 24V
GND
TM070760
4.
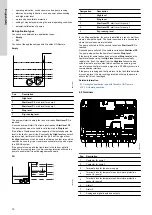
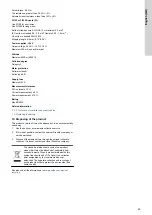
Depending on the type and function of the sensor, connect the
wires to the following terminals. When using an analog sensor,
level switches can be used to add redundance or security by
adding an extra dry-run sensor or high-level sensor or both.
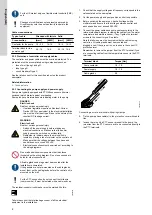
Sensor type
Sensor function
Terminals
Analog
All levels
CIO1 - GND - 24 V
Digital
Dry-running level
CIO2 - GND
Stop level
DIO1 - GND
Start level, pump 1
DIO2 - GND
Start level, pump 2
DI1 - GND
High level
DI2 - GND
Related information
2.2.2 Removing the front cover
3.6 Configuring the IO terminals using Grundfos GO Remote
2.3.5 Connecting an alarm device
You can connect an alarm device, such as a buzzer or a lamp, to
the output relays
Alarm 1
and
Alarm 2
. The control unit triggers the
alarm device when it detects an alarm or a warning. You can
change the behaviour of the outputs with Grundfos GO Remote
under
Relay output 1
and
Relay output 2
.
You can also set the alarm device to be activated during normal
operation. It will only be deactivated in case of an alarm, a warning,
or mains failure. The setting is made in Grundfos GO Remote.
Go to
Settings
>
LC 231 IO terminals
>
Relay output
>
Function
.
Default settings of the terminal blocks
Terminal block
Default function
Alarm 1
All alarms
Alarm 2
High level
1.
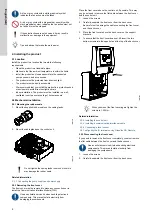
Loosen the screws and remove the front cover.
Be careful not to damage the cable between the front cover
and the back cover.
2.
Lead the wires through one of the cable glands.
3.
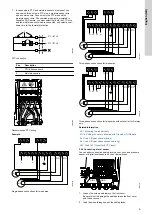
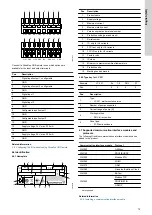
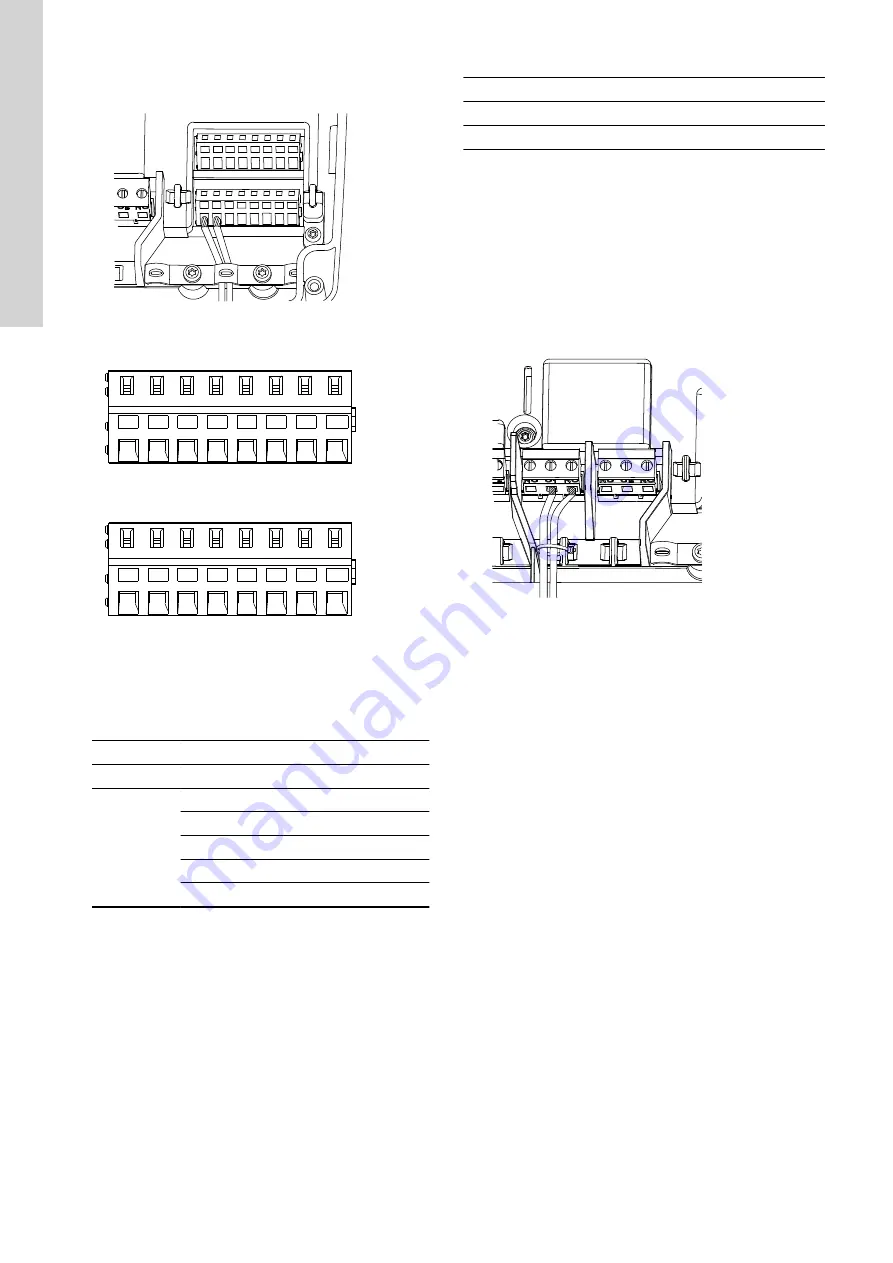
Depending on the type of alarm device, connect the wires to
the relevant terminals. Note that all wires must be secured
inside the cabinet using cable ties.
•
NO
(Normally Open) and
C
(Common)
•
NC
(Normally Closed) and
C
(Common).
4.
Tie the wires with cable ties.
NC
NC N NO
TM070569
3. Starting up the product
3.1 Connecting to Grundfos GO Remote
Before connecting the product to Grundfos GO Remote, the
Grundfos GO Remote app must be downloaded to your smartphone
or tablet. The app is free of charge and available for iOS and
Android devices.
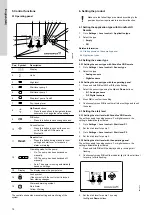
1.
Open Grundfos GO Remote on your device. Make sure that
Bluetooth is enabled.
Your device must be within reach of the product to establish
Bluetooth connection.
2.
Press the Bluetooth
CONNECT
button on Grundfos GO
Remote.
3.
Press the connect button on the operating panel. The blue LED
above the connect button is flashing until your device is
connected. Once the connection is established, the LED will be
permanently on.
Grundfos GO Remote is now loading the data for the product.
Related information
3.4 How to enable Bluetooth on the operating panel
3.5 How to disable Bluetooth on the operating panel
3.2 Startup wizard on Grundfos GO Remote
The product is designed for Bluetooth communication with Grundfos
GO Remote.
Once you have connected your product to Grundfos GO Remote, a
startup wizard appears. Follow the instructions to make your
settings.
Grundfos GO Remote enables you to set functions and gives you
access to status overviews, technical product information and
current operating parameters.
10
English (GB)
Summary of Contents for LC 231
Page 2: ......

