k
3 - 2
GRUNDIG Service
Adjustment Procedures
GV 29…, GV 9000…, GV 9300…
GB
Adjustment Procedures
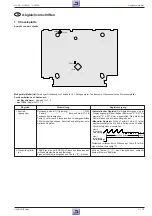
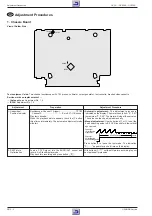
1. Chassis Board
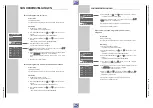
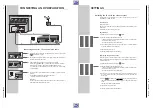
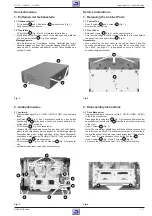
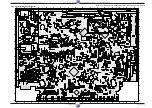
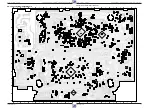
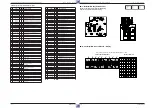
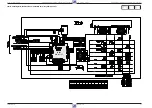
View of Solder Side
TP182
TP183
IC301
C3016
Test equipment / aids: Two-channel oscilloscope with 10:1 probes, voltmeter, colour generator, test cassette, branded video cassette
Service works on replacement of …
… the tape drum: Adjustment No. 1, 2
… IC304: Adjustment No. 1, 2
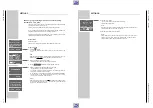
Adjustment
Preparation
Adjustment Procedure
1. Headwheel
Position Indicator
2. Still Picture
Optimisation
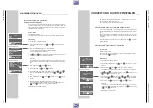
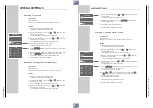
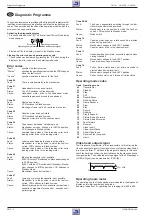
• Automatic adjustment: The adjustment process is
indicated on the display. The meter counts from "P: 0:01"
to maximum "P: 2:55". The meter will stop at the set value.
The value can then be adjusted manually.
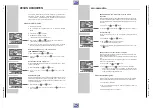
• Manual adjustment: Use the buttons
Ü
or
*
to set the
head switching pulse to 6.5
±
0.5 lines before the vertical
sync pulses.
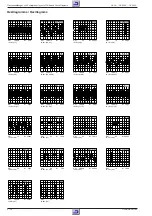
6.5
±
0.5H (lines)
V-sync
Channel 1:
2V/div 50
µ
s/div
Head switching pulse
Channel 2:
1V/div 50
µ
s/div
Video output
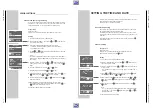
Press button
u
to leave the test mode. The indication
"P:– : –" appears for a short time on the display.
With buttons
C
/
D
set the still picture according to your
best personal impression.
Oscilloscope: Channel 1 (trigger): .......................... TP183
Channel 2: ................................. Euro-AV1-(19) socket
Play test cassette.
When the playback picture appears touch the
K
button
three times immediately. The automatic adjustment mode
will start.
Feed a CCVS signal into the EURO-AV1 socket and
record it in Standardplay mode.
Play back this recording and press button
Ó
.

