deutsch • German • allemand
GV 29…, GV 9000…, GV 9300…
Drive Mechanism
GRUNDIG Service
5 - 29
k
9. Adjustments
9.1 Adjusting the Brake Band
– Activate the Service Test Mode (refer to point 6) and position the drive
mechanism so that it is in PLAY/STOP mode (display shows
05
).
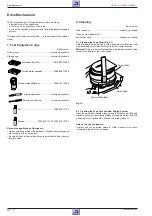
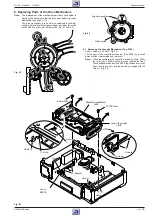
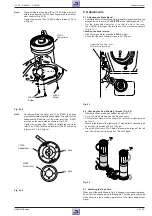
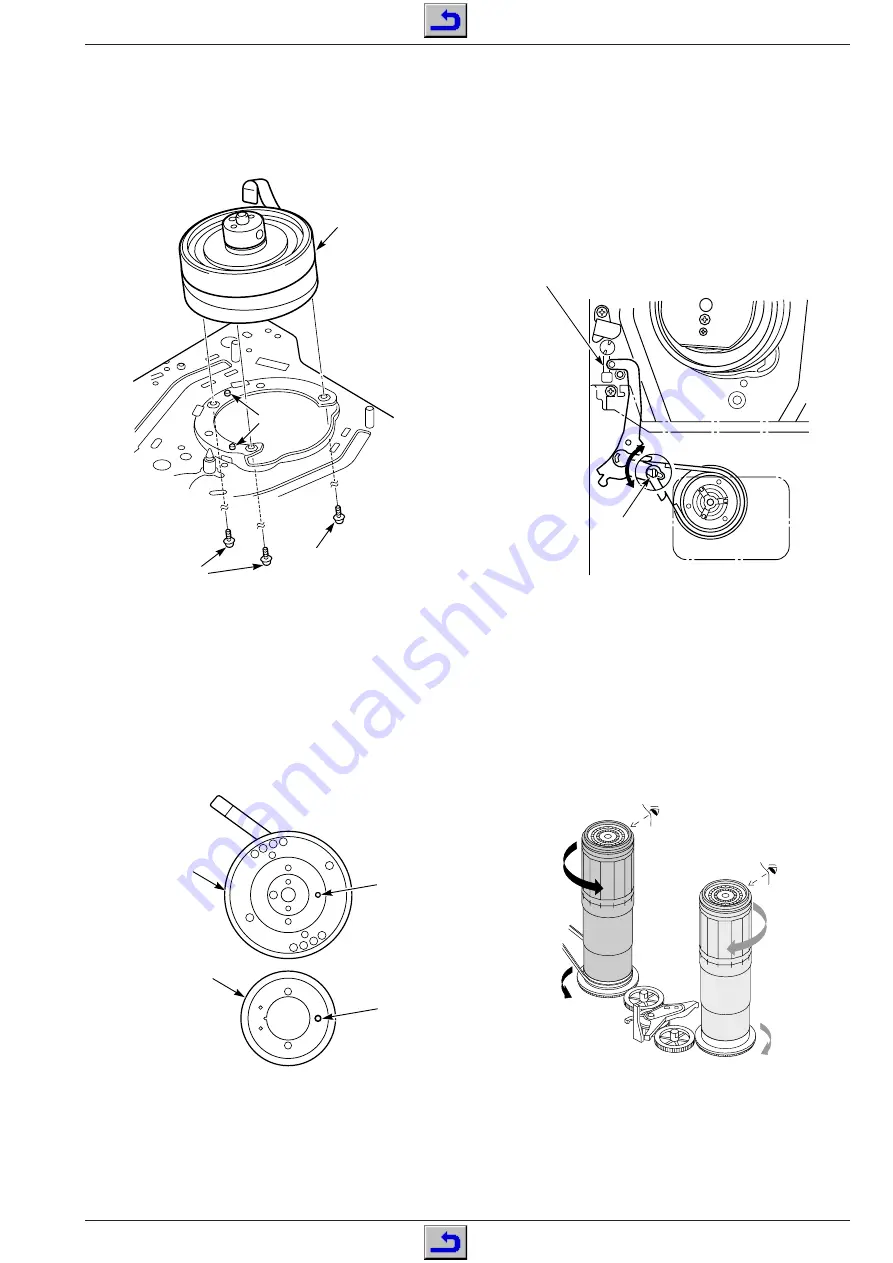
– Set the brake band adjuster
A
so that the tip of the lever
(Pos. 40100) is between the two lines on the mechanism chassis
(Fig. 9.1).
Checking the back tension:
– Play the torque meter cassette in PLAY mode.
– Check that the back tension torque is 30…50g/cm.
A
Adjust the tip of the lever
between the two lines
Fig. 9.1
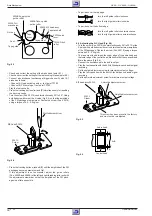
9.2 Checking the Reel Winding Torques (Fig. 9.2)
– Dismantle the cassette mechanism (see point 8.1).
– Cover the start-of-tape and end-of-tape sensors.
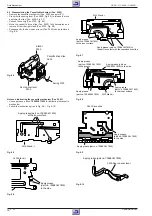
– Put the torque meter with the adapter on to the left or right reel and
set it to 0.
– Measure the torque of the right reel in
Å
mode after 10 seconds, and
check that it is between 60 and 110g/cm.
– Press the
Ï
button in PLAY mode. Measure the torque of the left
reel. The value must lie between 115 and 180g/cm.
Fig. 9.2
9.3 Adjusting the Tape Path
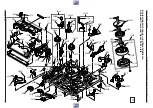
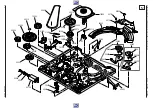
When one of the parts shown in Fig. 9.3 has been removed or replaced,
do not fail to check and adjust the tape path. The tape path is adjusted
while observing the envelope waveform of the video head output
signal.
Note:
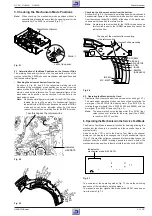
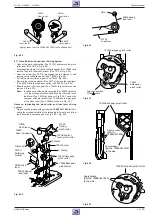
When refitting the tape drum (Pos. 11000) align it to match
with the two dowels
Y
of the mounting base on the mecha-
nism chassis (Fig. 8.38).
Tighten the screws (Pos. 10400) using a torque of 3.9 to
4.2 kg/cm.
11000
Tape drum
Dowels
10400
Screw
10400
Screw
Y
Fig. 8.38
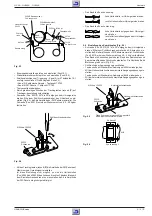
Note:
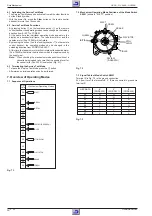
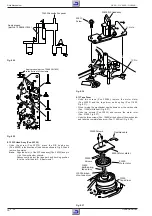
On reassembling the motor rotor (Pos. 21000) the phase
must be adjusted to that of the headwheel. The hole
W
of the
headwheel and the hole
X
of the motor rotor (Pos. 21000)
must be on the same side as shown in Fig. 8.39.
Tighten the screws (Pos. 30000) for attaching the motor
rotor (Pos. 21000) and the motor stator (Pos. 22000) using
a torque of 2.5 to 3.5 kg/cm.
11200
Headwheel
21000
Motor rotor
Hole
Hole
W
X
Fig. 8.39

