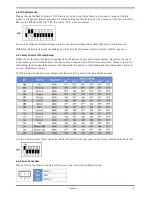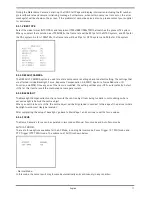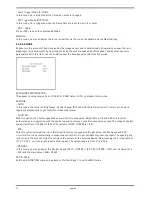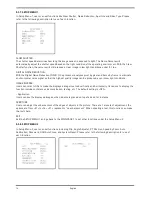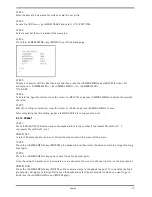
STEP 1:
Move the dome to a view area for which you want to set a title.
STEP 2:
Access the OSD menu, go to MAIN PAGE 2 and select <TITLE SETTING>.
STEP 3:
Select a number that will represent the view area.
STEP 4:
Press the <CAMERA MENU> key (ENTER) to go to the editing page.
STEP 5:
Choose a character with the direction keys and then press the <CAMERA MENU> key (ENTER) for input. For
example: <A> <CAMERA MENU>, <B> <CAMERA MENU>, <C> <CAMERA MENU>
TITLE: ABC
STEP 6:
To delete the input characters, move the cursor to <DELETE> and press <CAMERA MENU> to delete the selected
character.
STEP 7:
When the setting is completed, move the cursor to <SAVE> and press <CAMERA MENU> to save.
After completing the title setting, go back to MAIN PAGE 2 to set up preset points.
5.3.12. PRESET
STEP 1:
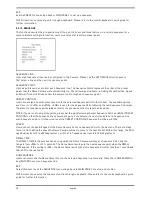
Press the RIGHT/LEFT direction key on the keyboard to select a number (1 represents Preset Point 1, 2
represents Preset Point 2, etc.)
PRESET SET:
In total, 256 preset points can be set. Follow the steps below in the preset setting menu.
STEP 2:
Press the <CAMERA MENU> key (ENTER) on the keyboard, and then rotate the dome camera to a target shooting
area/point.
STEP 3:
Press the <CAMERA MENU> key again to save the defined preset point.
Once the setup of a preset point is completed, users can move the cursor to the next item to run the preset point.
PRESET RUN:
Press the <CAMERA MENU> key (ENTER), and the camera will go to the appointed point. To run another defined
preset point, simply press the right/left key on the keyboard, select the preset point to which you want to go to,
and press the <CAMERA MENU> key (ENTER) again.
19
English
Summary of Contents for GCH-K0274P
Page 2: ......
Page 11: ...9 English ...
Page 33: ...31 English ...
Page 34: ...32 English ...
Page 35: ...33 English ...
Page 36: ...34 English ...
Page 37: ...35 English ...
Page 38: ...36 English ...

