31
Easier Application
& Access
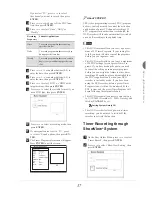
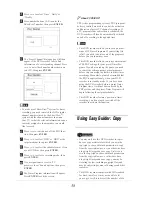
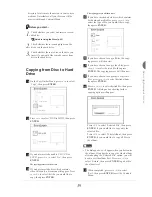
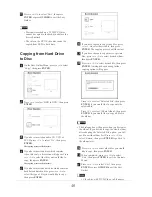
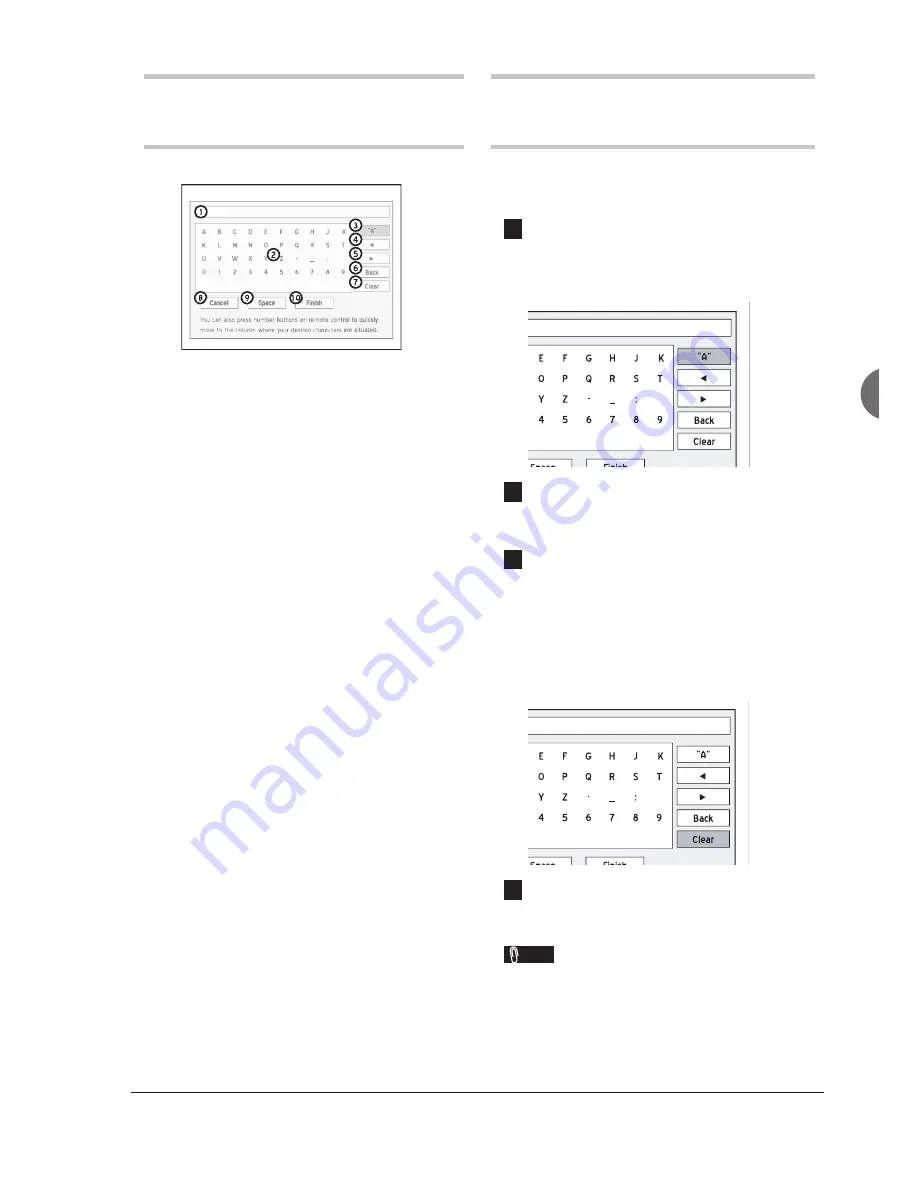
Introducing On-Screen
Input Keypad
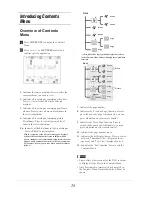
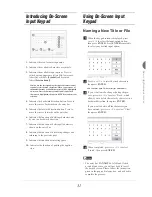
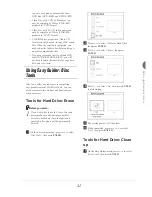
1.
Indicates the area for entering names.
2.
Indicates the available characters or symbols.
3.
Indicates the available input options. Press to
switch among uppercase letters
[A]
, lowercase
letters
[a]
, symbols
[Symbol]
and accented
letters
[International]
.
You can use the corresponding shortcuts on remote control
to quickly select desired characters. When you press one of
the number buttons, available characters will be highlighted
on-screen. Press the button repeatedly until you desired
character is highlighted, then press ENTER to con
fi
rm your
selection.
4.
Indicates the backward direction button. Press to
move the cursor backwards on the entry bar.
5.
Indicates the forward direction button. Press to
move the cursor forwards on the entry bar.
6.
Indicates the function of deleting characters one
by one in a backward direction.
7.
Indicates the function of deleting all characters
shown on the entry bar.
8.
Indicates the function of discarding changes and
returning to the previous page.
9.
Indicates the function of inserting space.
10.
Indicates the function of quitting the applica-
tion.
Using On-Screen Input
Keypad
Naming a New Title or File
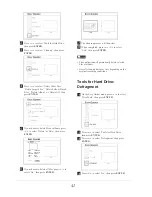
1
When the keypad screen is displayed, press
5634
to select the input option button,
then press
ENTER
. Press
ENTER
repeatedly
to select your desired input option.
EasyAccess_OnScreenInput_02_01
2
Press
5634
to select desired characters,
then press
ENTER
.
You can enter up to 30 characters for a title name.
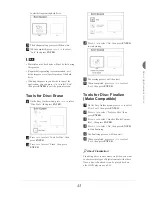
3
If you want to make changes during the pro-
cess, press
5634
to select ‘Back’, which
allows you to delete character by character in a
backward direction, then press
ENTER
.
If you want to delete all the characters you
have entered, press
5634
to select ‘Clear’,
then press
ENTER
.
EasyAccess_OnScreenInput_02_02
4
When completed, press
5634
to select
‘Finish’, then press
ENTER
.
Note
• The entry bar
CANNOT
be left blank. If such
a condition occurs, you will not be able to exit
the keypad screen. Please follow the instruction
given in the pop-up dialogue box, and go back to
complete the process.
Summary of Contents for GDR 5530 HDD
Page 1: ...DVD RECORDER GDR 5530 HDD ENGLISH...
Page 100: ...97 Quick Reference...

