16 /44 EN
Refrigerator / User Guide
16
Installation
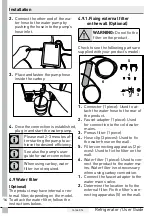
2.
Connect the other end of the wa-
ter hose to the water pump by
pushing the hose into the pump’s
hose inlet.
4.9.1.Fixing external filter
on the wall (Optional)
A
WARNING:
Do not fix the
filter on the product.
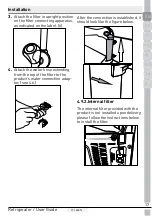
Check to see the following parts are
supplied with your product’s model:
3.
Place and fasten the pump hose
inside the carboy.
4.
Once the connection is established,
plug in and start the water pump.
C
Please wait 2-3 minutes af-
ter starting the pump to ac-
hieve the desired efficiency.
C
See also the pump’s user
guide for water connection.
C
When using carboy, water
filter is not required.
4.9 Water filter
(Optional)
The product may have internal or ex-
ternal filter, depending on the model.
To attach the water filter, follow the
instructions below.
1
2
3
4
5
6
1.
Connector (1 piece): Used to at-
tach the water hose to the rear of
the product.
2.
Faucet adapter (1 piece): Used
for connection to the cold water
mains.
3.
Porous filter (1 piece)
4.
Hose clip (3 pieces): Used to fix
the water hose on the wall.
5.
Filter connecting apparatus (2 pi-
eces): Used to fix the filter on the
wall.
6.
Water filter (1 piece): Used to con-
nect the product to the water ma-
ins. Water filter is not necessary
when using carboy connection.
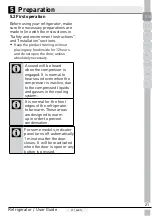
1.
Connect the faucet adaptor to the
water mains valve.
2.
Determine the location to fix the
external filter. Fix the filter’s con-
necting apparatus (5) on the wall.
Summary of Contents for GSBS23340FXPN
Page 2: ......
Page 96: ...GSBS23340FXPN SV NO 58 6292 0000 AC SV NO 2 4 Kylskåp Bruksanvisning Kjøleskap Bruksanvisning ...
Page 97: ......
Page 187: ...GSBS23340FXPN Fİ DA 58 6292 0000 AC Fİ DA 3 4 Jääkaappi Käyttöopas Køleskab Brugervejledning ...
Page 188: ......
Page 281: ......
Page 282: ......
Page 284: ......
Page 380: ...Notes ...
Page 381: ...Notes ...

