


0
Basic functions
05
1
Advanced functions
06
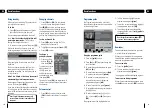
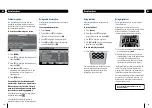
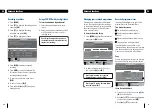
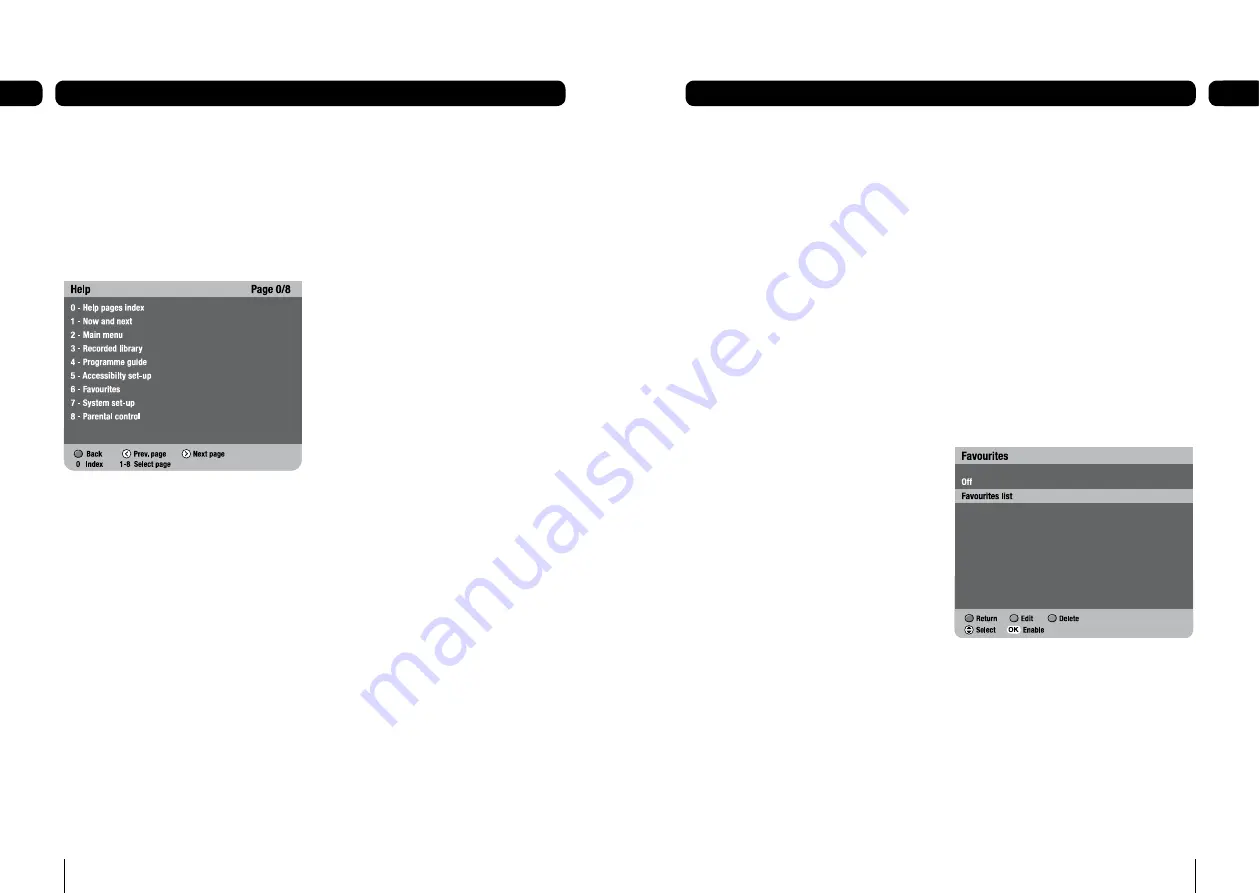
Help pages
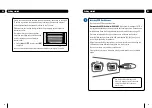
The help pages give you advice and
information on many of the features of this
digital box.
To get to the help pages press the
[help]
button.
To select a help topic press one of the
buttons
[1]
to
[8]
.
To go back to the index page press
[0]
.
To go to the screen being described on the
help pages press
[blue]
.
To go back to the help page press the
[help]
button.
To go back to the previous screen you
were on in the menu press the
[red]
button.
To exit the help pages press the
[exit]
button.
1.
2.
3.
4.
5.
6.
7.
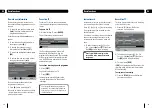
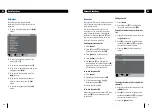
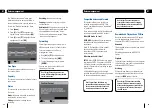
Favourites
The favourites list lets you move up and down
a list of channels, ignoring the channels you
rarely or never watch.
To watch a channel that is not on your
favourites list, you must type its number
using the number buttons, or disable the
favourites list, because
[
p
]
and
[
q
]
will
skip over any channels that are not in the
favourites list you are watching.
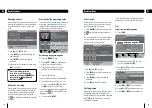
Creating your favourites list
Press
[menu]
.
Press
[4]
or use
[
q
]
to highlight the
‘Favourites’ option and press
[OK]
.
Press
[green]
to create a new list.
Press
[yellow]
to edit the list.
Use
[
p
]
and
[
q
]
to highlight the
channels you want to add and press
[OK]
to add each channel. You can have up to
20 channels in your favourites list.
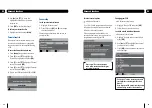
To switch Favourites On
Press
[menu]
.
Highlight Favourites and press
[OK]
.
At the next screen again highlight
favourites and press
[OK]
.
Favourites are now enabled.
To switch Favourites Off
Repeat above operation but select OFF then
press the
[OK]
button. Favourites will be
switched off.
1.
2.
3.
4.
5.
1.
2.
3.
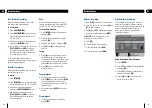
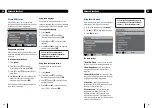
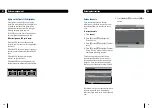
Editing your list
Press
[menu]
.
Press
[4]
or use
[
q
]
to highlight the
‘Favourites’ option and press
[OK]
.
To delete a channel from your favourites
list
Highlight the favourites list and then press
the
[yellow]
button.
Use
[
u
]
to select the stored favourite
channels and
[
p
]
and
[
q
]
to highlight
the channel you want to delete.
Press the
[blue]
button to delete the
channel.
To change the order of a list of favourite
channels
Highlight the favourites list and press the
[yellow]
button.
Use
[
u
]
to select the stored favourite
channels and
[
p
]
and
[
q
]
to highlight
the channel you want to move.
Press the
[green]
button.
1.
2.
1.
2.
3.
1.
2.
3.
Summary of Contents for GUDB20USB3
Page 23: ...44 45 Digital TV switchover ...


