


Device management
07
Device management
07
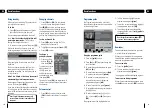
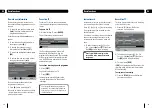
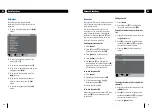
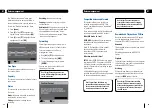
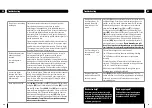
The ‘Device management’ menu gives
information about the devices inserted. It
shows their free space, capacity and status.
To view the ‘Device management’ menu
Press
[menu]
.
Press
[5]
or use
[
q
]
to highlight the
‘system set-up’ option and press
[OK]
.
Press
[4]
or use
[
q
]
to highlight ‘device
management’. Press
[OK]
.
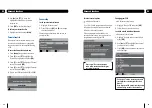
Free Space
This shows space available on a device, in
hours and minutes.
Capacity
This shows total capacity of a device in hours
and minutes.
Status
This shows the current status of a device.
These are:
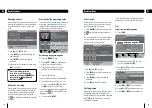
Ready:
the device is inserted correctly and
ready to play, record or copy.
Playing:
the device is playing back a
recording.
1.
2.
3.
Recording:
the device is recording.
Copying:
the device is copying to or from
another device.
Unformatted:
the digital box cannot read the
device. Format the device; this should leave
all compatible devices in ‘ready’ status.
If no device is inserted the message ‘Please
insert a device’ will appear.
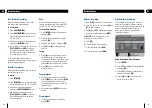
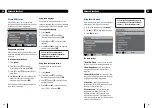
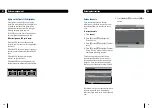
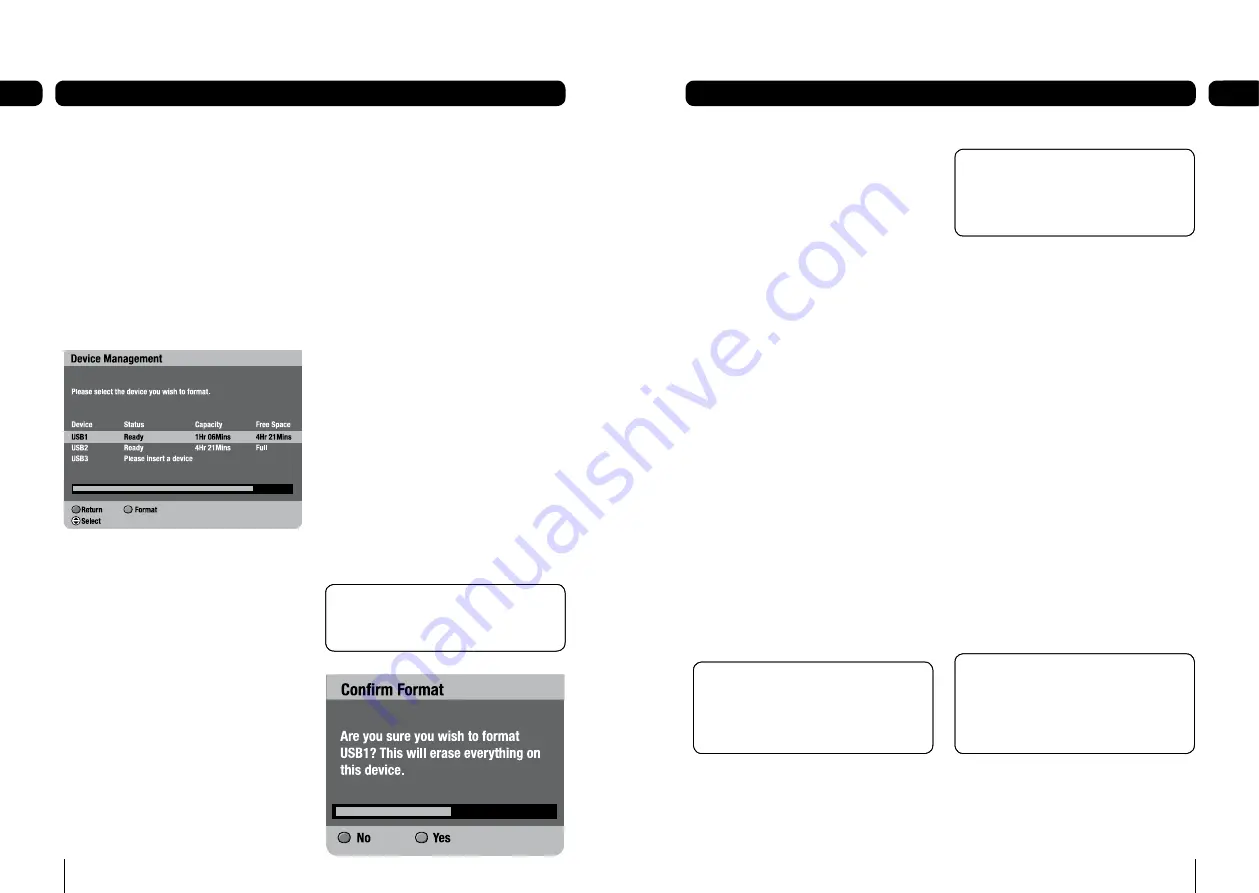
Formatting
Formatting erases all the contents from a
UBS device and leaves it in ‘ready’ status.
To format a device on the ‘Device
management’ menu.
Use
[
p
]
or
[
q
]
to select a device.
To format a device press
[BLUE]
.
To stop formatting at any time press
[GREEN].
You can turn the box into stand-by and
formatting will continue.
1.
2.
3.
Don’t Forget! Formatting will clear the
device of all recordings plus any other files
stored in the device.
Don’t Forget! Formatting will clear the
device of all recordings plus any other files
stored in the device.
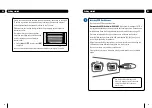
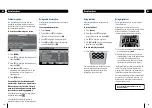
Download and Playback on a PC/Mac
Once you have recorded onto a USB device
you can download the content on your
computer (PC or MAC) to archive or watch it.
Download
The download process is the same as with all
files on USB.
Recordings will be stored in MPEG2-TS
format.
Playback
To playback your recordings on your computer
you will need to view them on a media player
that reads MPEG2-TS format.
Archiving
When archiving files on your computer you
can change the name of the files but do not
change the
.MPG
ending to the file.
Don’t Forget! The box cannot read files
that are in folders or that are encrypted.
Make sure the programmes you would like
to view are stored in the root directory of
the USB device.
Don’t Forget! The box cannot read files
that are in folders or that are encrypted.
Make sure the programmes you would like
to view are stored in the root directory of
the USB device.
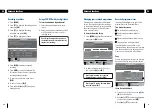
Compatible devices and formats
This product allows you to record your
favourite programmes onto USB “Flash
drives”, sometimes know as a “thumbdrive”
or “pendrive”.
There are many kinds of USB flash drives but
not all are compatible with this product.
What USB device do I use?
USB2.0 HS
(high speed) is compatible and
should be used to ensure the best user
experience.
Avoid FS (Full speed) or LS (low speed)
devices as they will not work with
this product. USB1.1 devices are not
recommended.
What format should it have?
FAT32
- Most USB2.0 HS flash drives will be
formatted as FAT32. If you insert a USB2.0
HS flash drive and it is unformatted you can
format it. Please refer to Formatting on page
28 for details.
USB Hard disk drives can also be used,
provided they are FAT32 and are self powered
(ie have an external power supply).
Don’t Forget! Some flash drives are
partitioned and have secure areas. These
devices cannot be read by the box and
must be re partitioned on a computer.
Don’t Forget! Some flash drives are
partitioned and have secure areas. These
devices cannot be read by the box and
must be re partitioned on a computer.
Don’t Forget! The use of the ports for
other types of devices (such as charging
mobile phones) is not recommended and
may cause the box to fail.
Don’t Forget! The use of the ports for
other types of devices (such as charging
mobile phones) is not recommended and
may cause the box to fail.
Summary of Contents for GUDB20USB3
Page 23: ...44 45 Digital TV switchover ...


