


8
Troubleshooting
09
9
Troubleshooting
09
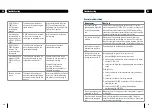
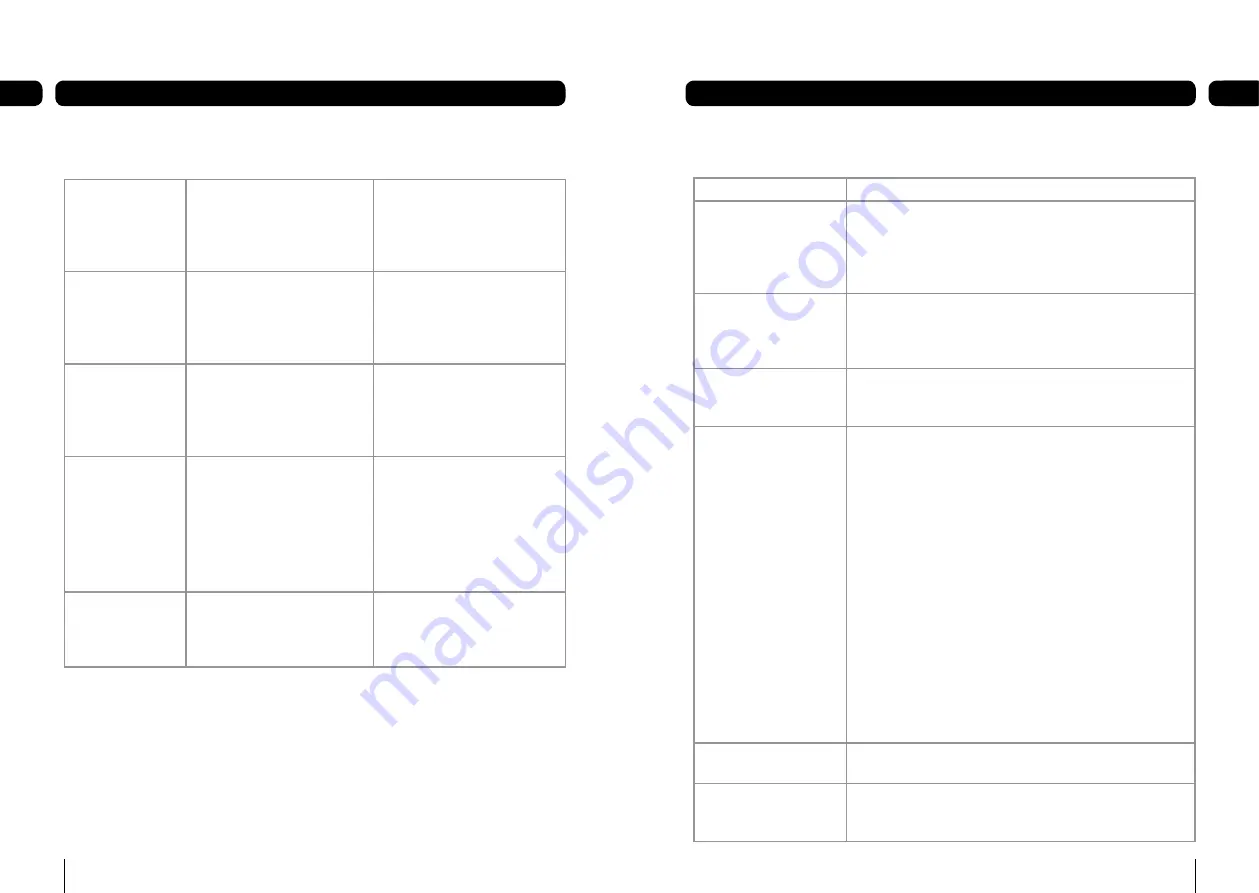
(USB1, USB2 or
USB3) is now
full. The current
recording has
stopped.
The device being recorded to
has run out of space during the
record process.
Insert another device and press
[
®
]
. You will lose some of the
programme. The recording will be
split over the 2 devices.
A recording has
not started due to
no device present
in (USB1, USB2 or
USB3).
A USB device was not inserted
in the correct slot when the
recording was scheduled to start
Insert a device and re schedule
the recording.
(USB1, USB2 or
USB3) has been
removed. The
current recording
has stopped.
The USB device was removed
when recording therefore the
recording has stopped.
Re insert the device and re
schedule the recording.
A recording has not
started as (USB1,
USB2 or USB3) is
full.
The USB device inserted in the
slot when the recording was
scheduled to start was full.
Remove the full device. Insert
a device with free space and re
schedule the recording.
Use the ‘Schedule record
summary’ to check how
much free space is needed for
scheduled recordings.
Device is too slow
to use.
The device inserted does not
meet the required specification
and will not work well with this
product.
Insert a compatible device. Please
refer to the ‘Compatible devices
and formats’ section on page 33.
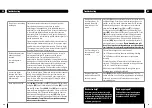
General problem solving
What happens
What to do
You cannot see the
opening picture (Press OK
to start) from the digital
box.
Select the AV channel using the button on your TV remote
control marked AV, EXT, TV/AV, O/E or a symbol, or read your TV
manual. Make sure both ends of your SCART cable are firmly
connected to the relevant sockets. Make sure you followed the
instructions for setting up your digital box correctly.
Your remote control isn’t
working.
Make sure you are pointing the remote control directly at
your digital box and that nothing is in the way. Check that the
remote-control light works when you press a button. Check the
batteries are in the right way round. Try replacing the batteries.
Subtitles do not appear
although they are set to
‘on’.
Some programmes broadcast without subtitles.
The digital box does not
seem to work and there is
nothing shown on the TV.
Is the green power light on? If the light is not on:
press the
[
�
]
button on your remote control;
make sure that all cables are firmly connected to the digital
box and TV/VCR; and
check that the digital box is properly plugged into the power
supply.
If the light is on:
check you have the correct channel and input selected on
your TV;
check that all cables are correctly attached;
make sure the VCR/DVD is switched off if it is connected to
the digital box; and
check if your VCR/DVD is causing the problem by
disconnecting the VCR/DVD.
1.
2.
3.
1.
2.
3.
4.
The picture appears to be
‘squashed’ or ‘cut off’.
Make sure your TV settings are correct. Please refer to page 30
of this guide.
I forgot to plug in the aerial
when I set up the digital
box.
Switch off your digital box at the mains supply. Plug in the
aerial. Switch the digital box mains supply back on. Please read
section about channel tuning.
Summary of Contents for GUDB20USB3
Page 23: ...44 45 Digital TV switchover ...


