
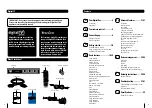


10
Basic functions
05
11
Basic functions
05
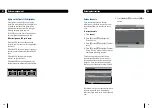
To set a reminder, highlight a future
programme and press
[green]
.
To watch a current programme, highlight
the programme and press
[OK]
.
To exit the programme guide without
changing channel, press
[exit]
,
[guide]
or
the
[red]
button.
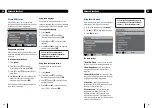
Reminder
The reminder feature makes sure you never
miss your favourite programmes.
When you set a reminder for a programme,
there will be a reminder message on screen
when the programme starts.
To set a reminder
Press the
[guide]
button.
To set a reminder, highlight a future
programme and press
[green]
.
The programme will be highlighted in green.
To watch a reminder programme
When the reminder message appears press
the
[red]
button to cancel or
[OK]
to watch it.
1.
2.
3.
1.
2.
Don’t Forget! Press and hold [
p
] or [
q
]
to move a page up and a page down.
Don’t Forget! Press and hold [
p
] or [
q
]
to move a page up and a page down.
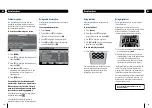
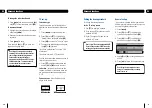
Changing channels
Press
[CH+]
or
[CH-]
on your remote
control to move through the channels.
The
[SWAP]
button lets you keep an eye
on two TV channels by switching between
the programme you are watching and the
programme you were previously watching. So
you can ‘hop’ between the two channels.
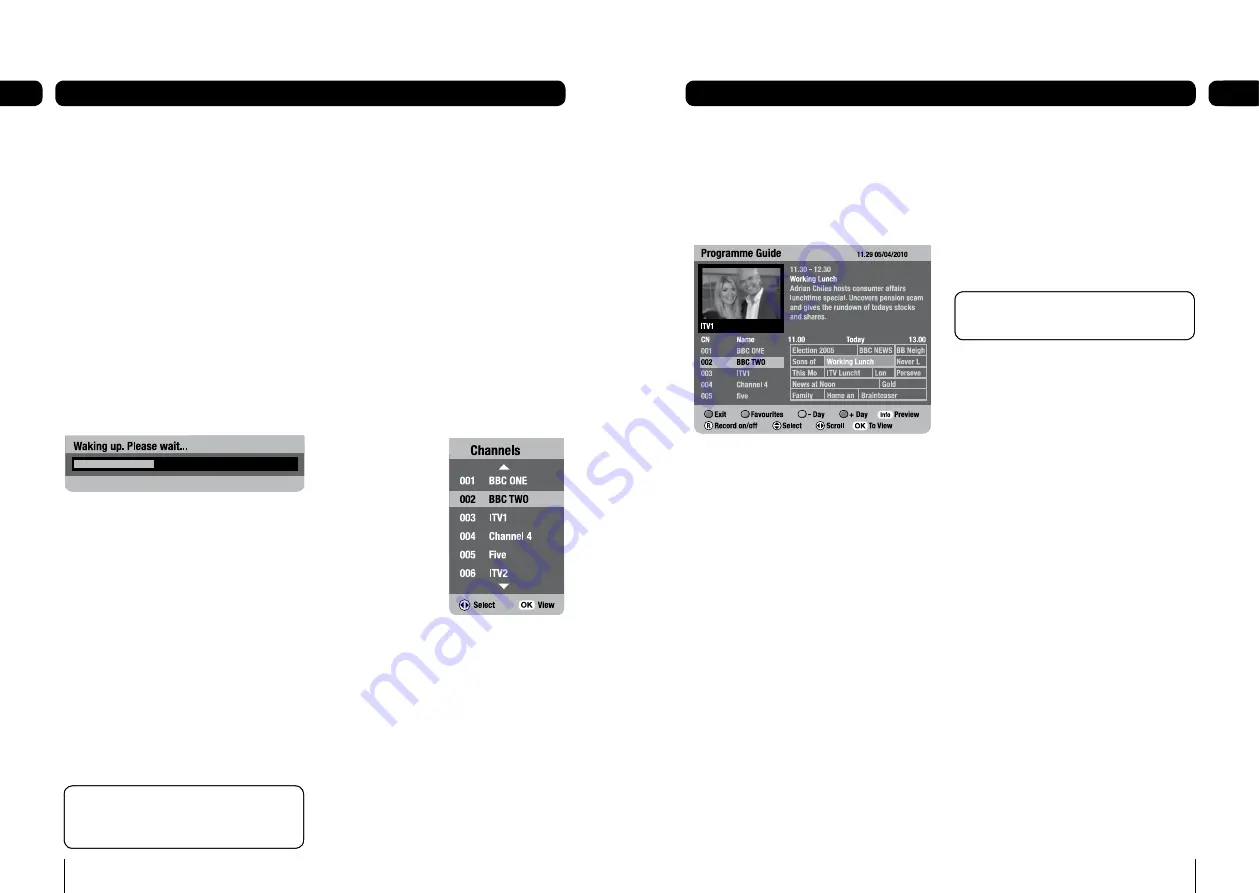
To view a channels list
Press
[OK]
when watching live TV to
display list of all channels.
To highlight a channel press
[
p
]
or
[
q
]
.
Press
[OK]
to view.
To choose a
particular channel
Press one of the
buttons
[0]
to
[9]
then press
[OK]
.
To select two or three
digit channels (10
to 999), press the
number buttons you
need after each other,
then press
[OK]
.
If you do not press
[OK]
, the digital box will
change to the selected channel after about
one second.
Volume control
Press
[Vol+]
to raise the volume and
[Vol-]
to lower the volume of your digital
box.
1.
1.
2.
3.
1.
1.
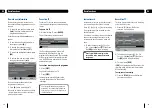
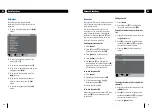
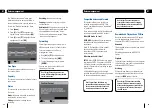
Using standby
When you’re not watching TV, you should set
your digital box to standby.
To do this
Press
[
�
]
to switch between on (green
light on) and standby (red light on).
If no recordings are scheduled in the next 2
hours
after 10 seconds the digital box will
go into low power mode.
This is to save
energy. The red light will turn off.
To come out of low power mode press
[
�
].
Whilst the box wakes up you will see the
following message. This takes a few seconds.
The green light will turn on and so will the
digital box.
The box will automatically wake from low
power mode every 2 hours and check for
scheduled recordings. The red light will be on
during this time.
After 2 hrs. 59 min. of inactivity the box will
automatically go into low power mode.
A message will appear on screen before this
occurs. To cancel press
[RED]
.
If you plan to leave your digital box unattended
for a long time, put the digital box on standby
and wait 20 seconds before switching it off at
the mains.
1.
1.
Don’t Forget! Scheduled recordings will
not take place if the box is switched off at
the mains.
Don’t Forget! Scheduled recordings will
not take place if the box is switched off at
the mains.
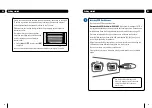
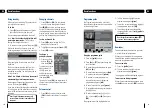
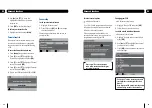
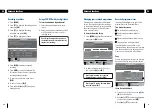
Programme guide
The Programme guide shows a full list of
channels and programmes that are available
for the next eight days.
Using the programme guide
Press the
[guide]
button.
Press
[
p
]
or
[
q
]
to move through the
list of channels.
To move through the programmes press
[
t
]
and
[
u
]
.
To move forwards one day, press
[blue]
.
To move backwards, press
[yellow]
.
To preview a current programme in
the small inset screen, highlight the
programme and press
[info]
.
To see a favourites list, press
[green]
.
To record the selected programme press
the
[
®
]
button.
To select a device press
[•]
,
[••]
or
[•••]
or use
[
t
]
and
[
u
]
then press
[OK]
.
The programme will be highlighted in red.
1.
2.
3.
4.
5.
6.
7.
8.
Summary of Contents for GUDB20USB3
Page 23: ...44 45 Digital TV switchover ...


