32
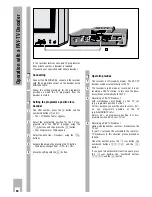
Audio Recording
The recorder as a
hifi tape recorder
r
Hifi playback
Press the
T
button to start playback.
– When playing back a longplay recording, the
recorder automatically switches to longplay
mode.
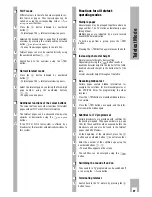
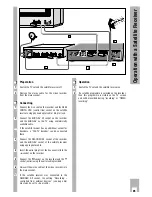
Selecting the audio track:
When playing back cassettes with stereo or two-
channel recordings, press the
¢
AUDIO
button to
select the desired audio track.
Basic setting is stereo (hifi helical track)
– Display on the recorder: »
ɳ
«.
Audio track 1 – Display on the recorder: »
1
« and
»
LEFT
«.
Audio track 2 – Display on the recorder: »
2
« and
»
RIGHT
«.
Mono/longitudinal track – Display on the recorder:
»
MONO
«;
Mixed mode (hifi/helical track and mono/longitudi-
nal track, to check dubbed cassettes)
– Display on the recorder: »
MIX
«.
Adjusting the hifi audio track:
when playing back a cassette recorded in another
video recorder, it may be necessary to adjust the
audio track.
To do this, press the
¢
TRACKING
button on the
remote control, and adjust the audio track using the
F E
buttons on the remote control.
r
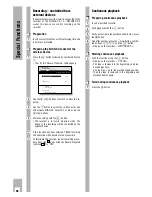
Operation with headphones
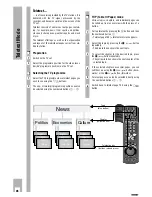
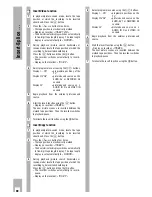
Set the volume for the headphones as follows:
Press the
¢
y
button on the recorder.
– Display on the recorder: »
VOLUME
«.
Set the desired volume using the
¢
– LEVEL +
buttons.
Select the audio track for listening with the head-
phones by pressing the button
¢
AUDIO
on the
remote control to select an audio track, then pres-
sing button
¢
y
and selecting the desired audio
track with button
¢
AUDIO
on the remote control.
2
1
3
2
1
Your recorder offers two different systems for
recording and playing back the sound.
– The hifi (helical) track,
for recording and playing back the finest quality
hifi sound for stereo and two-channel recordings.
– The mono (longitudinal) track,
for audio playback on standard VHS video recor-
ders and for dubbing.
r
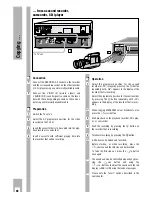
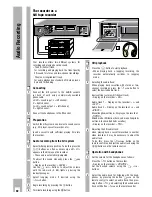
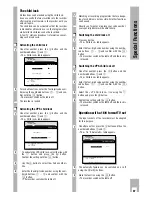
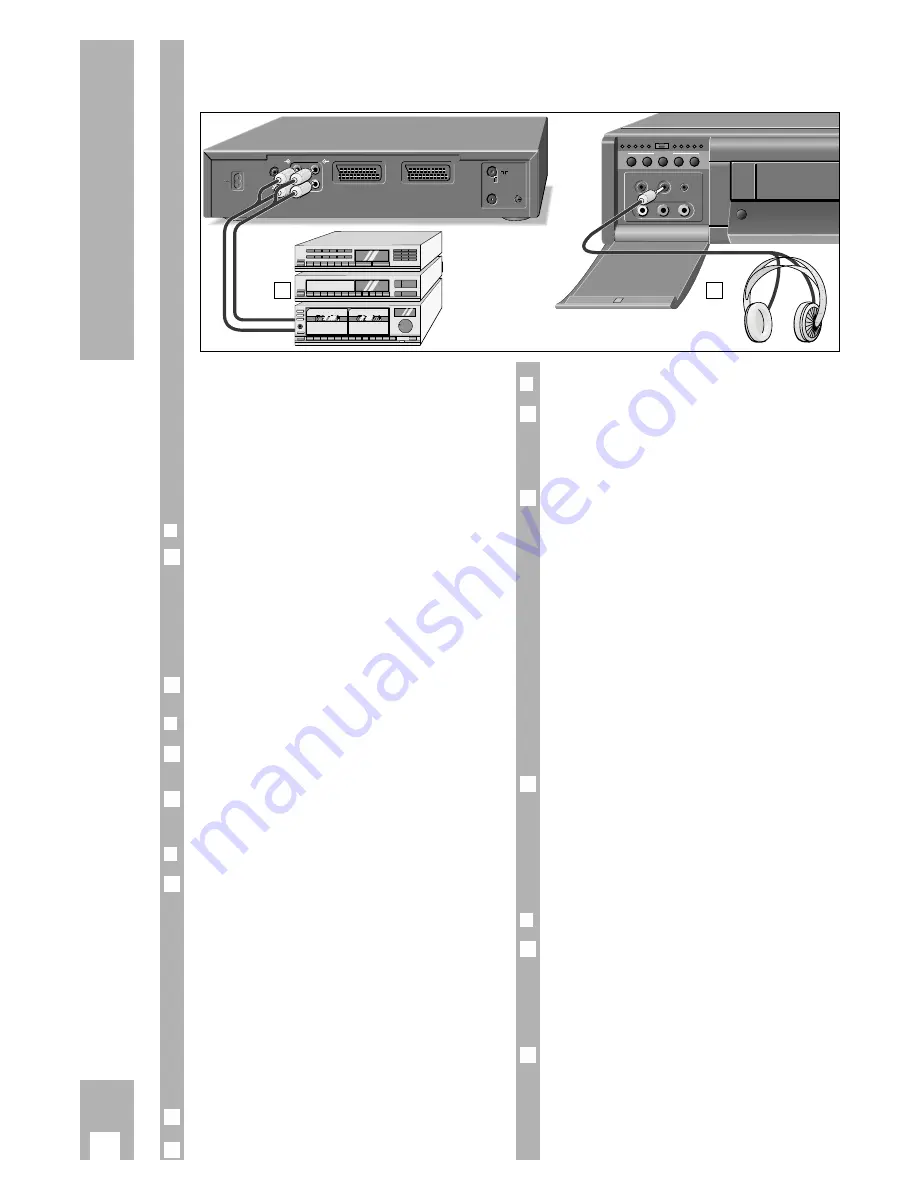
Connecting
Connect the hifi system to the AUDIO sockets
(at back of unit) using commercially available
phonocable.
ň
LR = sound input, L = left channel,
R = right channel;
Ň
LR = sound output, L = left channel,
R = right channel;
Connect the headphones to the
m
socket.
r
Preparation
Switch the hifi system on and select a sound source
(e.g., CD player, cassette recorder, etc.).
Insert a cassette with sufficient playing time into
the recorder.
r
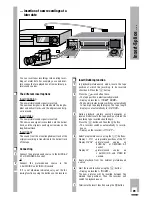
Audio recording from the hifi system
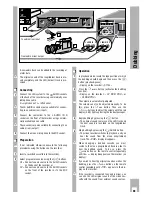
Select hifi programme position. To do this press the
d c
buttons as often as necessary until »
H I
«
appears in the display on the recorder.
– The sound is automatically adjusted.
Ń
!
To adjust the sound manually, press the
¢
MAN
button.
– Display on the recorder: »
LEVEL
«
Use the
¢
- LEVEL +
buttons to adjust the volume
until the red mark (0 dB) lights up during the
loudest passages.
Ń
!
Select longplay mode if desired using the
¢
SP/LP
button.
Begin recording by pressing the
K
button.
Terminate recording using the
H
button.
3
2
1
2
1
2
1
L
H
L
H
ń
ń
+
+
–
–
EURO-AV-1
AUDIO
R
L
R
L
DECODER A2
12 -
6
3
0
+3
3+
0
3
6
- 12
dB
dB
VIDEO IN
L AUDIO IN R
MAN
INS./DUB.
-
LEVEL
+
SYNC.
EDIT
y
m
MIC.
TIMER
ON/OFF
dB
1
2
Summary of Contents for GV 560 HiFi
Page 1: ...VIDEORECORDER GV 560 HiFi...

