GRUNDIG Service
1 - 15
RCD 2000
Allgemeiner Teil / General Section
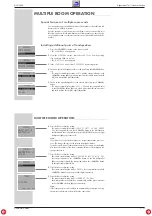
CONNECTION AND PREPARATION
_______________________________________
4
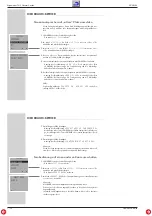
Confirm the »
HORIZONTAL
« setting by pressing the »
4
« button on the
HiFi.
– The HiFi display reads: »
INSTALL
«.
5
Insert the three batteries supplied into the remote control battery compart-
ment, making sure the polarity is correct.
–
When you insert the batteries the remote control display reads
»
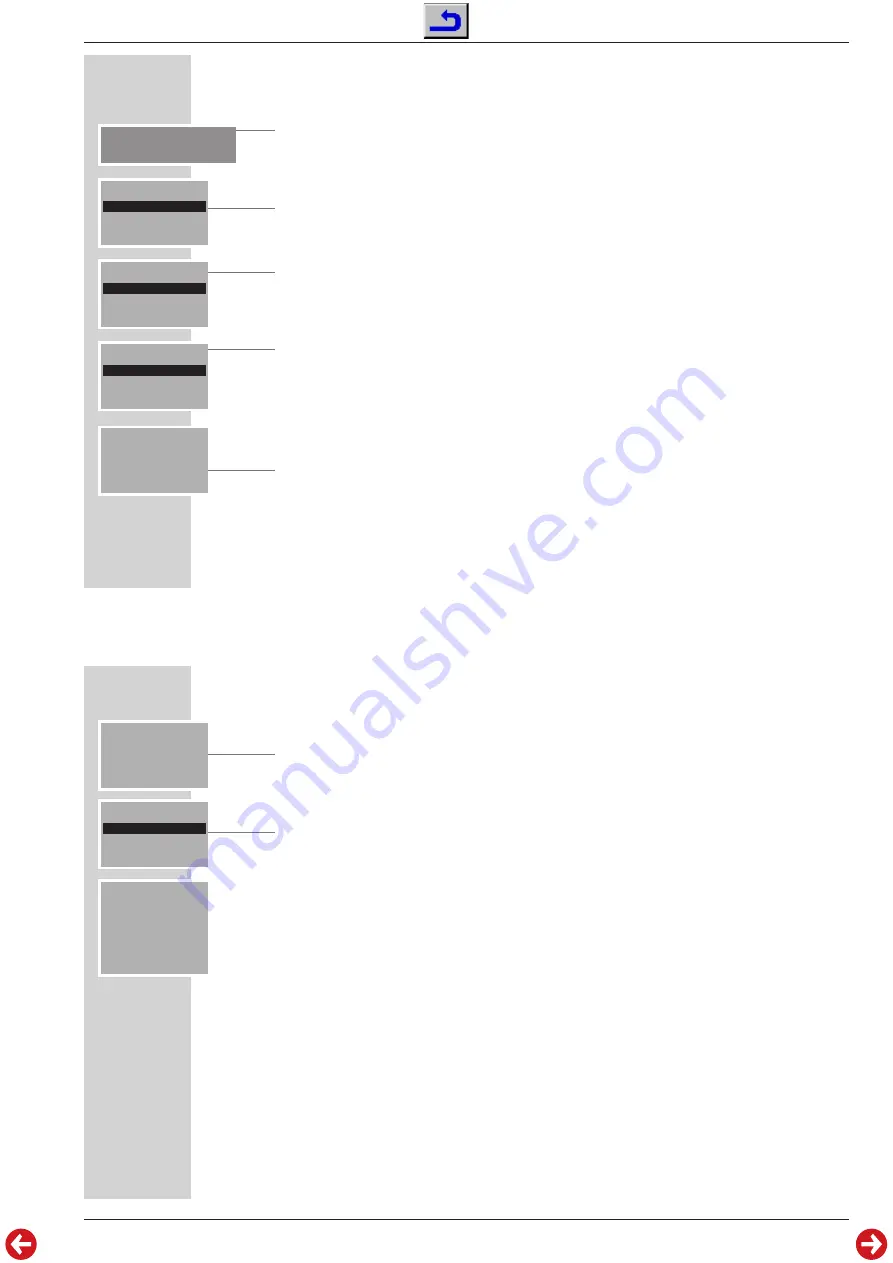
INSTALL ALL SETS ON RCD
«, indicating that the remote con-
trol has detected the HiFi system.
6
Switch on the left loudspeaker of the first pair using the »
POWER
« button.
– The orange indicator in the »
POWER
« button lights up and the remote
control display reads: »
R
C
D LS1
«. The remote control and the HiFi have
detected the left loudspeaker.
7
Switch on the right loudspeaker of the first pair using the »
POWER
« but-
ton.
– The orange indicator in the »
POWER
« button lights up and the remote
control display reads: »
R
C
D LS1 LS 2
«. The remote control and the
HiFi have detected the right loudspeaker.
Hint:
If you do not see the message »
ALL SETS ON RCD LS1 LS 2
«, you
must reset the HiFi to its original state – see the ”INFORMATION” section on
Page 56. Then repeat the set-up procedure from Step
1
.
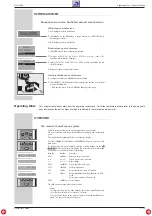
8
Press »
OK
« to confirm the setting.
– The remote control display reads: »
SELECT LEFT LS AND PRESS
OK
«, the orange indicator in the »
POWER
« button on the left loud-
speaker flashes and the orange indicator in the »
POWER
« button on the
right loudspeaker lights up continuously.
Note:
If you want to use the left loudspeaker as a right loudspeaker, press »
+
«
once. The orange indicator in the »
POWER
« button on the right loud-
speaker flashes.
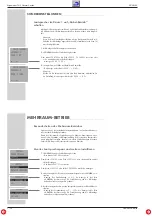
INSTALL
ALL SETS ON
RCD
INSTALL
ALL SETS ON
RCD LS1
INSTALL
SELECT LEFT LS
AND PRESS OK
INSTALL
ALL SETS ON
RCD LS1 LS 2
INSTALL
CONNECTION AND PREPARATION
_______________________________________
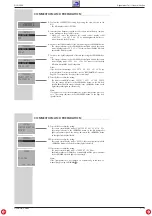
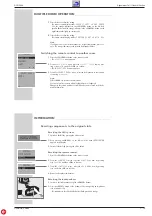
9
Press »
OK
« to confirm the setting.
– The remote control display reads: »
CONFIRM RIGHT LS WITH OK
«,
the orange indicator in the »
POWER
« button on the left loudspeaker
lights up continuously and the orange indicator in the »
POWER
« button
on the right loudspeaker flashes.
10
Press »
OK
« to confirm the setting.
– The remote control display reads: »
READY
«, the orange indicators in both
»
POWER
« buttons on the loudspeakers light continuously.
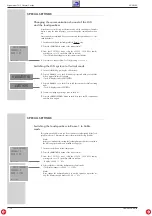
11
Press »
OK
« to confirm the setting.
– The remote control display reads: »
TUNER 87.50 MHz
«.
– Both loudspeakers are switched on automatically and the green indicators
in the »
POWER
« buttons light up continuously.
Note:
If the loudspeakers are not switched on automatically, switch them on
manually by pressing »
VOLUME
x
x
«.
INSTALL
READY
INSTALL
CONFIRM RIGHT LS
WITH OK
TUNER
87.50 MHz
MENU
INFO
MEMO


