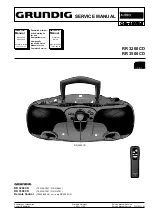
RR 3200 CD / RR 3500 CD
Einstellvorschriften / Adjustment Procedures
GRUNDIG Service
2 - 4
k
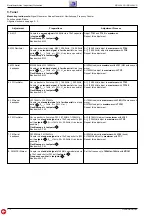
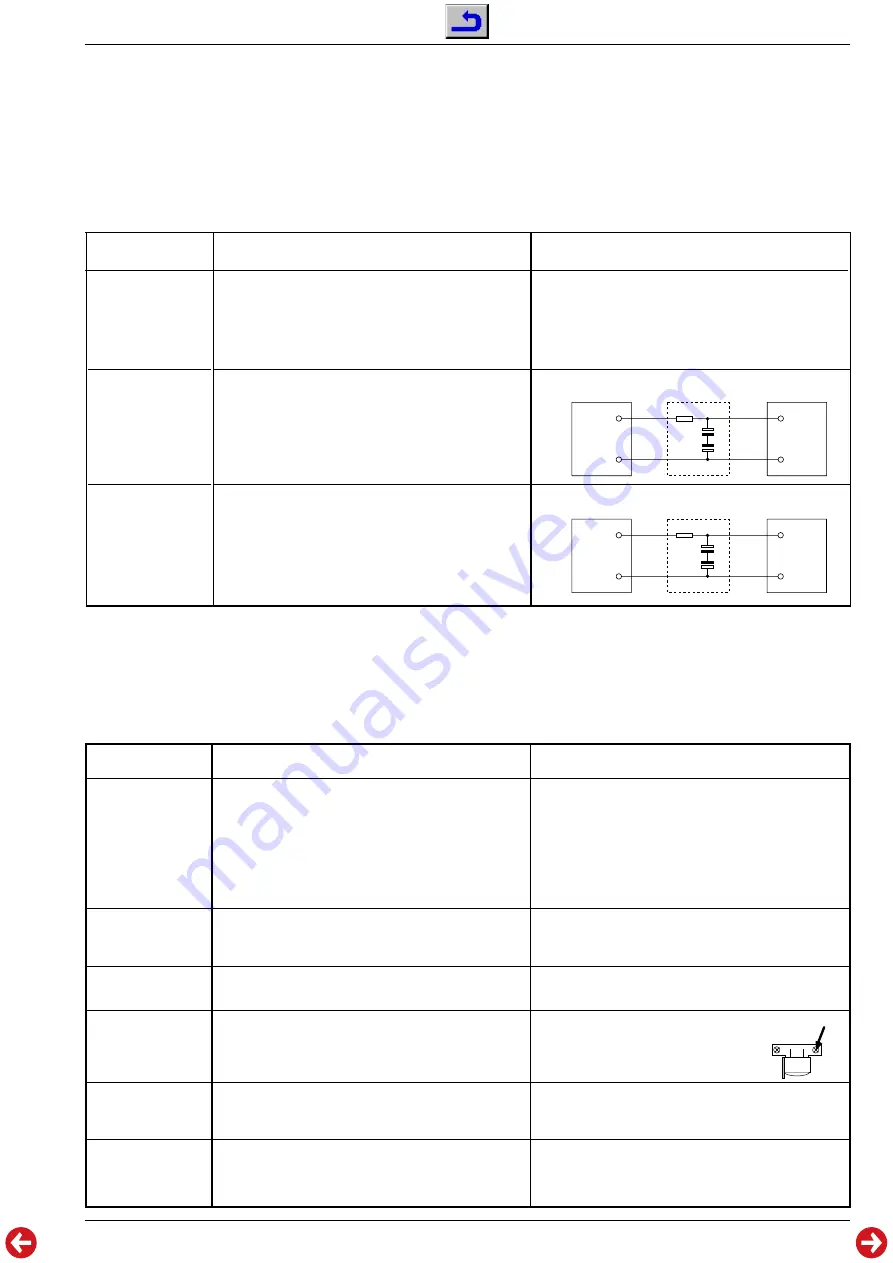
Adjustment Procedures
1. CD-Section
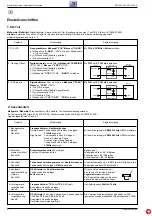
Measuring instruments / equipment: Digital Voltmeter, Frequency counter, Filter (circuit see below), Test CD 5A (part no. 72008-376.00)
Note: Do not turn the variable resistor (laser power adjustment). The laser current is pre-set at the factory.
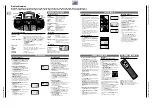
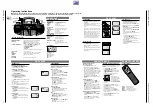
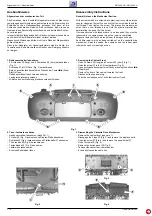
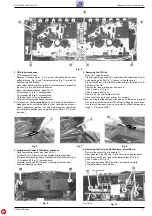
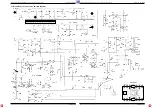
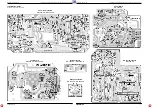
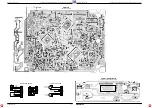
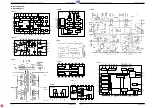
Alignment scheme see page 2 - 3.
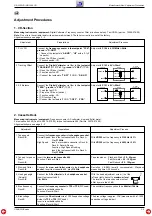
Connect the frequency counter to the testpoint "PCK",
ground to "D-GND".
a.) Connect the testpoints "A-GND" - "HF" with a 0.1
µ
F
wui
capacitor.
b.) Open the CD door (switch).
c.) Function switch: CD
Connect the Digital Voltmeter via filter to the testpoint
"TRACKING" (IC101 Pin21), ground to "VREF" (TCN1).
a.) Open the CD door (switch).
b.) Function switch: CD
c.) Connect the testpoints "T-OFF" (TCN2) - "D-GND".
Connect the Digital Voltmeter via filter to the testpoint
"TEAO", ground to "VREF" (TCN1).
a.) Load the test CD.
b.) Close the CD door (switch).
c.) Function switch: CD
d.) CD function: Play
e.) Connect the testpoints (TCN2) "T-OFF" - "VDD".
Adjust with P104 to 4.321MHz
±
5kHz.
Adjust with P103 to 0V
±
30mV.
Adjust with P101 to 0V
±
25mV.
1. PLL VCO
2. Tracking Offset
3. E-F Balance
Adjustment
Preparations
Adjustment Processs
2. Cassette Deck
Measuring instruments / equipment: Frequency counter, AF-voltmeter, wow and flutter meter,
Fe test cassette 449 (Part No. 35079-019.00), torque test cassette 456 (Part No. 35079-014.00).
Alignment scheme see page 2 - 3.
Connect the frequency counter to the headphone socket.
Normal Speed: Insert the test cassette 449 in Deck A.
Play 3150Hz.
High Speed:
Insert a recordable cassette in Deck B.
Deck B: Record-Pause.
Function: High Speed Dubbing
Insert the test cassette 449 in Deck A.
Play 3150Hz.
Insert the torque test cassette 456.
Function: Playback-Start.
Connect the wow and flutter meter to the headphone
socket. Insert test cassette 449, play 3150Hz.
Connect the AF-voltmeter to the headphone socket.
Insert test cassette 449.
Play 8kHz.
Connect the frequency counter to TP5 or TP6 (R/P head).
Insert a recordable cassette.
Function: Record-Start.
Connect the AF-voltmeter via a 1:1000 capacitive voltage
divider to TP5 or TP6 (R/P head).
Insert a recordable cassette.
Function: Record-Start
With VR205 set the frequency to 3150Hz
±
0.1%.
With VR206 set the frequency to 4800Hz
±
10%.
Tape tension on: Playback-Start = 35 - 65g-cm
Fast Forward = 50 - 120g-cm
Fast Rewind = 50 - 120g-cm
Deviation < 0.35% (aurally compensated). Playback
measuring time
≥
30 seconds.
With the head adjustment screw
1
set the
left and right channel to maximum level.
The levels of the two channels mustnot
differ by more than 3dB.
The oscillator frequency should be 64kHz
±
10kHz.
The bias voltage is approx. 11V (measured with a 1:1000
capacitive voltage divider).
1. Tape speed
Deck A/B
2. Take-up torque on
Start
Deck A/B
3. Wow and flutter
Deck A/B
4. Head gap angle
(Azimuth)
Deck A/B
5. Bias frequency
Deck B
6. Bias voltage
Deck B
Adjustment
Preparations
Adjustment Process
TEAO
VREF
22k
Ω
220
µ
/10V
220
µ
/10V
+
+
GND
CD PCB
FILTER
DIGITAL
VOLTMETER
TEAO
VREF
22k
Ω
220
µ
/10V
220
µ
/10V
+
+
GND
CD PCB
FILTER
DIGITAL
VOLTMETER
TRACKING
1

