EN
49
point and tap on the Calibrate button. In this way,
the equipment will measure and save the level of
all the channels.
Then you must go to all the points of the installation
where we want to measure and connect the
meter, taking care to have this function ON. The
Hexylon will measure the levels of all the channels
comparing them with the reference ones.
When this option is ON, the bars of the graphic
don’t represent the level or the power of the
channels, but the attenuation of each one of them.
The list shows power (or level) and C/N. In addition,
a green trace is shown in the spectrum. This trace
indicates the levels in the reference point.
• Quality profile: allows to select the quality profile.
• Powering:
-
VDC: Selects the preamplifier powering.
8.2.- Mosaiq 3+1
This screen has 4 widgets, 3 in the top of the screen
and one in the lower part of the screen. Theses
widgets ares user-configurable, that is, the user can
select the the function he or she wants to visualize
in each widget.
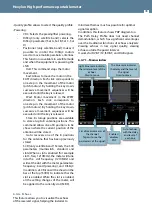
8.2.1.- Main Window
Short swap on the spectrum
to change to previous/next
channel
Tap on the title bar of the
widget to change the
function
Double tap to see the
feature in full screen
The available features are explained in section
8.3.-
Radio features
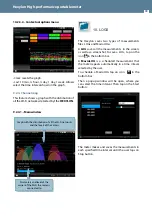
8.2.2.- Options context menu
• Quality profile: allows to select the quality profile.
• Powering:
-
VDC: Selects the preamplifier powering.
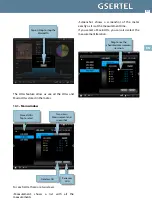
8.3.- Mosaiq 6
This screen has 6 widgets. Theses widgets ares
user-configurable, that is, the user can select the
the function he or she wants to visualize in each
widget.
Summary of Contents for Hexylon
Page 2: ......
Page 69: ...EN 69...
Page 70: ...Hexylon High performance portable meter 70...
Page 72: ......
Page 73: ...901620_901621_1 23_EN...


