REVPAD User Manual
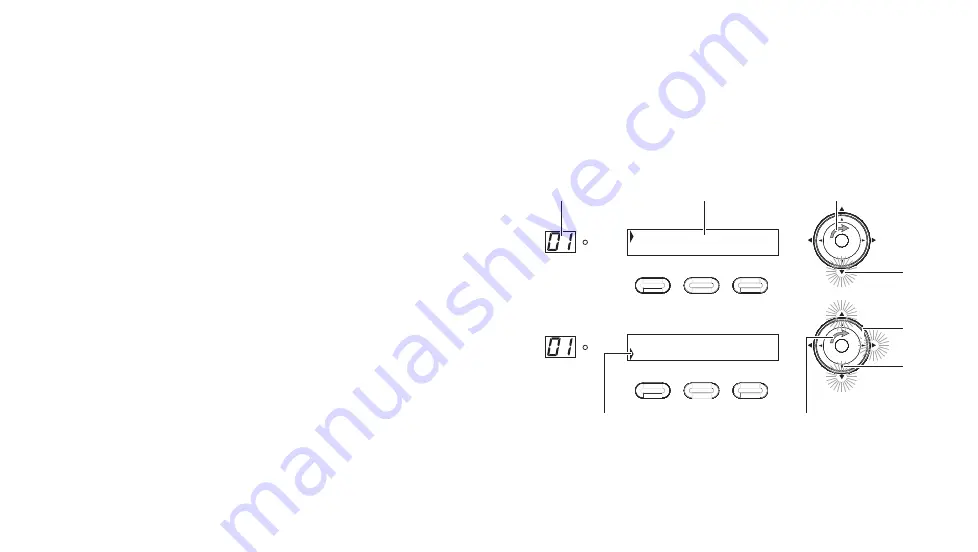
Creating and Editing Patches
Your REVPAD comes loaded with a wide variety of patches, each with up to eight effects, which you can modify as you wish. Or you
can create new ones with a variety of effects that come with the REVPAD. This tutorial describes a step-by-step procedure to create a
new patch by scrolling through effects, adding them, and customizing their parameters.
Note:
When adding effects remember that the order of the effects in the patch is important.
SAVE
SYS
X-Y
X
Y
X
Y
X
Y
X
Y
| | | |
|
C
B
D
A
SAVE
SYS
X-Y
X
Y
X
Y
X
Y
X
Y
|DIST | | |
E
G
F
H
1
P
01A: EMPTY
1
P
01A: EMPTY
1.
Rotate the Navigation Roller (
A
) to scroll through patches (
B
)
until you see a blank editing screen (
C
). The down arrow will
glow yellow (
D
).
2.
Press (
E
) on the Navigation roller to enter the first effect block
(
F
).
Note:
The Up, Right, and Down arrows now glow, indicating available
navigation directions.
3.
Rotate the Navigation Roller (
G
) to scroll through the list of
available effects until you find one you wish to add. In this
tutorial a distortion effect (
DIST
) is added.
4.
Press (
E
) on the Navigation roller to set parameters for this
effect.
Note:
To accept the default parameters and continue adding more
effects to this patch press (
H
).
26
Summary of Contents for REVPAD
Page 5: ...Clock 62 Specifications 65 MIDI Implementation Map 69 ...
Page 6: ......
Page 16: ......
Page 37: ...21 Exploring Your GTC Sound Innovations REVPAD ...
Page 40: ......
Page 64: ......
Page 72: ......
Page 80: ......


