background image

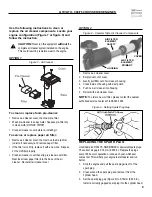
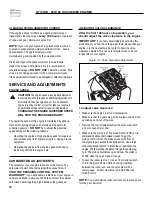
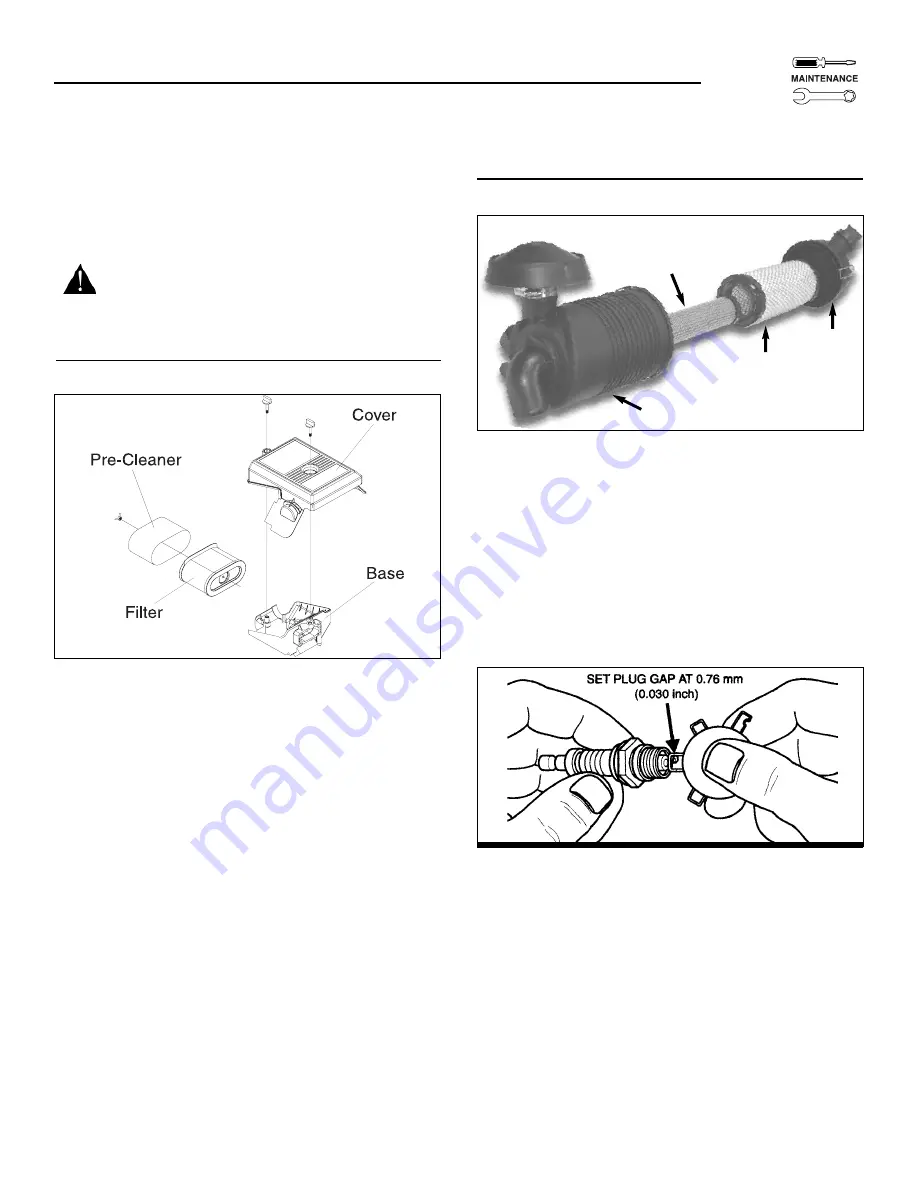
Use the following instructions to clean or
replace the air cleaner components. Locate your
engine configuration (Figure 7 or figure 8) and
follow the instruction.

CAUTION: 

Never run this equipment 

without

the

complete air cleaner system installed on the engine.
This could result in premature wear to the engine.

OPTION 1

To clean or replace foam pre-cleaner:

•  Remove air cleaner cover, then foam pre-filter.
•  Wash pre-cleaner in soapy water. Squeeze pre-filter dry

in clean cloth 

(DO NOT TWIST)

.

•  Clean air cleaner cover before re-installing it.

To service or replace paper air filter:

•  Remove air cleaner cover; then remove foam pre-filter

(service if necessary) 

and remove paper filter.

•  If the filter is too dirty, replace it with a new one. Dispose

of the old filter properly.

•  Clean air cleaner cover then slip pre-cleaner over filter.

Next insert new paper filter into the base of the air
cleaner.  Re-install air cleaner cover.

OPTION 2

1. Remove air cleaner cover.
2. Empty dust out of cover. 
3. Gently pull filter out of air cleaner housing.
4. Clean inside of housing with damp cloth.
5. Push new air cleaner into housing.
6. Reinstall the air cleaner cover.

NOTE

:

To order a new air filter, please contact the nearest  

authorized service center at 1-800-333-1322.

REPLACING THE SPARK PLUG

Use Champion RC14YC, NGK BKR4E or equivalent spark plugs.
The correct air gap is 0.76 mm (0.030 in.). Replace the plugs
every 100 hours of operation or once each year, whichever
comes first. This will help your engine to start easier and run
better.
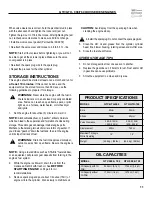
1. Stop the engine and pull the spark plug wire off of the

spark plug. 

2. Clean around the spark plug and remove it from the 

cylinder head.

3. Set the spark plug gap (Figure 9) to 0.76mm (0.030 in.).

Install a correctly gapped spark plug into the cylinder head.

Figure 7 - Air Cleaner

Figure 8 - Canister Style Air Cleaner Components

Figure 9 - Setting Spark Plug Gap

COVER

AIR FILTER

ELEMENT,

PRIMARY

HOUSING

9

AIR FILTER

ELEMENT,

SAFETY

GTV/GTH - 990/760 OHVI SERIES ENGINES

Summary of Contents for GTH-760 Series

Page 1: ...Owner s Manual SAFETY ASSEMBLY OPERATION TROUBLESHOOTING PARTS WARRANTY GTV GTH 990 760 AUTHORIZED DEALER SUPPORT SERIES ENGINES 1 800 333 1322...

Page 2: ...lations To ensure that your engine continues to meet these regulations refer to the following information and instructions in this owner s manual 2 TABLE OF CONTENTS GENERAL INFORMATION Service Inform...

Page 3: ...upervised by personnel knowledgeable of batteries and the required precautions Keep unauthorized personal away from batteries Use only 12 volt negative ground batteries with a minimum rating of 675 co...

Page 4: ...hock hazard RULES FOR SAFE OPERATION Study these RULES FOR SAFE OPERATION carefully before operating or servicing this equipment Become familiar with the OWNER S MANUAL and with the engine The engine...

Page 5: ...ury including paralysis or even death Engine exhaust gases contain DEADLY carbon monoxide gas This dangerous gas if breathed in sufficient concentrations can cause unconsciousness or even death Operat...

Page 6: ...synthetic 5W 20 or 5W 30 Check your engine oil level frequently to avoid possible damage from running low on oil Place engine on a level surface Clean area around oil fill and remove oil fill cap and...

Page 7: ...needs 10 seconds to reset NOTE If you restart engine after a shutdown and have not corrected the low oil pressure the engine will run for about 10 seconds as described above and then it will stop OPE...

Page 8: ...of a new filter with engine oil Turn the new filter clockwise until the gasket contacts the filter adapter then tighten an additional 3 4 turn 4 Remove the oil fill cap and insert a clean funnel into...

Page 9: ...Re install air cleaner cover OPTION 2 1 Remove air cleaner cover 2 Empty dust out of cover 3 Gently pull filter out of air cleaner housing 4 Clean inside of housing with damp cloth 5 Push new air clea...

Page 10: ...or of your engine is pre set at the factory The carburetor should not be tampered with because this will VOID THE EMISSION CONTROL SYSTEM WARRANTY If you experience problems and your engine is used at...

Page 11: ...e gasohol drain the fuel tank then run the engine until it stops from lack of fuel WARNING Drain the fuel into approved container outdoors away from open flame Be sure the engine is cool NOTE Using a...

Page 12: ...line 1 Fill fuel tank during operation 2 Low oil level 2 Fill crankcase to proper level 3 Fault in engine 3 Contact Authorized Service Facility Engine lacks power 1 Dirty air filter 1 Replace air filt...

Page 13: ...13 GTV GTH 990 760 OHVI SERIES ENGINES...

Page 14: ...14 GTV GTH 990 760 OHVI SERIES ENGINES...

Page 15: ...approved modifications or the use of counterfeit and or grey market parts not made supplied or approved by Generac You are responsible for presenting your engine to a Generac Authorized Warranty Servi...

Page 16: ...CS Warranty shall be warranted for the remainder of the ECS Warranty Period prior to the first scheduled replacement point for such emissions related part 4 Repair or replacement of any warranted emis...

Page 17: ...installation As with all mechanical devices the GT Series engines need periodic part s service and replacement to perform well This warranty will not cover repair when normal use has exhausted the li...

Page 18: ...hours _____ Maintenance performed ______________________ Date __ __ __ Engine hours _____ Maintenance performed ______________________ Date __ __ __ Engine hours _____ Maintenance performed __________...

Page 19: ...hours _____ Maintenance performed ______________________ Date __ __ __ Engine hours _____ Maintenance performed ______________________ Date __ __ __ Engine hours _____ Maintenance performed __________...

Page 20: ...GENERAC POWER SYSTEMS INC P O Box 297 Whitewater WI 53190 Part No 0D8699 REV C PRINTED IN THE USA 3 04...

Reviews: