User Manual
Using the Camera – In Detail
Powering on the camera
•
Switch on the camera by keeping Button “Power” depressed till the two indicator
lights on the top half of the camera shine
•
Open the top half of the camera
•
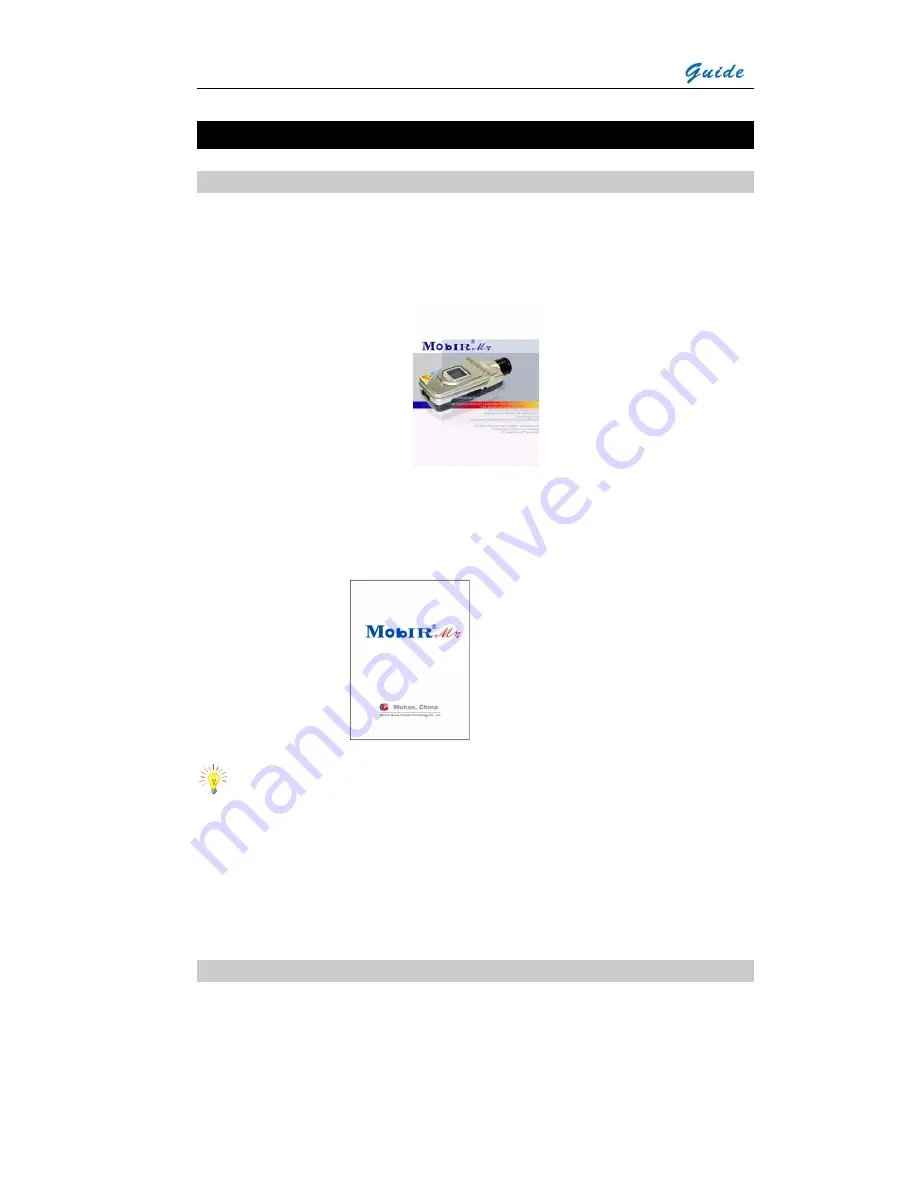
A welcome picture as shown below will appear on the inner LCD screen.
•
When the welcome picture disappears, the power on test result of the system will
display on the upper half of the screen. Meanwhile, a blue loading bar appears at
the bottom of the inner LCD screen to indicate the camera initialization progress.
•
After 100% loading, a flash image below appears in the inner LCD screen.
•
The camera is available for dynamic real time temperature measurement.
Note: Indicator lights on the top half of the camera
•
Two indicator lights lie on the top half of the camera. Both of them brighten up
when powering on the camera and last till powering off. But the red one shines
stably till powering off and the blue one becomes flickering after the above flash
image ends.
Basic Temperature Measurement
y
For basic temperature measurement first ensure that a suitable temperature range
is set and that the image is in focus, two methods are then available,
dynamic
real time temperature measurement
and
static temperature measurement


