Getting started
3 Getting started
These steps enable you to connect to and start using your Güralp NAM.
3.1 The console
The NAM can be controlled using either the web interface, the console
command-line or a terminal command-line.
3.1.1 Video console
Connect a suitable display to either:
•
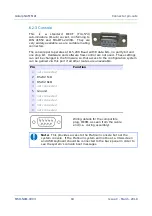
the VGA video connector on the rear panel; or
•
the DVI connector on the rear panel.
Connect either:
•
a PS2-style keyboard to the lower, purple PS2 connector on the rear
panel; or
•
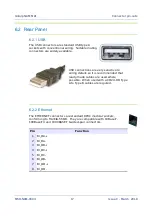
a USB keyboard to any USB connector on the front or rear panel
Note:
The console displays system messages while the unit is
booting and operating. This is essential for some diagnostic purposes
but may be inconvenient when performing routine monitoring or
configuration.
4 Serial terminal
Connect a PC/laptop running terminal emulation software (such as minicom
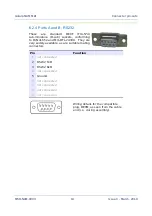
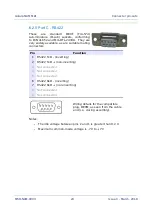
under Linux or PuTTY under Windows) to the upper RS232 terminal connector
on the rear panel, next to the VGA socket.
Configure the emulator for 115,200 Baud, 8 data bits, no parity bits and one
stop bit (commonly referred to as “8-N-1”). Disable both hardware (XON/XOFF)
and software (RTS/CTS) flow control.
4.0.1 SSH terminal
Switch on the NAM, as described in section 4.2 on page 8, configure a network
interface, as described in section 4.3 on page 9, and then use an ssh client
(such as the
ssh
command on Linux or PuTTY on Windows) to connect to the IP
address of the NAM using TCP port 22.
7
Issue C - March, 2018


