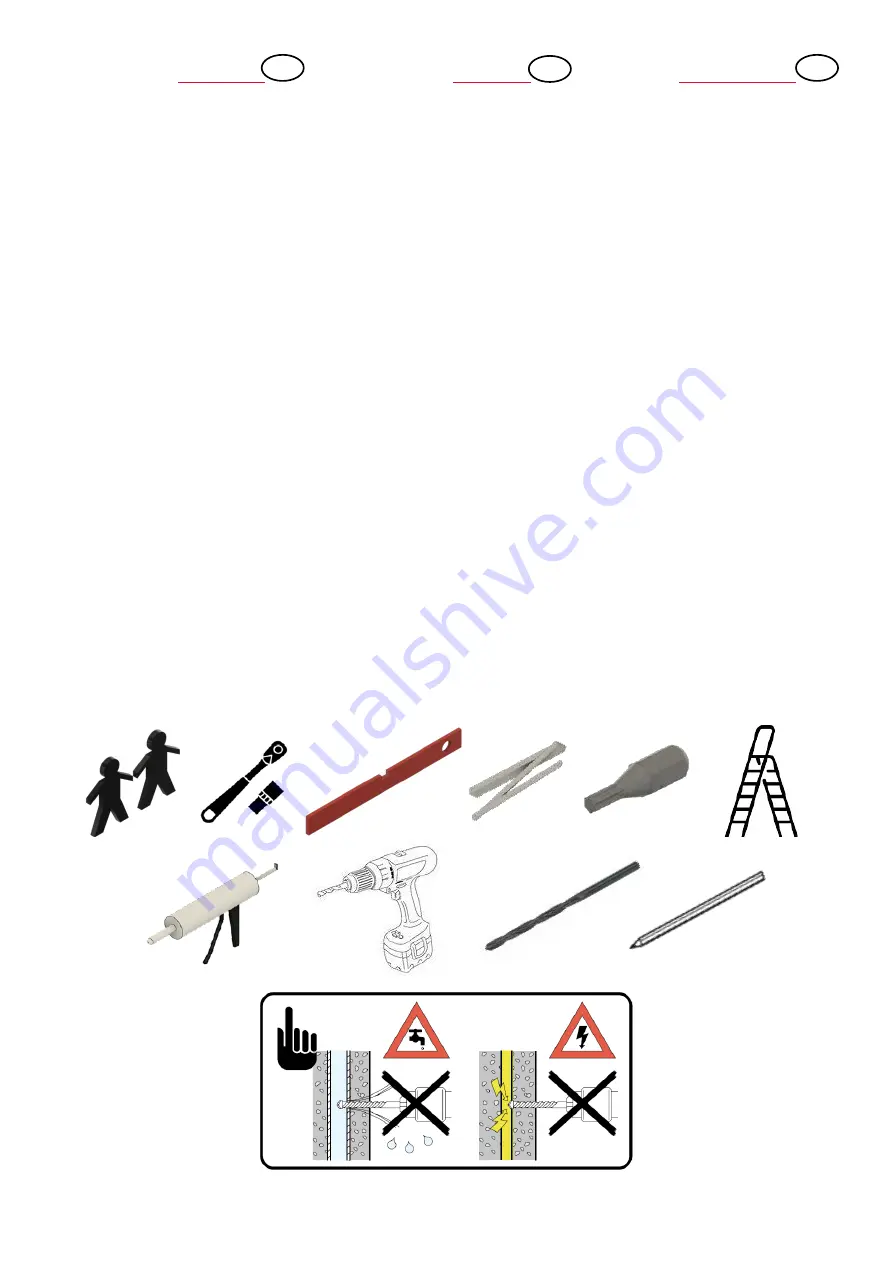
2
TX 25
Ø 12,0 mm
Recommandations
importantes !
• Avant le montage, veuillez lire attentivement les
instructions de montage et vérifier que le produit
ne présente pas de défauts ni de dommages dus au
transport, car aucune responsabilité ne sera assu-
mée pour les pièces déjà montées.
• Vérifiez avant le montage, si le type, la dimension
et la couleur sont corrects.
• Les fabrications sur mesure ne seront pas échan-
gées.
• L`auvent doit être seulement utilisé pour la fonc-
tion prescrite, sans quoi, toutes prestations de ga-
ranties seront annulées !
• Nettoyez l`auvent environ tous les trois mois. Uti-
lisez seulement des produits d`entretien recomman-
dés dans le commerce (pas de produit à récurer ni
de solvant). Si nécessaire, les pièces peintes peuvent
être également entretenues avec un lustrant auto.
• Nettoyez les gouttières régulièrement (l`accu-
mulation d`eau pourrait endommager l`auvent).
• Adaptez le matériel à adapter selon la nature du
mur afin de garantir une fixation sûre.
• Nettoyez l‘auvent si une épaisse couche de neige
et de glace le recouvre.
• ATTENTION DANGER ! Ne montez pas sur l`auvent.
• Recommandation : le montage doit être effectué
par 2 personnes. En outre, vous devez réaliser les
joints avec un mastic silicone en vente dans le
commerce.
• L`installation électrique doit être effectuée ou en-
levée par un électricien qualifié.
• Une fois la période de garantie légale arrivée à
son terme, cette garantie ne s’applique plus sur les
pièces d’usure.
• Pour cet auvent, nous fournissons d‘autres acces-
soires séparément. Veuillez vous informer auprès de
votre dépositaire.
• Sous réserve de modifications de la construction.
Wichtige Hinweise!
• Vor der Montage bitte Montageanleitung genau-
estens durchlesen und Produkt auf evtl. Transport-
schäden bzw. Fehler überprüfen, da für Schäden an
bereits montierten Produkten keine Haftung über-
nommen werden kann.
• Prüfen Sie vor dem Einbau, ob Typ, Maß und Farbe
übereinstimmen.
• Maßanfertigungen sind vom Umtausch ausge-
schlossen.
• Das Vordach darf nur für den vorgeschriebenen
Zweck verwendet werden, anderenfalls erlischt der
Produkthaftungsanspruch!
• Reinigen Sie das Vordach bitte in Abständen von
ca. 3 Monaten. Verwenden Sie nur vom Handel emp-
fohlene Pflegemittel (keine Scheuer- oder Lösungs-
mittel). Die lackierten Teile können auch bei Bedarf
mit Autopolitur behandelt werden.
• Die Wasserabläufe sind regelmäßig zu reinigen
(ansonsten Beschädigungsgefahr durch Stauwas-
ser).
• Die Befestigungsmittel sind der jeweiligen Be-
schaffenheit der Wand anzupassen. Eine ausrei-
chende Befestigung ist zu gewährleisten.
• Bei erhöhter Schnee- und Eislast ist das Vordach
abzuräumen.
• Achtung Unfallgefahr! Vordach ist nicht begehbar.
• Empfehlung: Die Montage sollte von zwei Personen
durchgeführt werden. Zusätzlich müssen Sie mit ei-
nem handelsüblichen Silikon abdichten.
• Die Elektroinstallation muss vom Elektro-Fach-
mann ausgeführt oder abgenommen werden.
• Auf Verschleißteile besteht nach Ablauf der ge-
setzlichen Garantiezeit kein Garantieanspruch.
• Zu diesem Vordach liefern wir auch separates
Zubehör. Bitte informieren Sie sich bei Ihrem Fach-
händler.
• Änderung der Konstruktion vorbehalten.
Text aktualisiert 31/2021
Important
Reccommendations!
• Prior to assembly please study the assembly in-
structions in detail and check the consignment for
possible faulty parts or damage during transpor-
tation. No liability will be assumed for damage to
products already assembled.
• Please check that type, dimensions and colour
are correct before assembly.
• Custom-made products cannot be exchanged.
• The canopy may only be used for the intended
purpose, failing which no claims for product liabili-
ty can be accepted!
• Clean the canopy every 3 months and only use a re-
commended cleaning product (no scrubbing agents
or solvents). If necessary, the lacquered parts can
also be treated with with car polish.
• The water drains should be cleaned regularly (in
order to avoid damage caused by accumulated wa-
ter).
• In each case, the canopy fastenings must be sui-
table for the construction of the wall in question.
Secure attachment must be ensured.
• Accumulated snow and ice should be removed from
the canopy.
• Caution - Danger of accident! The canopy is not
load bearing; do not climb or place your weight on
the canopy.
• Recommendation: Assembly should be carried
out by two persons. You must also seal the canopy
using standard commercial silicone.
• The electrical installation must be carried out or
removed by a qualified electrician.
• No guarantee claims can be accepted for parts
subject to wear and tear after the statutory guaran-
tee period has expired.
• We can also supply separate accessories for this
canopy. Please ask your local dealer for details.
• The design is subject change.
GB
D
F

