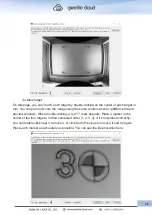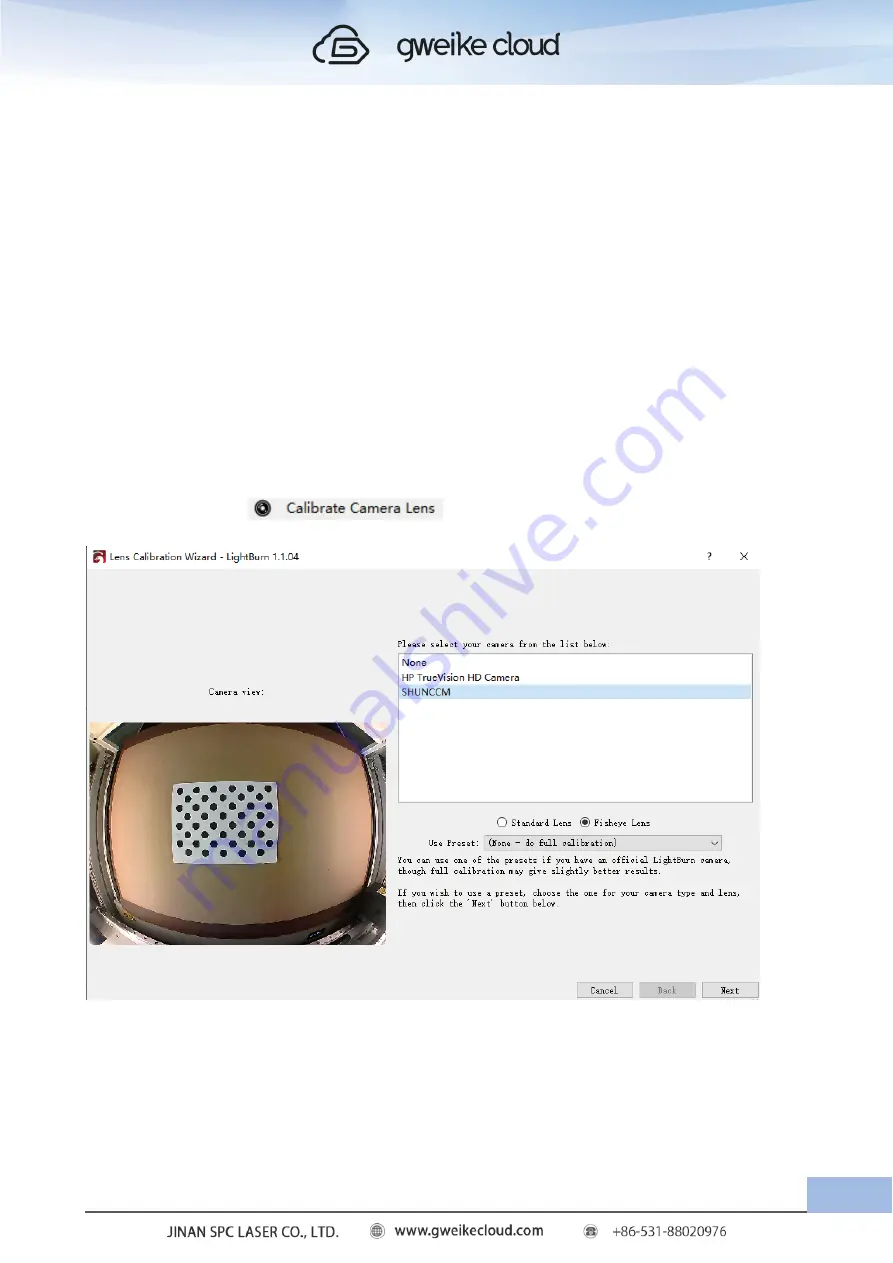
(2).Camera Lens Calibration Wizard
Note:
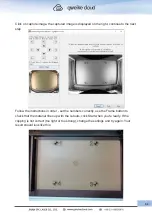
This process depends only on the camera and lens, not its position in the machine -
as long as the camera and calibration pattern are completely still, you do not need to have
the camera in the machine to perform the lens calibration. If the calibration image cannot
be kept at the proper distance to match the image shown in the monitor, you can reduce or
enlarge the printed pattern.
Important:
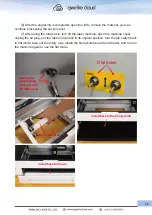
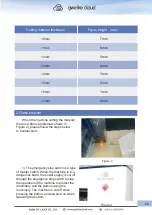
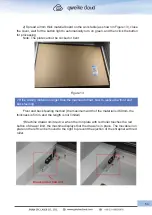
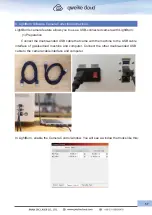
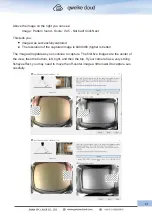
If your machine has a honeycomb bed, or something like the picture below with
a lot of visible circles, you may need to cover it with something. The pattern finder is look-
ing for circles, and if it finds anything that looks like thousands of circles, it gets confused.
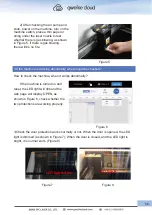
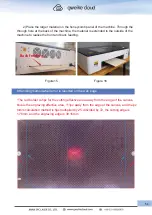
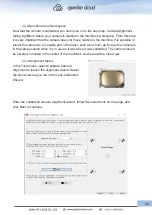
It's best to have good, consistent lighting during the shoot, and the camera should be in
focus. Blurred images or shadows falling on the calibration pattern will make the process
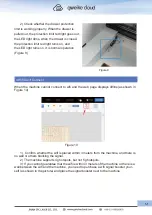
more difficult, if not impossible.Open the "laser tools" menu and select "Calibrate camera
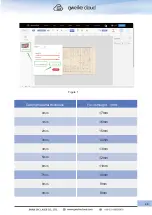
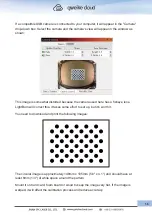
lens" from the menu ”. You will see the screen shown below.
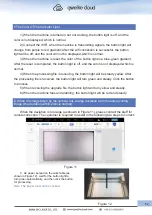
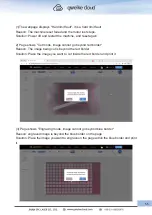
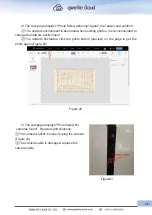
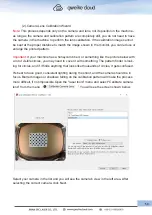
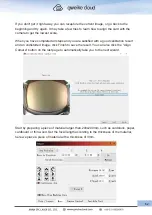
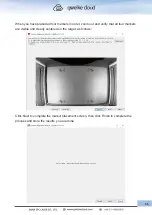
Select your camera in the list and you will see the camera's view in the left area. After
selecting the correct camera, click Next.
59
Summary of Contents for Desktop 3D Laser Printer
Page 1: ......
Page 22: ...18...
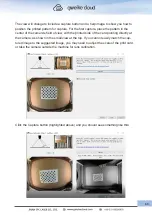
Page 39: ...Click The material selection list pops up Click to calibration camera 35...

