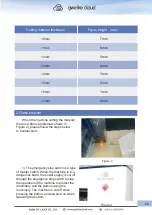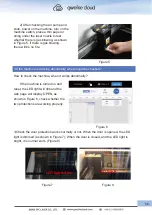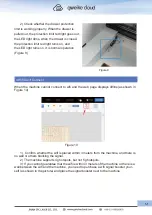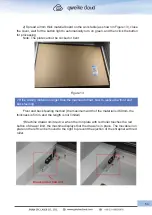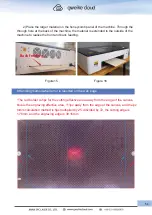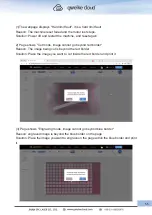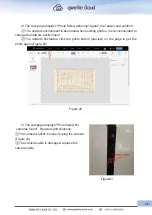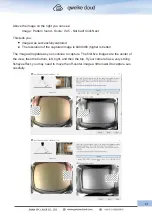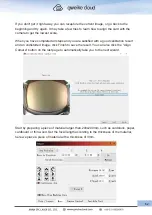
(3).Align camera and workspace
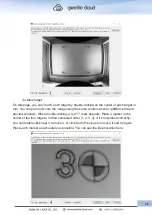
Now that the camera is calibrated, you can move on to the next step, Camera Alignment -
telling LightBurn where your camera is relative to the machine's workspace. From this step
it is very important that the camera does not move relative to the machine. It is possible to
mount the camera to a movable part of the laser, such as a cover, as long as the camera is
in the same position when it is in use as it was when it was calibrated. The camera should
be securely mounted in the center of the machine's work area with a clear view.
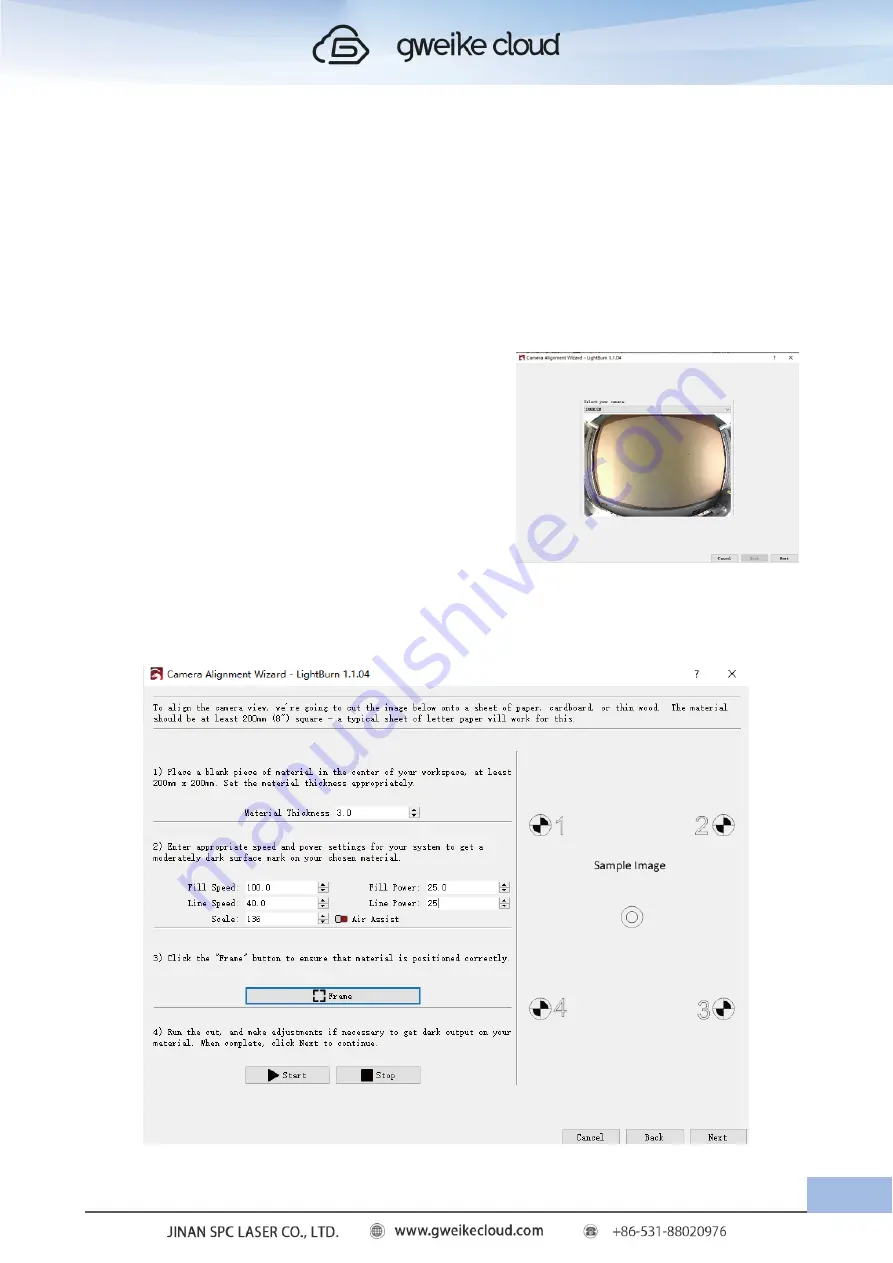
(4).Ut Alignment Marks
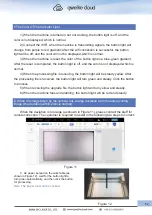
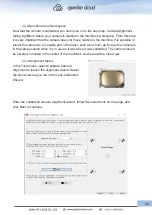
In the Tools menu, select Calibrate Camera
Alignment to launch the alignment wizard. Select
the same camera you did in the Lens Calibration
Wizard.
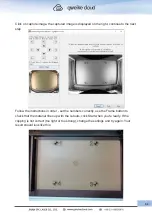
Enter the calibration camera alignment wizard, follow the instructions on the page, and
click Next to continue.
63
Summary of Contents for Desktop 3D Laser Printer
Page 1: ......
Page 22: ...18...
Page 39: ...Click The material selection list pops up Click to calibration camera 35...

