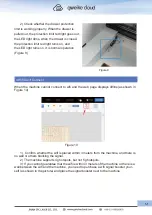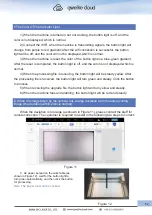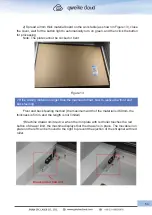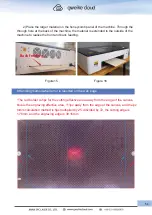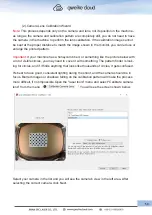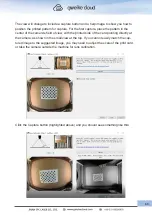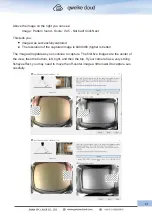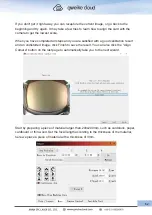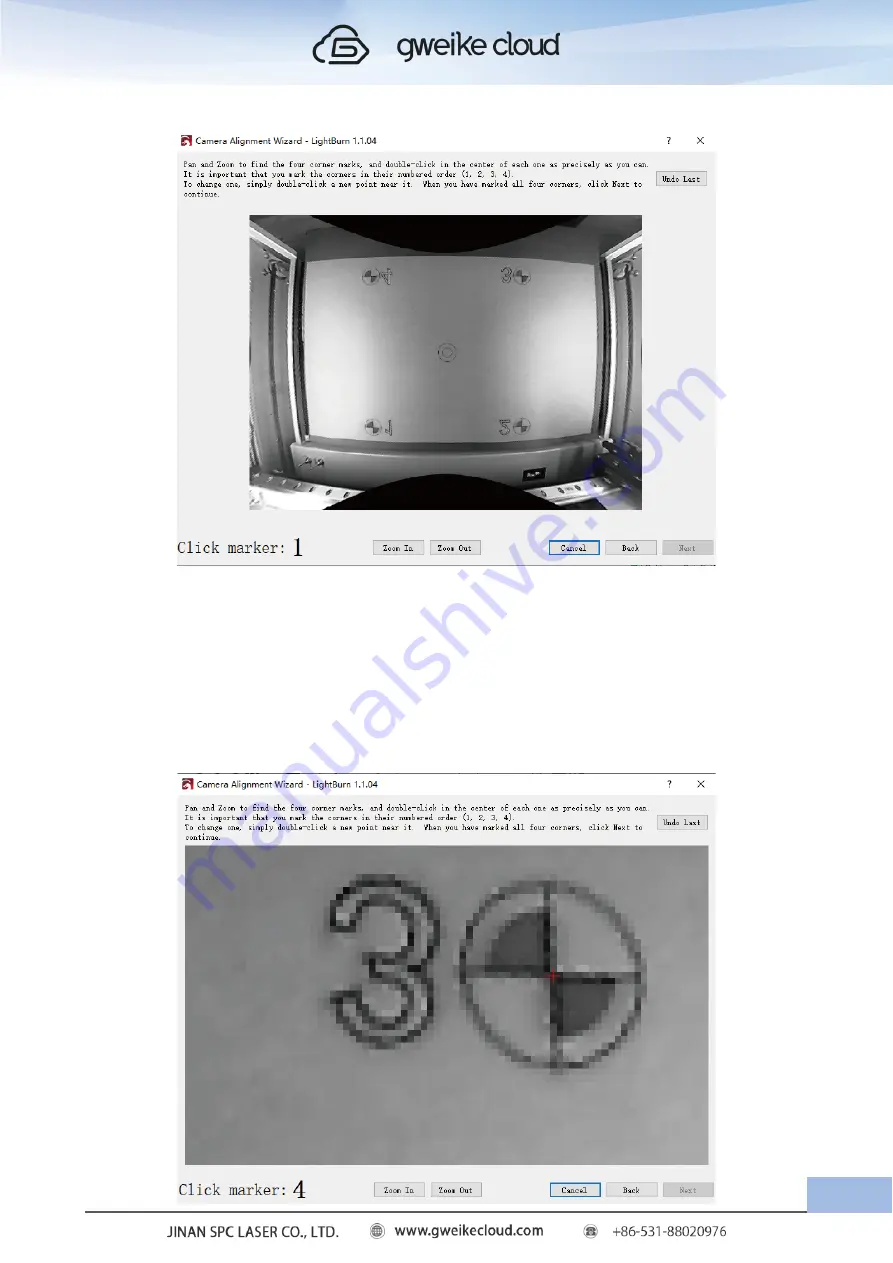
(5).Mark target
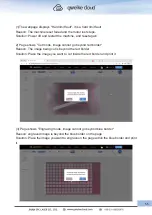
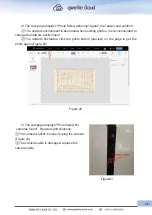
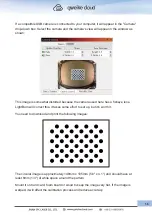
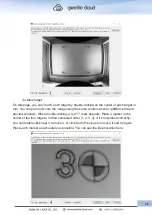
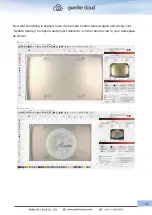
On this page, you can "mark" each target by double-clicking on the center of each target in
turn. You can pan and zoom the image using the same controls as the LightBurn edit and
preview windows. When double-clicking, a red "+" mark appears. Place a marker in the
center of the four targets, in their numbered order (1, 2, 3, 4). If it's not placed correctly,
you can double-click near it to move it, or click Undo Previous to remove it and try again.
Place each marker as accurately as possible. You can see the ideal location here:
65
Summary of Contents for Desktop 3D Laser Printer
Page 1: ......
Page 22: ...18...
Page 39: ...Click The material selection list pops up Click to calibration camera 35...

