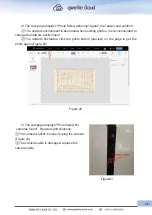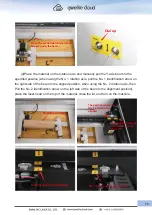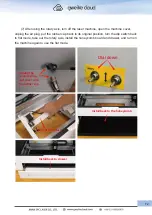
(4)Place the material on the rotation axis and manually pull the Y-axis beam to the
specified position (when using the No. 1 rotation axis, pull the No. 1 identification arrow on
the right side of the beam to the aligned position; when using the No. 2 rotation axis, then
Pull the No. 2 identification arrow on the left side of the beam to the alignment position),
place the laser head on the top of the material, close the lid, and turn on the machine;
70
Place the material
The position where the
NO.2 rotation axis is
aligned
The position where the
NO.1 rotation axis is
aligned
Note: the avation patch wire needs
to pass under the beam
Dial up
No.2 rotary arrow alignment
No.1 rotary arrow alignment
Summary of Contents for Desktop 3D Laser Printer
Page 1: ......
Page 22: ...18...
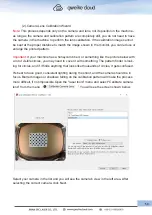
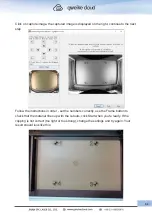
Page 39: ...Click The material selection list pops up Click to calibration camera 35...

