

16
GX8.0 CROSSTRAINER
COMPUTER OPERATION INSTRUCTIONS
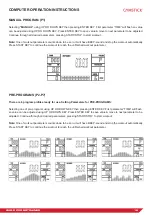
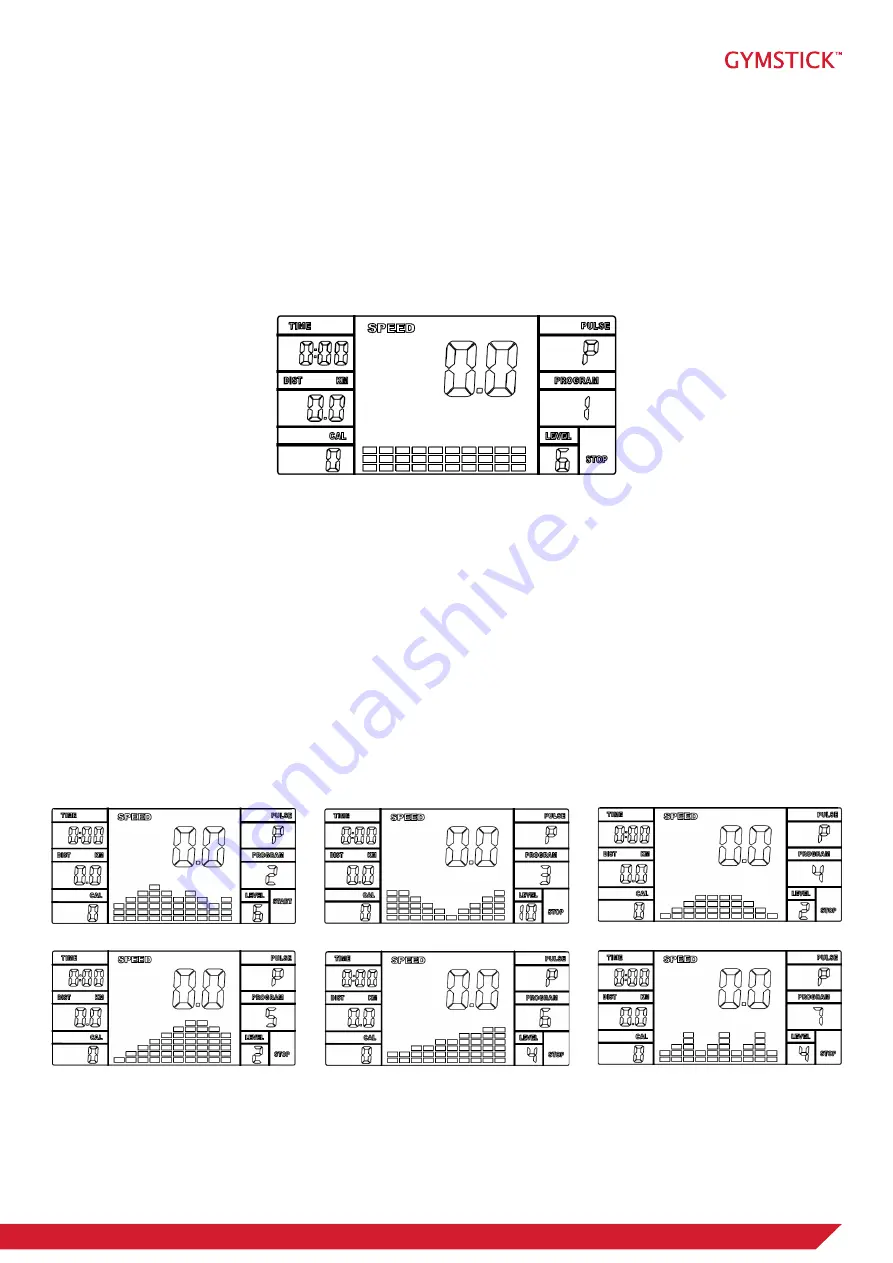
MANUAL PROGRAM (P1)
Selecting
“MANUAL”
using UP OR DOWN KEY then pressing ENTER KEY. First parameter “TIME” will flash so value
can be adjusted using UP OR DOWN KEY. Press ENTER KEY to save value & move to next parameter to be adjusted.
Continue through all desired parameters, pressing START/STOP to start workout.
Note:
One of workout parameters counts down to be zero, it will have BEEP-sound and stop the workout automatically.
Press START KEY to continue the workout to reach the unfinished workout parameter.
PRE-PROGRAMS (P2-P7)
There are 6 program profiles ready for use. Setting Parameters for PRE-PROGRAMS:
Selecting one of pre-programs using UP OR DOWN KEY then pressing ENTER KEY. First parameter “TIME” will flash
so value can be adjusted using UP OR DOWN KEY. Press ENTER KEY to save value & move to next parameter to be
adjusted. Continue through all desired parameters, pressing START/STOP to start workout.
Note:
One of workout parameters counts down to be zero, it will have BEEP-sound and stop the workout automatically.
Press START KEY to continue the workout to reach the unfinished workout parameter.


