11
Inverter 70
24 HF
This manual contains safety and operating instructions.
Read it carefully before using the charger
for the first time and keep it in a safe place for any future reference.
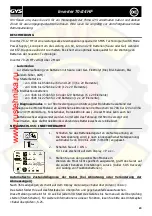
GENERAL DESCRIPTION
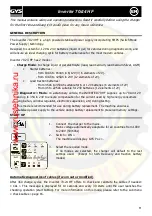
The Inverter 70-24 HF is a high powered stabilised power supply incorporating SMPS (Switch Mode
Power Supply) technology.
Designed to sustain 6V, 12V & 24 V batteries (liquid or gel) for vehicles during diagnostic work, and
will ensure an ideal charging cycle for battery maintenance for the most modern vehicles.
Inverter 70.24 HF has 2 modes :
-
Charge Mode
: to charge liquid or gel electrolyte (lead, lead Calcium, lead Calcium-Silver, AGM)
•
Starter batteries :
- from 10Ah to 850Ah in 6/12V (3/ 6 elements of 2V).
- from 10Ah to 425Ah in 24V (12 elements of 2V).
•
Lead traction batteries :
- From 45Ah to 450Ah suitable for 6 or 12V batteries (6 elements of 2V)
- From 45 to 225Ah suitable for 24V batteries (12 elements of 2V)
« Diagnostic » Mode
: on a stationary vehicle, the INVERTER 70 HF supplies up to 70A in 12V
and up to 35A in 24V to ensure compensation for the current used by high-energy consumers
(engine fan, window regulator, electronic suspension, etc) during testing.
This mode is recommended for use during battery replacement. The machine ensures a
stabilised power supply to the vehicle during battery replacement to preserve memory settings.
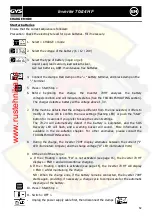
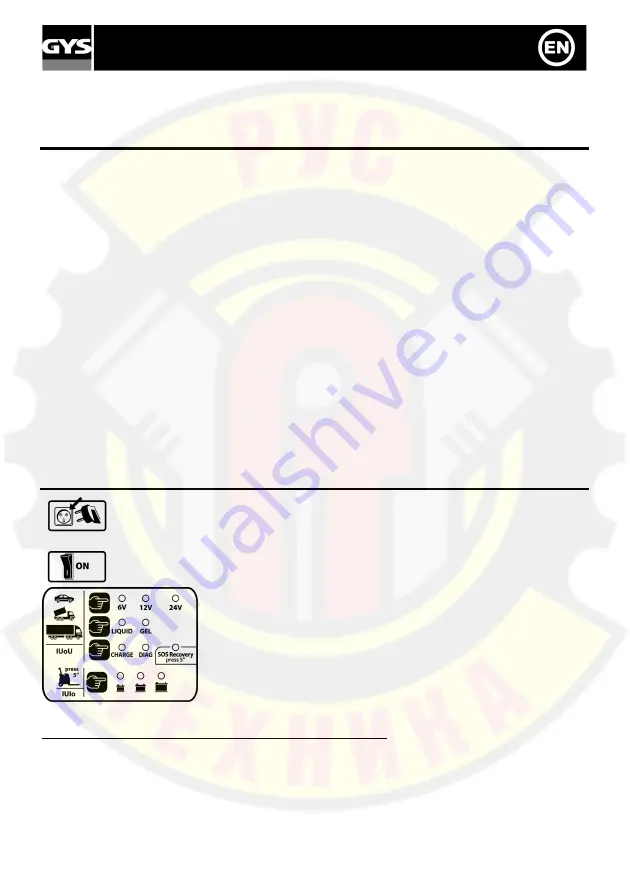
START UP
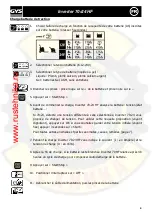
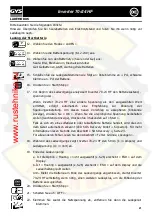
1.
Connect the charger to the mains.
Mains voltage automatically adaptable for all countries from 100V
to 240V (50/60hz)
2.
Switch « ON ».
The machine will display GYS Px.x ».
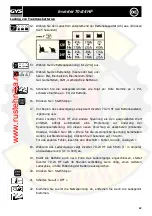
3.
Select the required mode.
If no modes are selected, the charger will default to the last
settings used. (Except for SOS Recovery and traction battery
modes)
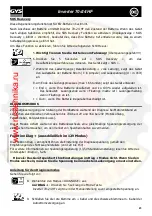
Automatic diagnostics of cables (if worn out or modified)
After 360 charge cycles, the Inverter 70-24 HF offers to check and calibrate the cables if needed:
« CAL ». This message is displayed for 10 seconds and every 30 starts until the user launches the
checking operation (start button). For more information on this mode, please refer to the sub menu
« check cables » page 16.

