12
Inverter 70
24 HF
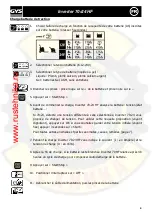
CHARGE MODE
Starter batteries
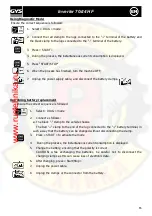
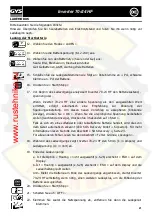
Ensure that the correct sequence is followed:
Precaution: Check the electrolyte level for open batteries. Fill if necessary.
1.
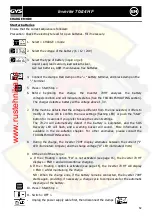
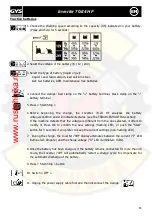
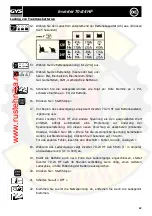
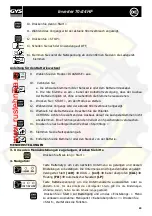
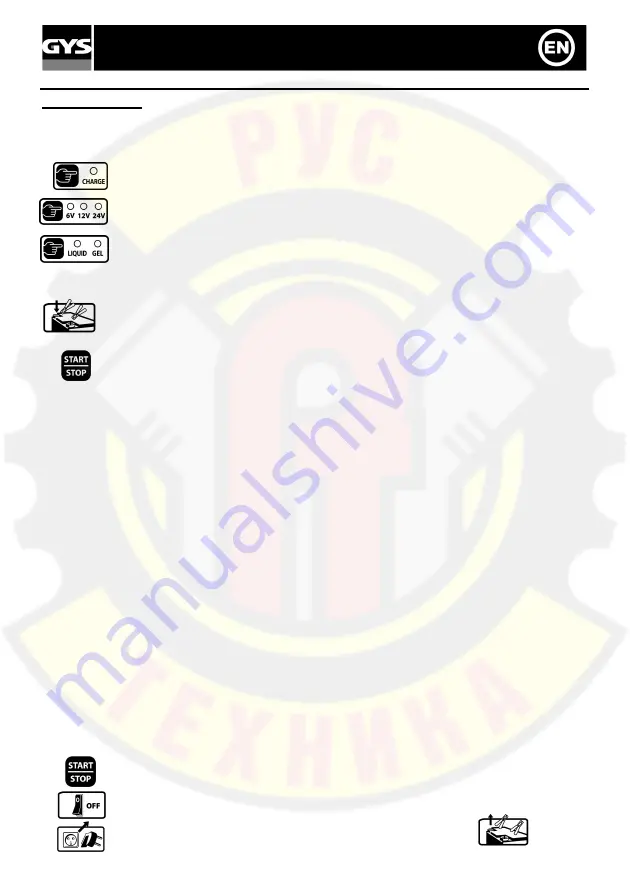
Select « CHARGE » mode
2.
Select the voltage of the battery (6 / 12 / 24V)
3.
Select the type of battery (liquid or gel):
Liquid: Lead, lead calcium, lead calcium silver,
Gel: Gel batteries, AGM, maintenance free batteries
4.
Connect the clamps: Red clamp on the "+" battery terminal, and black clamp on the
"-" terminal
5.
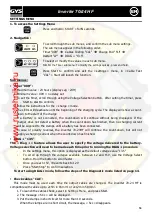
Press « Start/Stop »
6.
Before beginning the charge, the Inverter 70HF analyses the battery
voltage/condition and will indicate its status (See the TROUBLESHOOTING section).
The charger detects a battery with a voltage above 1,3 V.
7.
If the machine detects that the voltage is different from the one selected, it offers to
modify it. Press OK to confirm the new settings (flashing LED) or push the “Start”
button for 3 seconds if you prefer to keep the current settings.
The 70-24 will automatically detect if the battery is sulphated, and the SOS
Recovery LED will flash, and a warning buzzer will sound. More information is
available in the de-sulfation chapter. For other anomalies, please consult the
TROUBLESHOOTING section.
8.
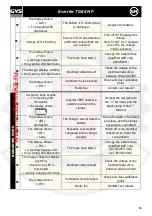
During the charge, the Inverter 70HF display alternates between the current ("I"
LED illuminated: Ampere) and the charge voltage ("U" LED illuminated: Volts)
9.
At the end of the charge :
a.
If the « Floating » option "FLt" is not activated (see page 16), the Inverter 70 HF
displays « END » and will discontinue charging.
b.
If the « Floating » option is activated (see page 16), the Inverter 70 HF will display
« END » whilst maintaining the charge.
NB : When the charge ends, if the battery remains connected, the Inverter 70HF
starts again, providing, if necessary, a charge cycle to compensate for the automatic
discharge of the battery.
10.
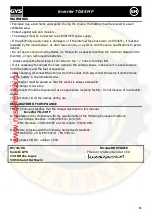
Press « Start/Stop »
11.
Switch « OFF ».
12.
Unplug the power supply cable first, then disconnect the clamps

