24
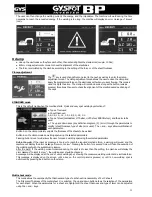
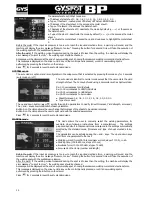
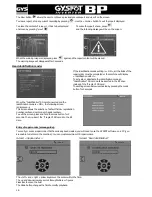
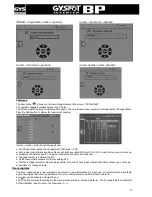
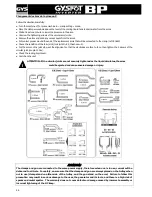
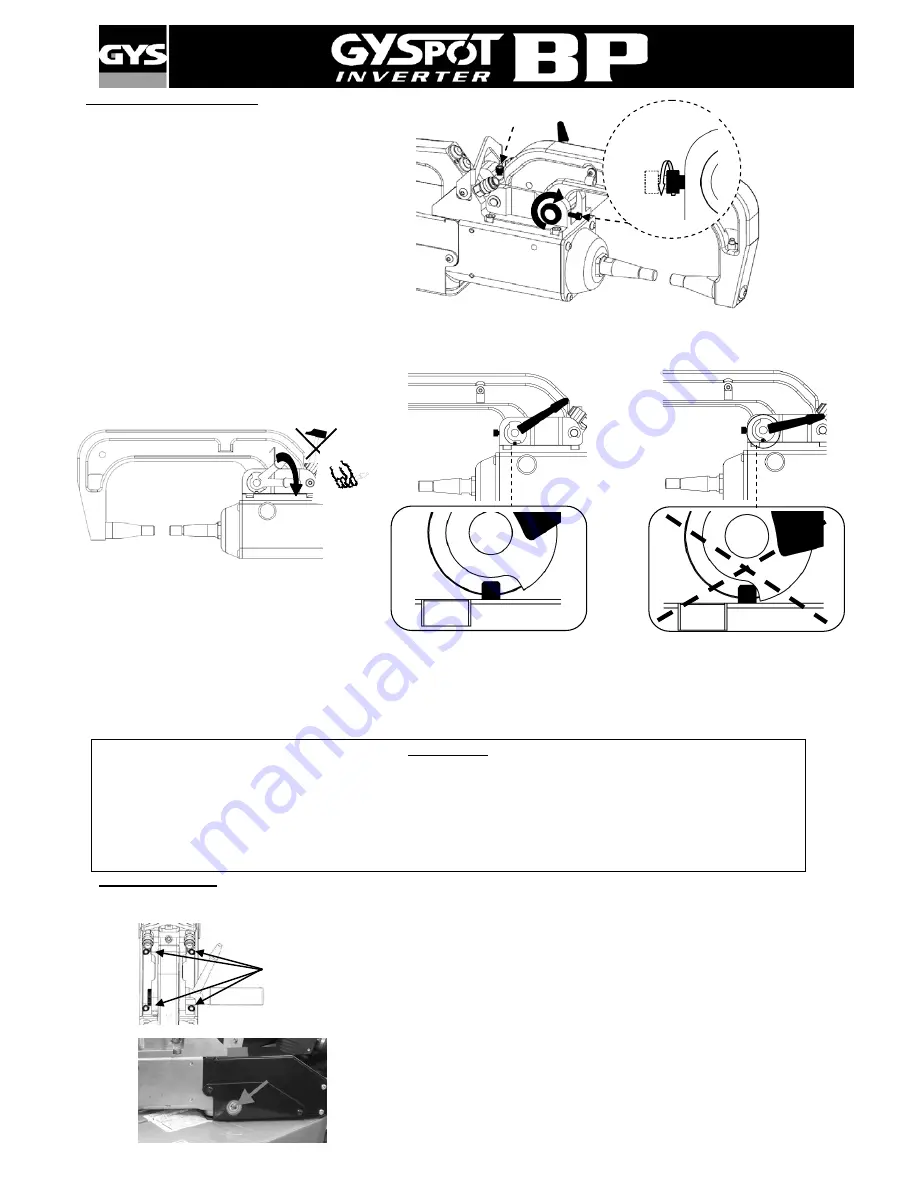
Adjustment of the C arms :
Ⓓ
♦
Position screw
to fix the arm on the
clamp. Tighten it in manually - do not over-
tighten.
♦
Tighten ring
manually, then the tighten
using the Allen key.
Ⓔ
♦
Tighten the lever manually and check it is not end up against the joint stop (see diagram below).
If it is the case go back to step
Ⓓ
.
Warning: Clamp and arm may be damaged if the lever is not tightened properly.
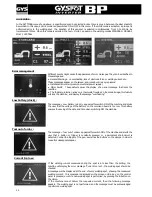
Ⓕ
♦
Check the cooling liquid level.
♦
Check screws and lever, incorrectly tightening can damage the material.
♦
Switch on the machine.
ATTENTION:
The clamps and gun are connected to the same power supply, therefore when one is in use, current will be
delivered to all tools. For safety, ensure sure that the clamps and gun are always placed on the trolley when
not in use (clamp stand on either side of the trolley, and the gun stand on the arm). Failure to follow this
precaution may result in serious damage to the user, the generator and its tools, and there is a high risk of
sparks and metal spatter. The warranty does not cover damages and defects due to a bad tightening or
assembly of the C arms.
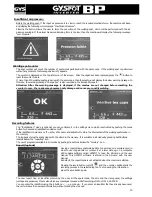
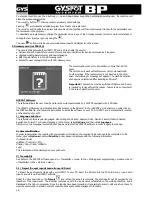
C clamp overhaul :
The tightening of the following screws need to be inspected every month:
Screw between the arm and the clamp:
Serrer
These 4 screws fix the arm to the clamp. They need to be tightened to
ensure good transmission of the current. A loose/bad connection leads to
loss of current and even worse can cause irreversible damage to the arm
or clamp.
max
OK
NO
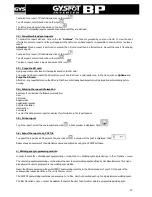
The screw shown opposite ensures secure attachment of the copper cable
which carries current to the clamp. It is recommended that screw tightness is
checked every month to prevent irreversible damage inside the clamp.


