26
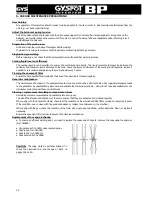
Changement des bras de la pince en X
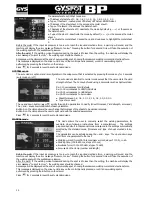
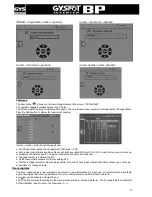
Follow the directions carefully:
♦
Turn the machine off, or place machine in « clamp setting » mode.
♦
Place the clamp somewhere above the level of the cooling liquid tank to drain water from the arms.
♦
Wait at least one minute to lower the pressure in the arms.
♦
Unscrew the tightening screws of the circular arm joints.
♦
Remove the arms and drain any excess liquid from the arms.
♦
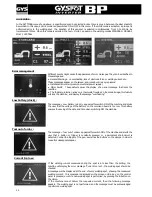
Put contact grease around the end of the replacement arms that will be connected to the clamp (ref 050440).
♦
Check the condition of the toric joint (toric joint D=25, thickness = 4).
♦
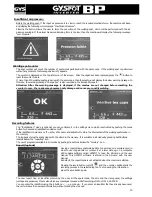
Put the arms on the joint stop, set the alignment so that the electrodes are face to face, then tighten the 2 screws of the
circular joint (couple 15 Nm).
♦
Check the cooling liquid level.
♦
Switch on the unit.
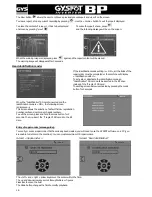
ATTENTION: If the circular joints are not securely tightened as the liquid circulates, the arms
could be ejected and cause severe damage or injury.
ATTENTION:
The clamps and gun are connected to the same power supply, therefore when one is in use, current will be
delivered to all tools. For safety, ensure sure that the clamps and gun are always placed on the trolley when
not in use (clamp stand on either side of the trolley, and the gun stand on the arm). Failure to follow this
precaution may result in serious damage to the user, the generator and its tools, and there is a high risk of
sparks and metal spatter. The warranty does not cover defects or damage caused by incorrect assembly or
incorrect tightening of the X-Clamp.
!

