4
3- INSTALLATION OF THE MACHINE
Before use
Several verifications are necessary before using the unit to ensure good performance of the machine :
-
Check the electrical line voltage: it should be with nominal voltage between 200V and 240V, 3 phases, with a 63 A delayed
circuit breaker, curve D (or fuse of aM type).
-
Check the cross section of the cable going from the main electrical board to the socket where the machine will be plugged : it
should be 4x16 mm2 (AWG5 or AWG6). If this cable is longer than 10m, use a conductor size of 25mm². If you use an
electrical extension cord, use a 16mm² (AWG5) conductor size (25mm² if electrical line + extension cord total length is
superior to 10m).
-
Connect a 3 phase + earth plug (minimum 63A) on the supply cable.
-
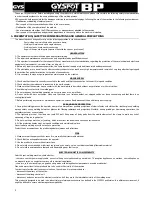
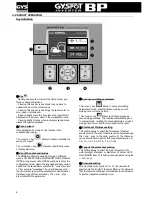
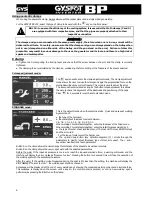
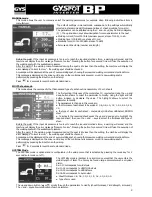
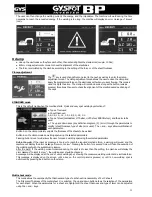
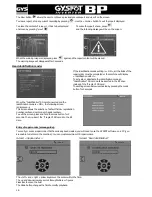
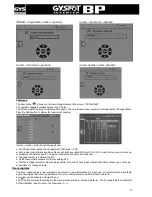
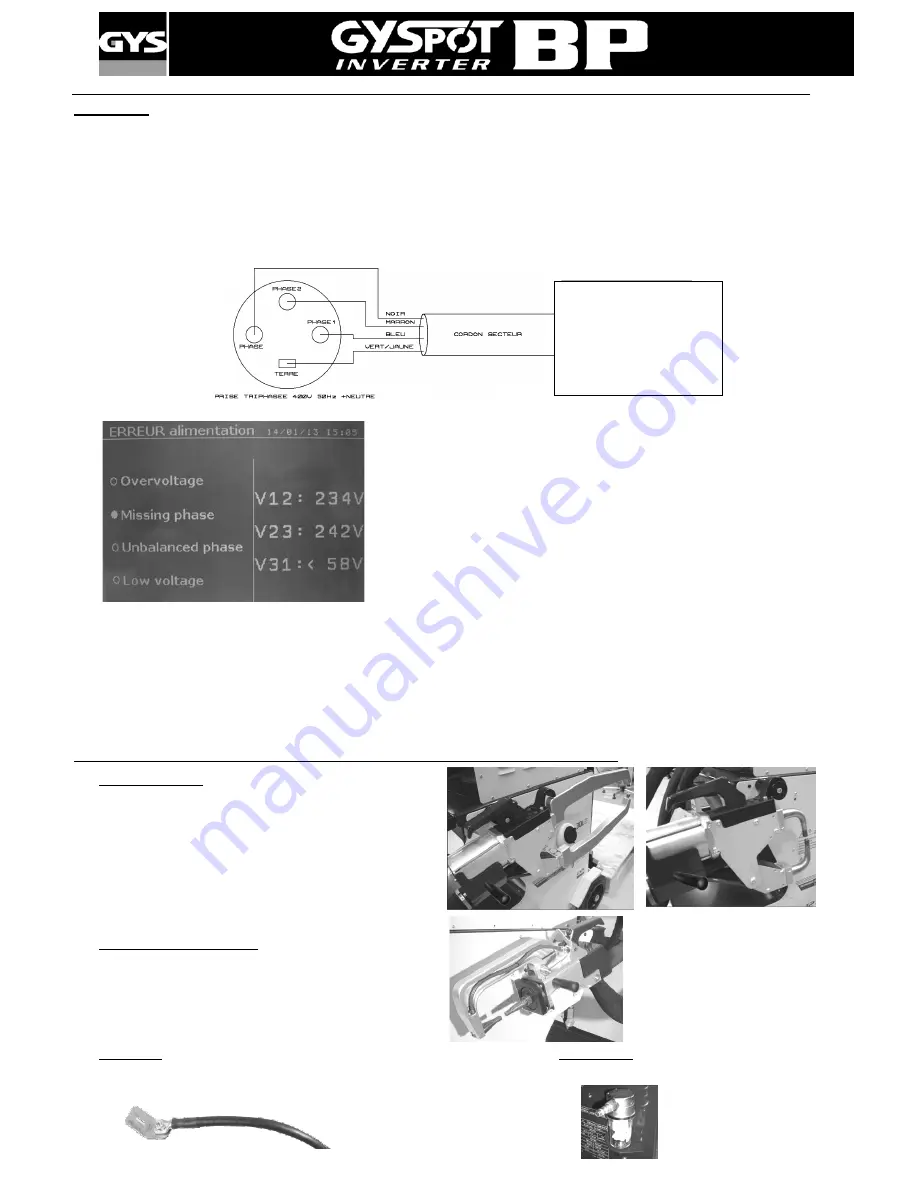
In case of bad connection or bad voltage on the electrical line, the following screen will appear :
On the right hand side of the screen appears the voltage on each phase.
Overvoltage : the mains voltage lies beyond 268 V rms.
Low voltage : the mains voltage lies below 160 V rms.
Unbalanced phase : one phase has a significantly lower voltage than the
other two.
Missing phase : one phase is not connected properly.
-
Be careful: in order to avoid voltage drops which can generate bad welding spots, you must never have overloaded electrical
lines, nor supply cable diameters which cross section are not large enough. Also, the mains plugs must not be too far from the
circuit breaker.
-
If the machine is not sufficiently supplied, it is not possible to ensure a good welding quality.
-
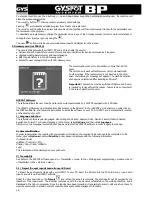
Check that the air compressed network can deliver a minimum of 7 bars (dry air), then connect the compressed air
network on the back of the machine. The machine must not be used on an air compressed network with a pressure inferior to
3 bars.
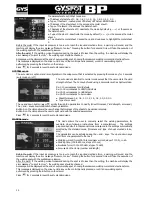
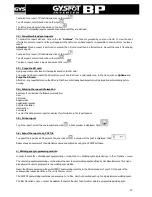
Assembling the clamp handle, clamp stand and earth cable (accessories bag)
X clamps (BP.LCX)
Assemble the clamp stand on the right or left side of the
machine
①
Assemble the clamp handle on the left or right side of the
clamp, depending on the preferred choice.
②
Depending on the arms used, position the clamp either
using the hook or using the clamp handle (see left).
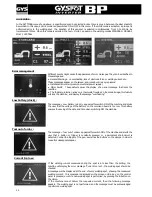
C clamp (BP.LC and BP.LCX)
Assemble the c-clamp stand on the right hand side of
the machine using the three M5x12 provided screws.
Assemble the handle on the left hand side of the clamp.
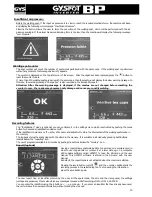
Earth cable
Air connector
Assemble the copper plate on the extremity of the earth cable
Assemble the air connector on the air filter.
This earth cable has to be used with the gun.
GYSPOT INVERTER
BP. LC-s7
BP. LCX-s7


