19
MAGYS 400-4 / 400 GR / 500 GR / 500 WS
EN
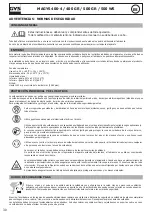
0%
100%
50%
(Factory
setting)
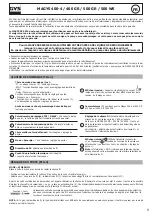
P1:
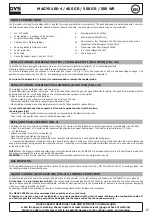
Set up the arcing speed to have a smooth start in order to avoid any spatter with the first short circuit.
P2:
Set up the Burn back to avoid the sticking of the wire on the contact tube.
P3:
The setting up of the Post gas will regulate the time of gas used after the welding to protect it.
EXPERT SETTING (ACCORDING TO STANDARD EN 1090)
In order to meet the EN 1090 standard, it is possible to calibrate the voltage, the current and the wire speed of this product. Warning: the calibra-
tion must be done by GYS or the distributor where they have a qualified maintenance department using the correct equipment: resistive load (ref:
060135), tachometer (ref: 053953), voltmeter and ammeter (ref: 053984).
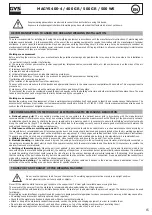
1/ Calibration of voltage and current (FIG-5):
The potentiometers P4 (voltage) and P5 (current) are adjustable directly on the electronic board.
2/ Calibration of the wire speed (FIG-4):
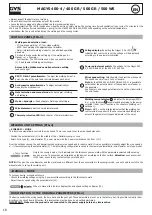
To access this mode, you need to press key (1) for 3 seconds. Then, press key (1) 3 times to display «Fc3». Now, you can calibrate your wire speed
to more or less 10% by step of 1% with keys (5) and (7). To exit this mode, press key (1), the display shows «END».
HIDDEN MODE PARAMETERS (FIG-4)
The hidden mode allows you to set the following parameters:
- Gouging mode (only for Magys 500 GR / 500 WS) «Fc0»
- Selection of the wire speed potentiometer (only for Magys 400 GR / 500 GR / 500 WS) «Fc1»
- Metal Selection «Fc2»
- Calibration of the wire speed (see above: expert settings) «Fc3»
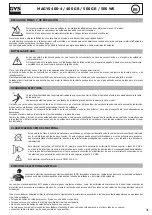
To enter this mode, press and hold button 1 for 3 sec. The machine will display « Fc0 », « OFF ». Press button 1 again to enter Gouging mode.
Gouging mode: (only for Magys 500 GR / 500 WS) (Fc0)
The top screen will display « Arc », « Air » and the bottom screen « OFF ».
To activate the power generator, push button 5. The display will show « Arc », « Air », « On ».
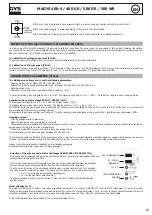
ATTENTION: once the power generator is activated, the output current is available on the unit. Do not put the torch on the floor or in contact with
any metallic part. Always wear protective clothing.
To deactivate the power generator push button 5. To leave Gouging mode and hidden mode, push button 1 and the screen will display « END ».
Gouging process:
- Turn the voltage switch to maximum,
- Open the cylinder valve or compressed air network,
- Contact between the electrode and the metal piece will create a circuit. The intense heat will melt the workpiece and air will pass through the arc
quickly enough to blow the molten material away.
- Conversely to the MMA process, the work is done by pushing the arc.
The visible length of the electrode must between 100 and 150 mm.
The torch is connected to the back of the generator, on the + terminal for steel and stainless steel electrodes. For copper electrodes you can use any
terminal. For Nickel electrodes connect the electrode holder to the – terminal. The earth clamp is connected to the other terminal.
Always follow the instructions as indicated on the electrode packaging.
Protective clothing should always be worn when gouging!
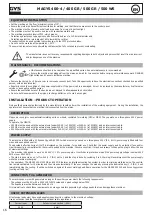
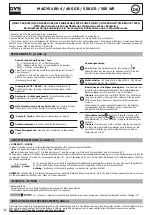
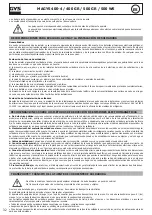
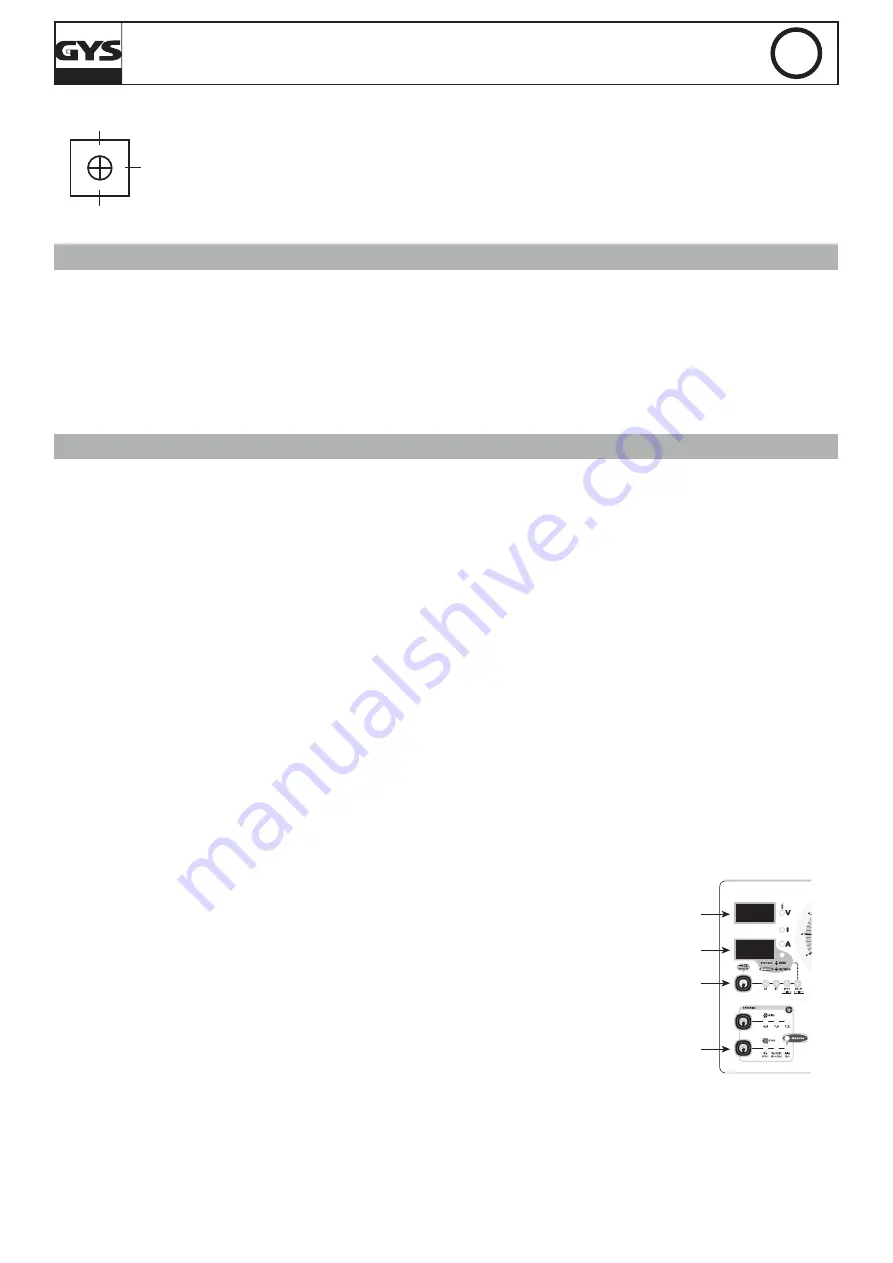
Selection of the wire speed: (only for the Magys 400 GR/500 GR/500 WS) (Fc1)
Wire speed can be adjusted using wire feeder potentiometer or generator potentiometer. Only one
potentiometer can be active at a time.
On this type of equipment with separate wire feeder, 2 wire speed potentiometers are available.
You can choose to use between both but they can’t be activated at the same time.
To enter into « Selection of the wire speed potentiometer » mode push button 1 for 3 seconds
and then press the same button again. The top screen will display « Fc1 » and the bottom one:
-
« Out » for the separate wire feeder potentiometer
-
« In » for the generator potentiometer.
To choose between Out and In, press button 5. Press button 1 to leave this mode and enter
another mode.
Fc1 is displayed
In / Out is
displayed
(1) 3 s
(5) Potentiometer
selection
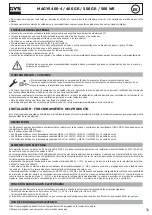
Metal selection (Fc2)
This mode will allow you to select or de-select a specified combination of 3 types of metal (Fe CO², FeCrNi ArCO², Aluminium). To enter this mode,
follow the instruction to enter hidden mode and press button 1 twice. The screen will display « Fc2 ». In order to choose the combination of metal (8
selections available), press button 5 until you reach the combination required. The « Manual » position can’t be deactivated.
To leave the hidden mode press button 1, the screen will display« END ».

