ELECTRO FREEZE Shake Model CS704
185260
23
8 Start-up Instructions
The sanitizing instructions explained in
this section are procedures to remove
bacteria and maintain a clean, sanitary
freezer. The shake freezer must be
disassembled, washed, and sanitized ac-
cording to the instructions in this manual
before start-up to insure the best possible
cleanliness.
CAUTION
To prevent bacteria growth,
use only approved sanitizers
to sanitize the freezer.
Sanitizing must be done just
prior to starting the freezer.
Failure to do so could create
a health hazard.
Important
:
Do not use unapproved sanitizer or
laundry bleach. These materials may
contain high concentrations of chlo-
rine and will chemically attack freezer
components.
NOTE:
It is your responsibility to be
aware of and conform to the requirements
for meeting federal, state and local laws
concerning the frequency of cleaning and
sanitizing the freezer.
1. Prepare 2 gallons (7.6 liters) of
sanitizing solution in a container. Sanitiz-
ing solution must be mixed according to
manufacturer’s instructions to yield 100
PPM strength chlorine solution. (example:
Stera-Sheen Green Label). Use warm wa-
ter (100-110°F or 37-43°C) to wash, rinse,
and sanitize.
2. Wash and sanitize your hands
and forearms.
3. The mix feed tube assembly
should be laying in the bottom of the hop-
per pan. Do not install.
Important:
Never let the sanitizer remain in the
freezer for more than 15 minutes.
8.1 Sanitizing
Important:
Do not insert any tools or objects into
the mix feed port or head dispensing
hole while the freezer is running.
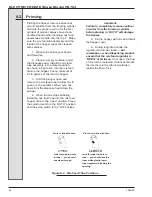
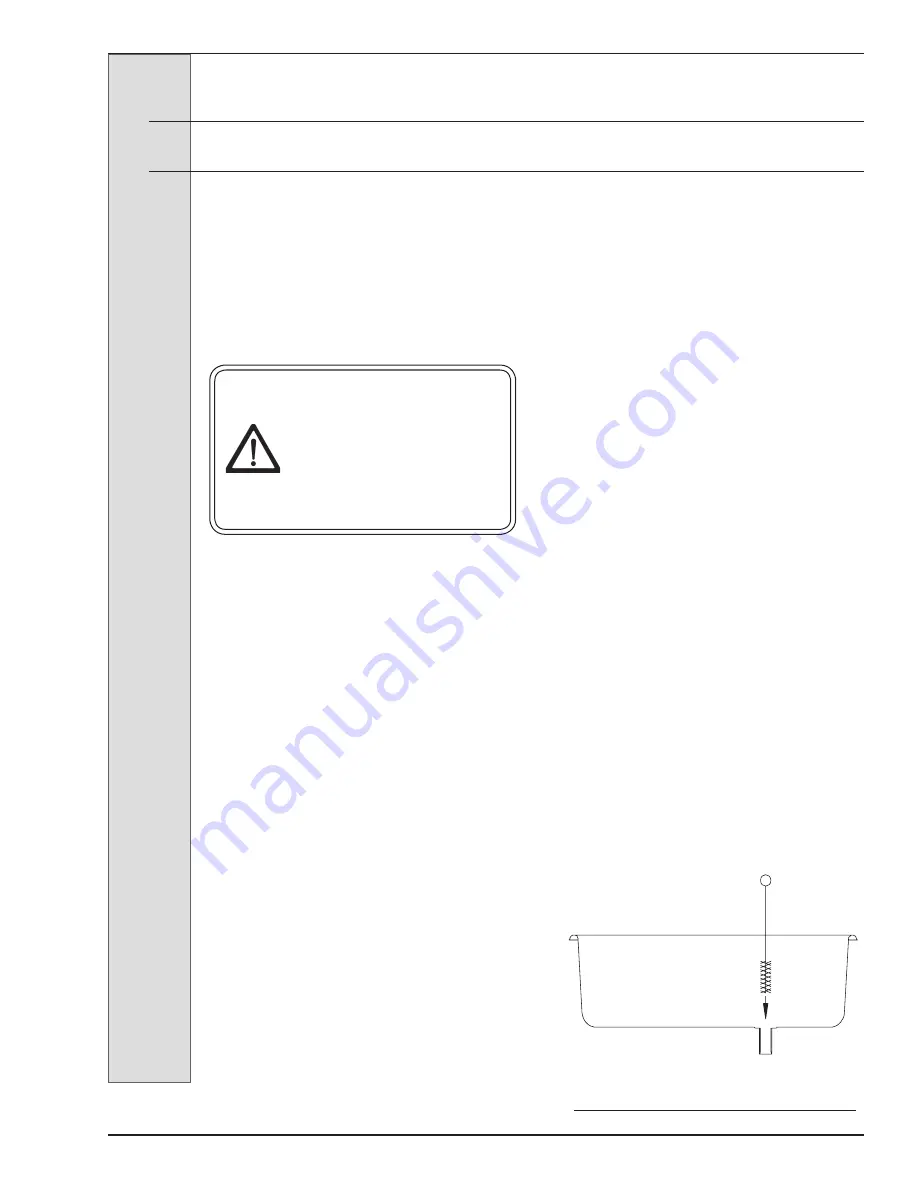
4. Pour sanitizing solution into the
hopper pan. Using a clean brush, scrub
the hopper walls, the mix feed port from
the hopper to the cylinder, the inside of
the mix feed tube and adapter (see figure
8-1), and the inside of the hopper cover.
5. Insert mix float on mix level sen
-
sor.
6. Allow sanitizer to fill the cylinder.
7. Connect the main power supply.
8. The syrup switch should be in
the “OFF” position. Place the selector
switch to the “CLEAN” position and allow
the beater to run for 5 minutes. During
this time period check for leaks around
the head, plunger and drain tube.
9. Place an empty container under
the dispensing head and drain the sani-
tizing solution from the cylinder by slowly
pulling down on the dispense handle.
Open and close the handle approximately
10 times during draining to sanitize the
port area of the dispense head.
10. With most of the sanitizing
solution drained, turn the selector switch
to the “OFF” position and drain remaining
solution from the hopper and cylinder and
close the plunger.
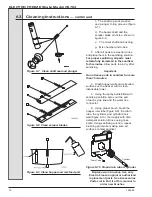
Figure 8-1 Sanitize hopper and its
components
Summary of Contents for Arby's Electro Freeze Compact Series
Page 2: ......
Page 7: ...ELECTRO FREEZE Shake Model CS704 Safety Decal Locations v 1 P N HC165126 2 P N HC165025...
Page 10: ......
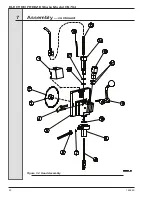
Page 30: ...ELECTRO FREEZE Shake Model CS704 185260 20 Figure 7 4 Head Assembly 7 Assembly continued...
Page 53: ......
Page 55: ......
Page 65: ...ELECTRO FREEZE Shake Model CS704 185260 10 Figure 8 Panel View Sheet 1 of 2...
Page 67: ...ELECTRO FREEZE Shake Model CS704 185260 12 Figure 9 Side View Sheet 1 of 2...
Page 71: ...ELECTRO FREEZE Shake Model CS704 185260 16 ELECTRO FREEZE Shake Model CS704 16...


