ELECTRO FREEZE Soft Serve Model GEN-5099
22
185242
CAUTION
To avoid electrical shock or
contact with moving parts,
make sure all switches are
in the “OFF” position and
that the main power supply
is disconnected. Some
freezers have more than one
disconnect switch.
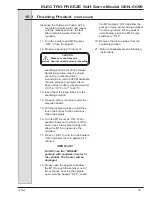
Follow these directions for each cylinder:
1. If there is product in the freezer,
refer to Section 10, Closing Procedures,
10.2 Draining Product.
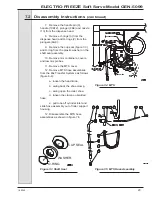
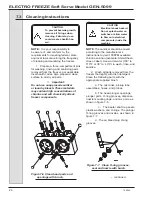
2. Remove the plunger rods (7,
figure 7-2) by lifting up and swinging the
bottom out and down. Remove hand
knobs (11) and pull the dispensing head
(1) straight out.
3. Remove the bushings and beater
shafts from the cylinders.
4. Remove scraper blades and shaft
seal from the beater shaft.
5. Remove the drip tray (see
Replacement Parts Manual, Panel
Assembly) and drip tray insert from the
front of the freezer.
6. Remove the air bleed plug (6) and
remove the two O-rings (5).
– continued
CAUTION
Make sure freezer is
depressurized before
proceeding.
CAUTION
To prevent bacteria growth,
remove ALL O-rings when
disassembling for clean-
ing. Failure to do so could
create a health hazard.
7.2 Disassembly Instructions
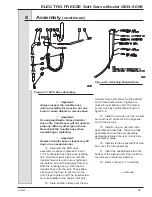
Figure 7-2 Head Assembly
Summary of Contents for Electro Freeze GENESIS GEN-5099
Page 2: ......
Page 10: ......
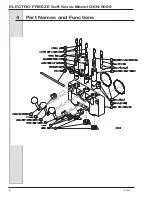
Page 18: ...ELECTRO FREEZE Soft Serve Model GEN 5099 8 185242 4 Part Names and Functions...
Page 74: ......
Page 76: ......
Page 88: ...ELECTRO FREEZE Soft Serve Model GEN 5099 12 185242 Figure 11 Side Back View Breakdown...
Page 94: ......
Page 95: ...ELECTRO FREEZE Soft Serve Model GEN 5099 185242 19 O Ring Chart...

