Owner’s Manual
HK3819 / HK5523
Page 12
REPAIR PROCEDURES
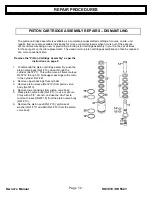
PISTON CARTRIDGE ASSEMBLY REPAIRS – DISMANTLING
The piston cartridge assembly is available as a complete, pre-assembled cartridge for quick, on site, unit
repairs. Items are also available individually for more economical repairs when time is not of the essence.
We recommend keeping a new or previously re-build piston cartridge assembly in your tool box at all times,
for those urgent on the job replacements. The used or worn piston cartridge assemblies can then be repaired
at a more convenient time.
Remove the “Piston Cartridge Assembly” as per the
instructions on page 9
1.
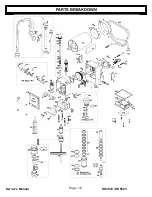
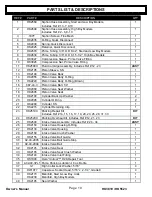
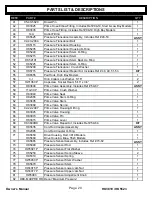
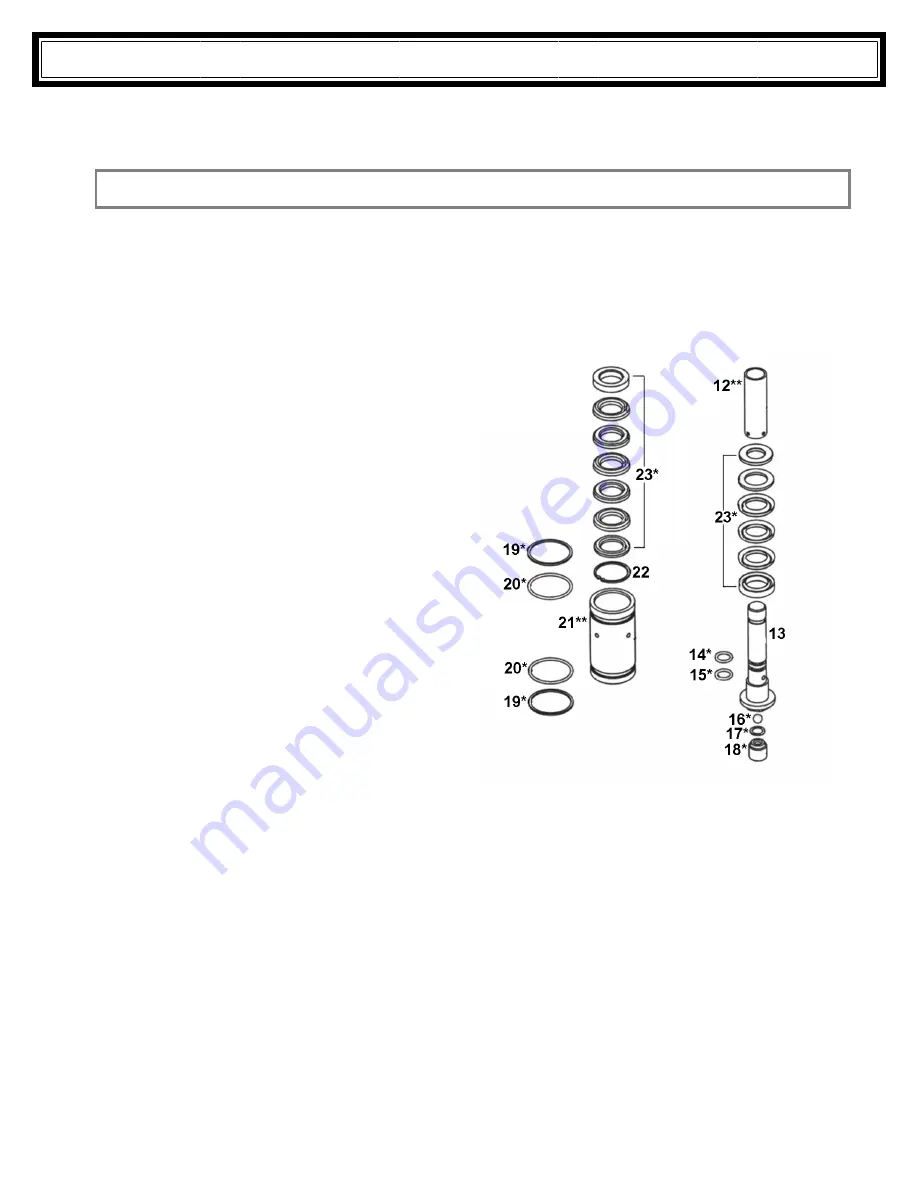
To dismantle the piston cartridge assembly, push the
piston valve body (Ref # 13), down through the
cylinder (Ref # 21). This will remove all items marked
Ref # 12 through 18. Note upper packings will remain
in the cylinder Ref # 21.
2.
Remove upper packings from cylinder.
3.
Remove piston sleeve (Ref # 12) from piston valve
body (Ref #13).
4.
Remove lower packings from piston valve body.
5.
Place piston valve body (Ref # 13) in vise or secure
firmly with a 5/8’’ wrench, and use the Uni-Tool to
remove the seat (Ref # 18) from the piston valve body
(Ref # 13).
6.
Remove the piston seat (Ref # 18), piston seat
washer (Ref # 17) and ball (Ref # 16) from the piston
valve body.


